The Cornell Lab Bird Academy › Discussion Groups › Nature Journaling and Field Sketching › Illustrating the 3D World
-
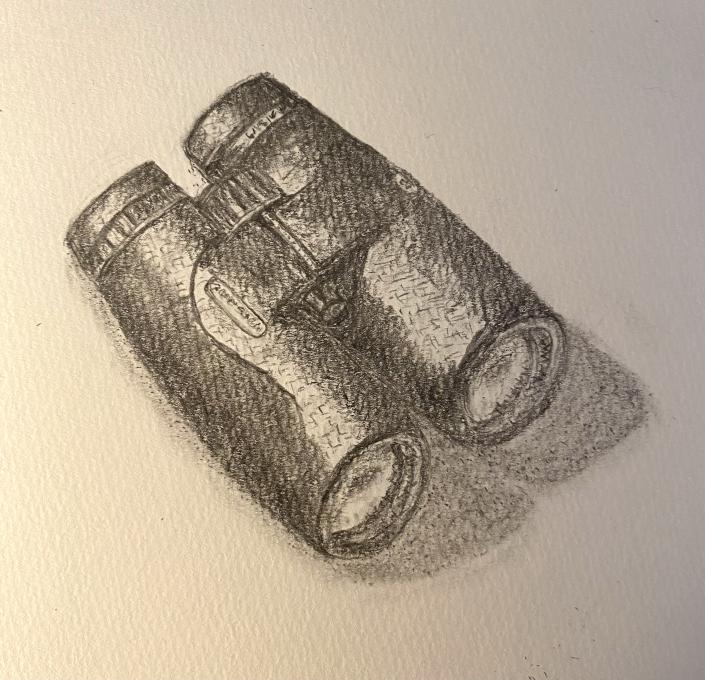
 My Binoculars
 -

-

-
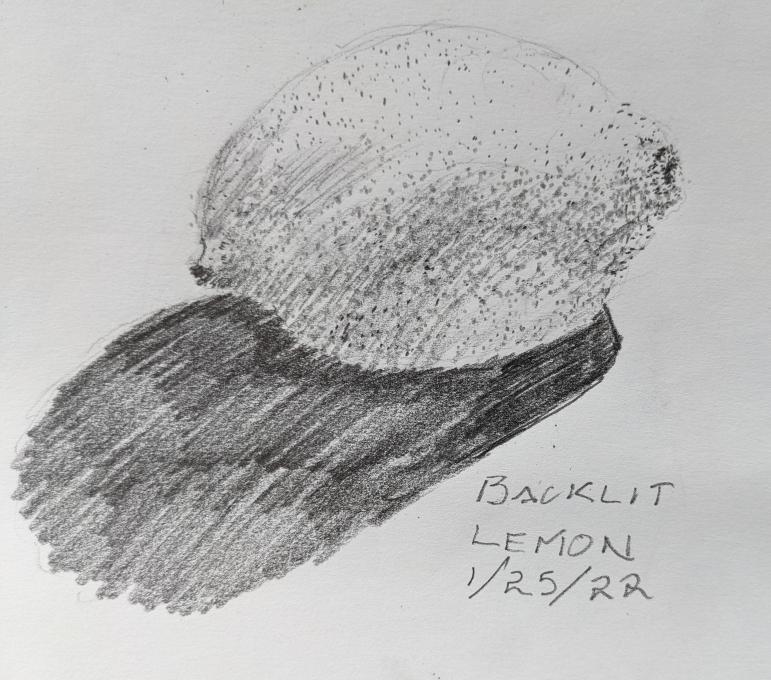
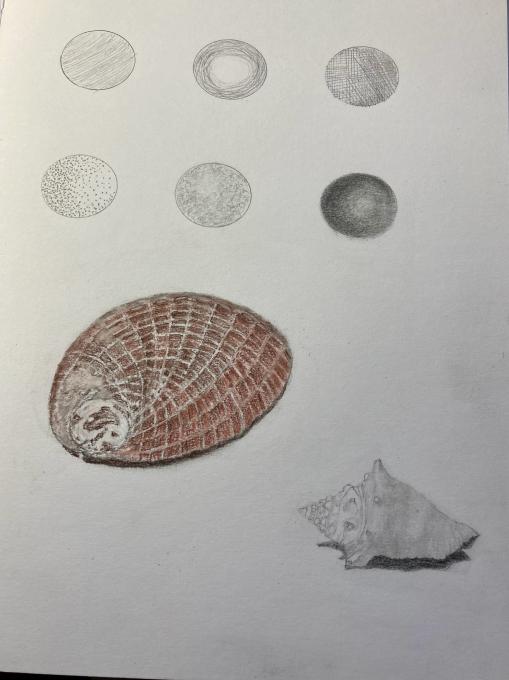
 I used a combination of stippling and hatching to attempt this value exercise. The most challenging thing for me is achieving the transitions between the values. This drawing probably would have been more successful if I had stuck with just stippling.
 -
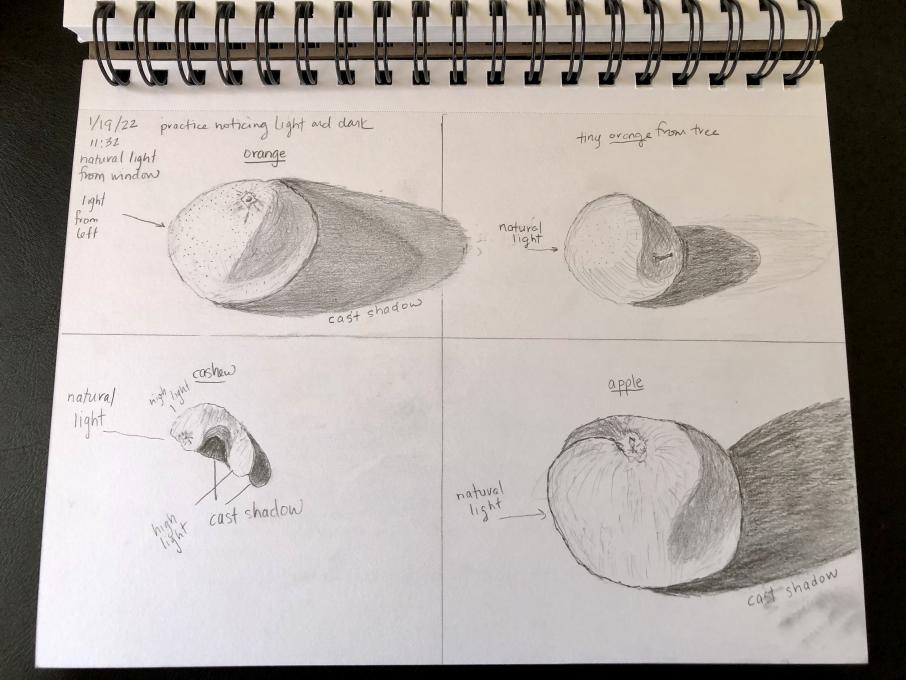
 When I drew textured objects with light shadow contrast - I became so preoccupied with the form and light shadow that I forgot to try out the various types of shading
 -
While in general it was easy to see where some of these techniques would be applied, I wouldn’t say it is really apparent to me when I am looking at things. How to decide which of the shading techniques to use in which situations isn’t particularly clear yet….but I am totally new at this! Rebekah Hamilton
-
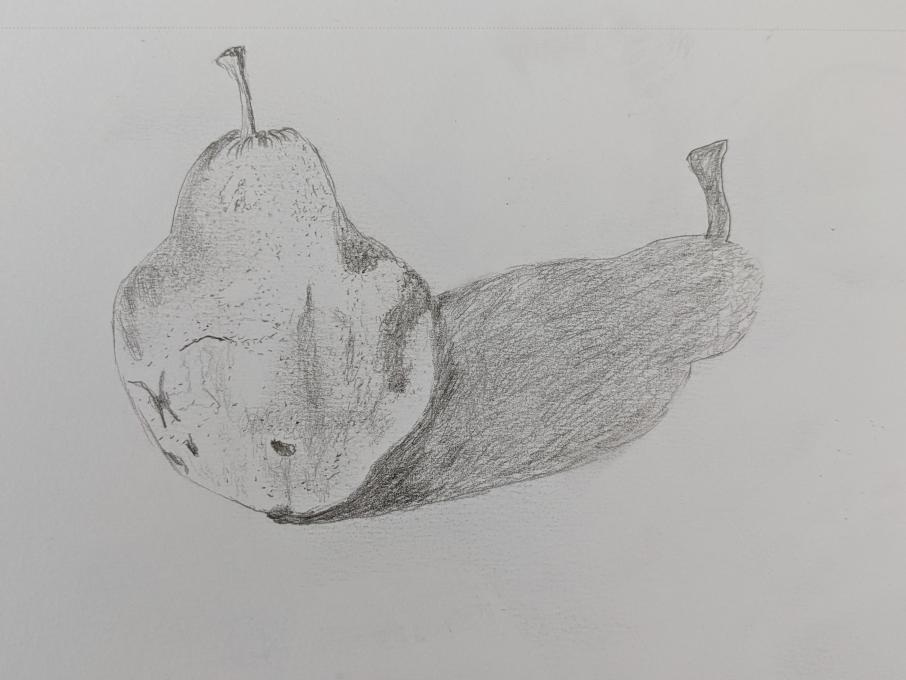
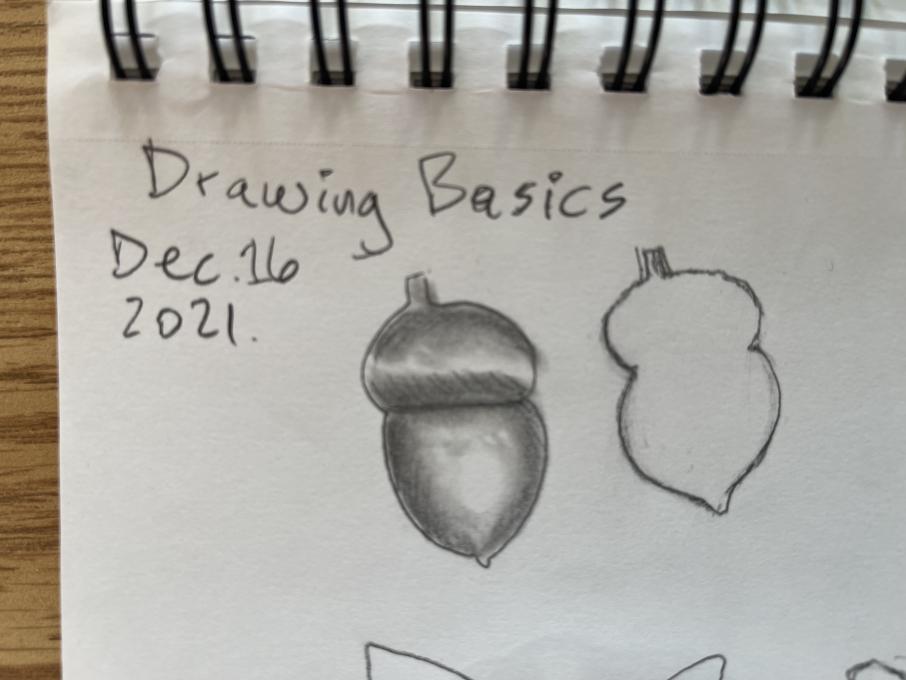
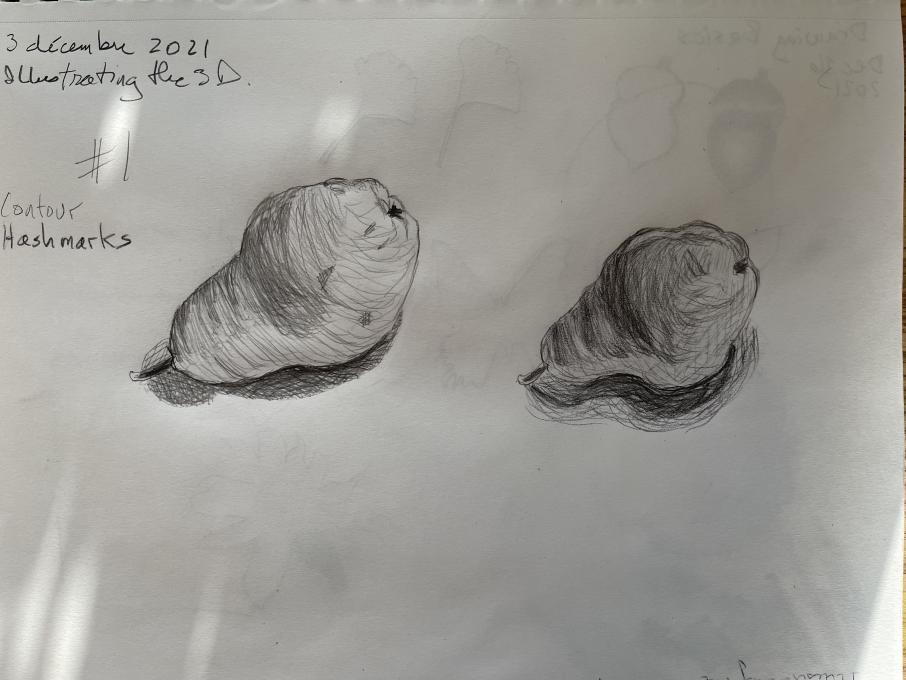
I enjoyed practicing 3D techniques. Happy with my acorn by blending with the stump. The pear was not as convincing. I used contour hashmarking for the pear and crosshatching for the shadow. Tempted to finish with the stump but I was hoping to get an effective hashmark


-
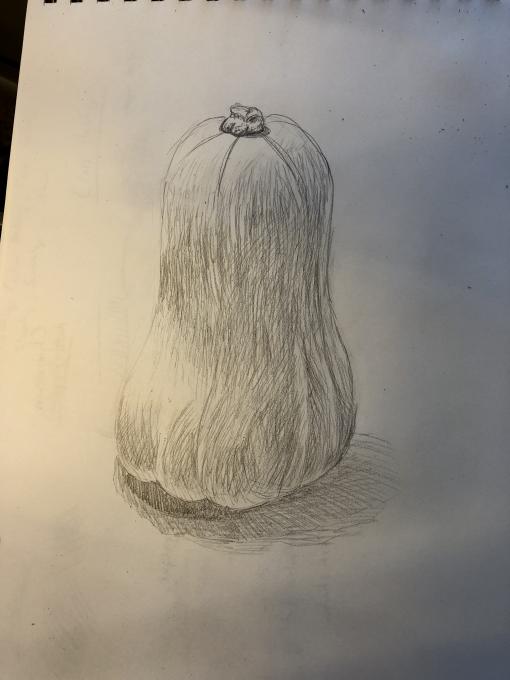
I think I need to work on contrast and values the most at this point. The chiarosco, while interesting, doesn't seem like it would be applied a whole lot to field sketching moving objects. I realized while doing this squash that my lighting is not the most desirable. I have three bulbs in cages that each act as their own light source and cast their own shadows.

-
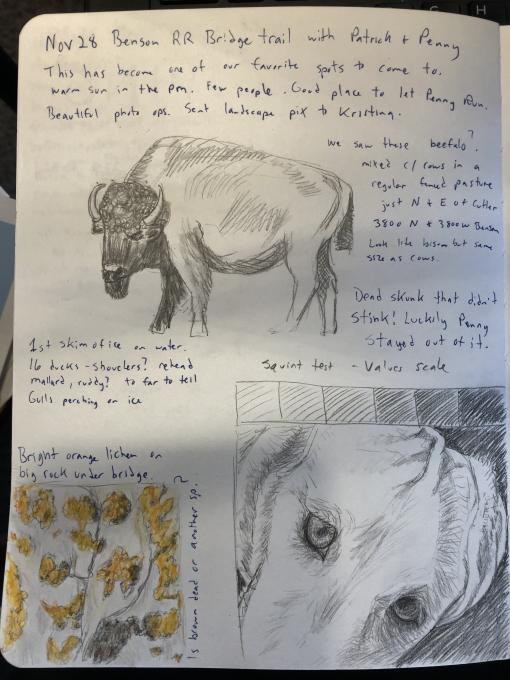
 I am starting to see better how to use different kinds of marks to make the kinds of textures that I see. It was fun to scribble on the top of the bison head to make the curly hair.
I don't think I was quite able to capture the texture of the lichen that I was going for. Perhaps zooming in even more would be more effective.
It is still difficult to get the values input correctly on something that is unevenly lit like the dog close-up at the bottom.
I want to work on using the squint to get the values more accurate. When I can get them right I feel like the image is most successful.
 -

-
Nicely done! Your dark and light values are excellent.
-
-
This is hard but I'm enjoying the journey and playing around with the techniques

-
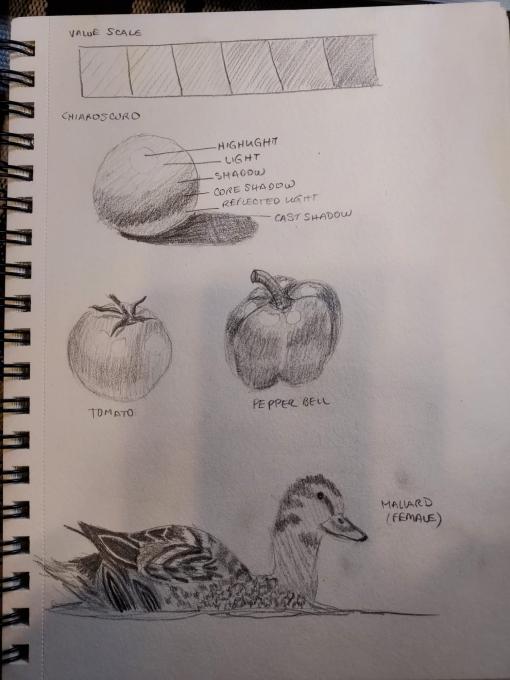
It's not easy, but with practice everything is possible. I tried to draww a mallard, because I´ve seen many of those lately.

-
This was great practice and now that it's on the screen I see a lot of areas that need more attention. The crosshatching, which I played with a little here, is super tricky and I'd really like to figure out how to use it well.

-
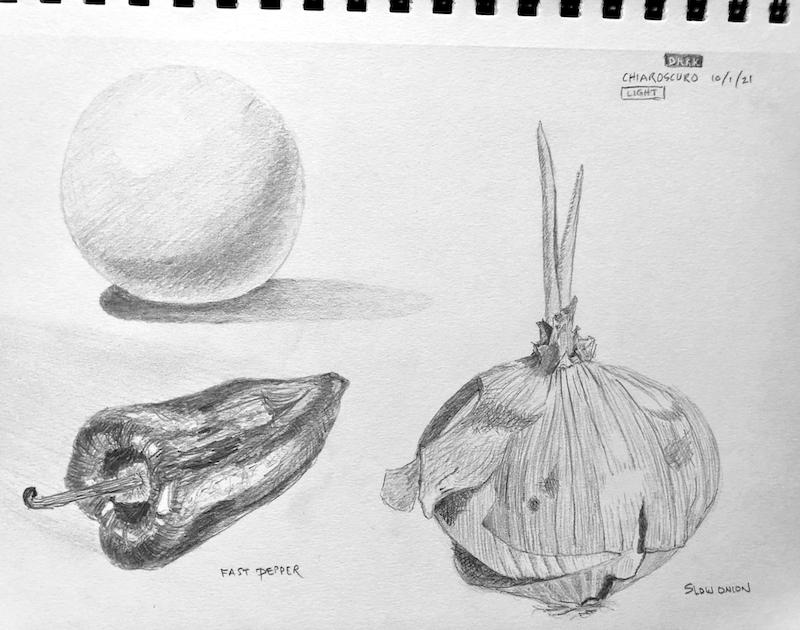
These look great to me. You have really done a good job capturing the texture of the veg. You can really feel the smooth shininess of the pepper and the dry papery onion.
-
-
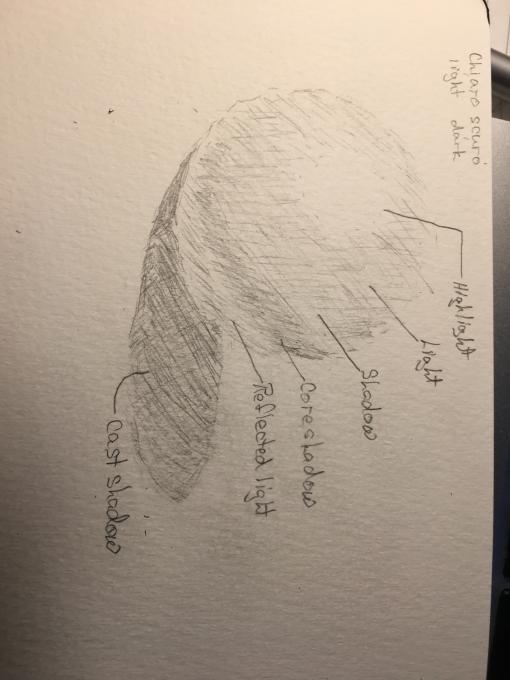
This is definitely a progressive work in progress technique. I will need to practice on my blending the different regions in my sketch. Renee Milton

-
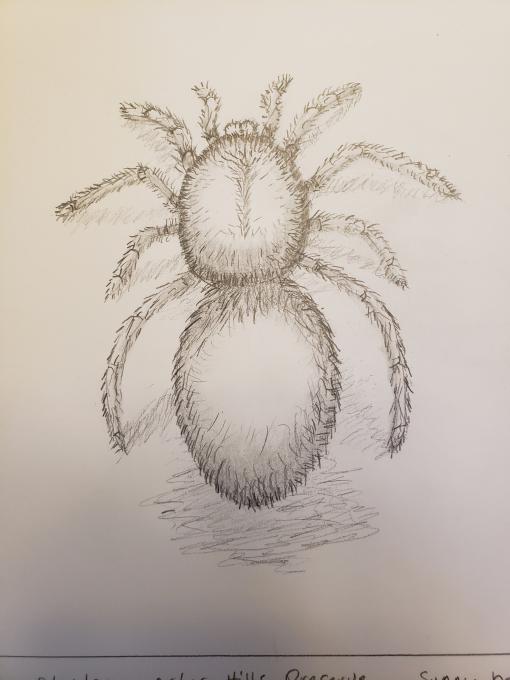
Ran into a tarantula on the trail. Tried to sketch one using lessons so far.

-
Yikes ! Very life-like. Good depth and shading.
-
@Karin Thanks! The real one sure scared me.
-
-

 trying to do chiarscuro of big cucumber.

-
I forgot to comment: It is getting easier to concentrate, very relaxing for me. I am really struggling with shading and depth of perception. I enjoy this learning experience and can't wait to learn more. I love just grabbing notebook and pencil and just sketching what is there.
-
-
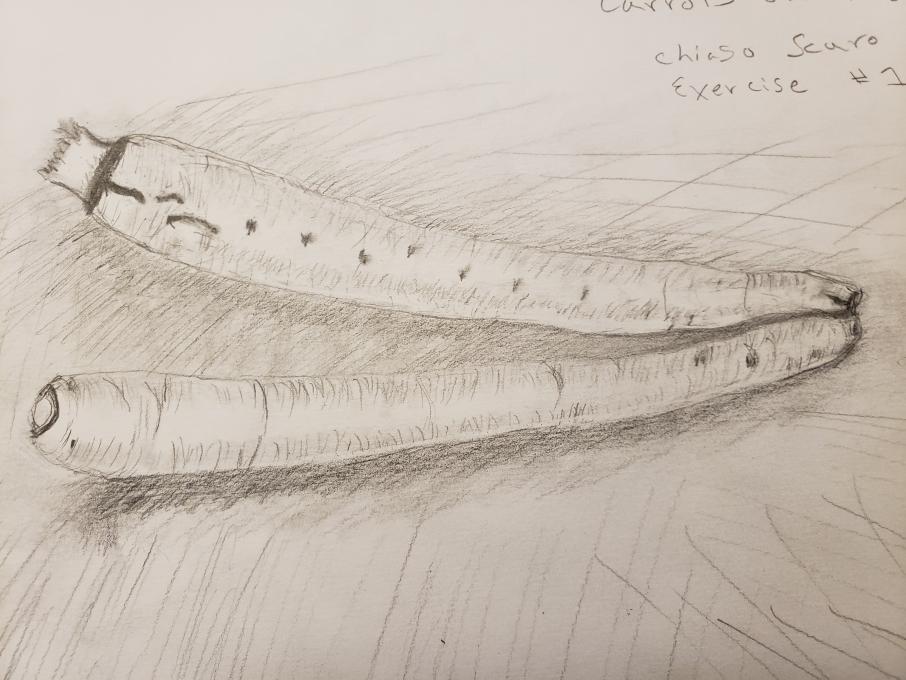
I tried drawing the vegetable exercise. It's going take some practice, but starting to see how to make objects appear 3D with shading, light and dark.

-
Your shading helped me in my shading :-)
-
-
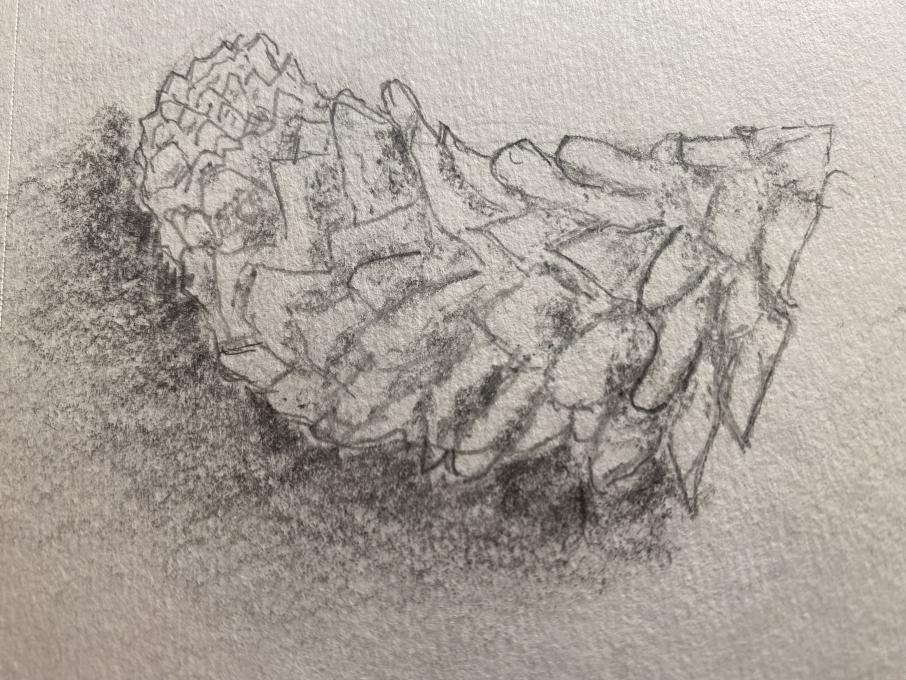
 I used this pine cone and hatching, contour hatching, and blurring to practice finding appropriate value that provides a 3D illustration. I'm not sure that a pine cone was the best option (I've never drawn a pine cone) and I got a little lost (!) but I tried to refer to a scale of light and dark to consistently convey where the lightest/darkest parts of the cone were observed.
 -
That is a really beautiful drawing! I love how you captured the *sharpness* of the pointed ends. The shadowing looks great to me.
-
That is really good. Sometimes, the item picks us. This really helped me.
-
-
Very helpful techniques. think I will wait awhile before sharing any of my attempts however really enjoying seeing others. gives me hope mine will improve as my comfort level improves.
-
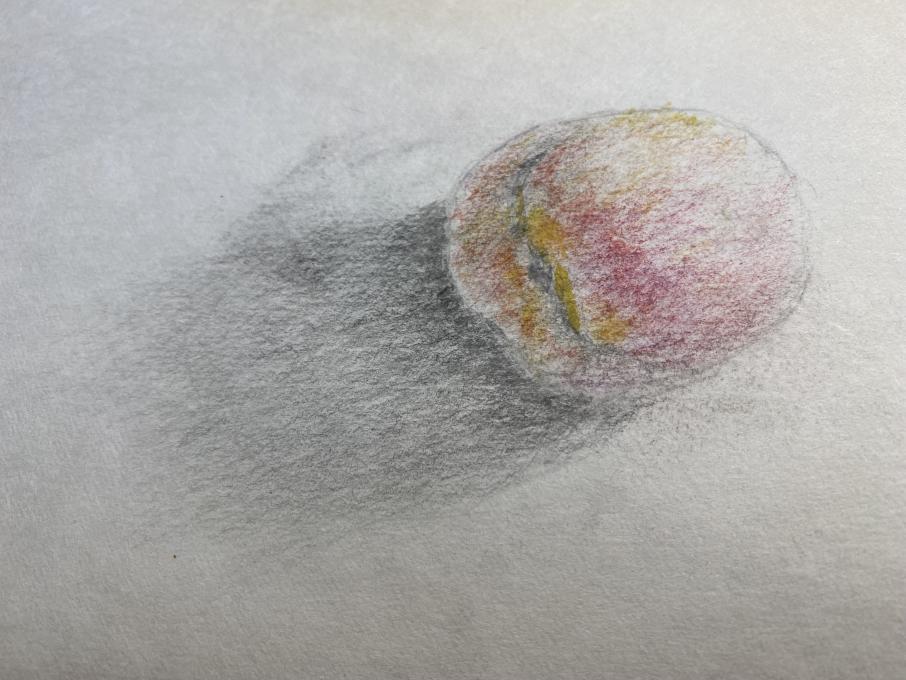
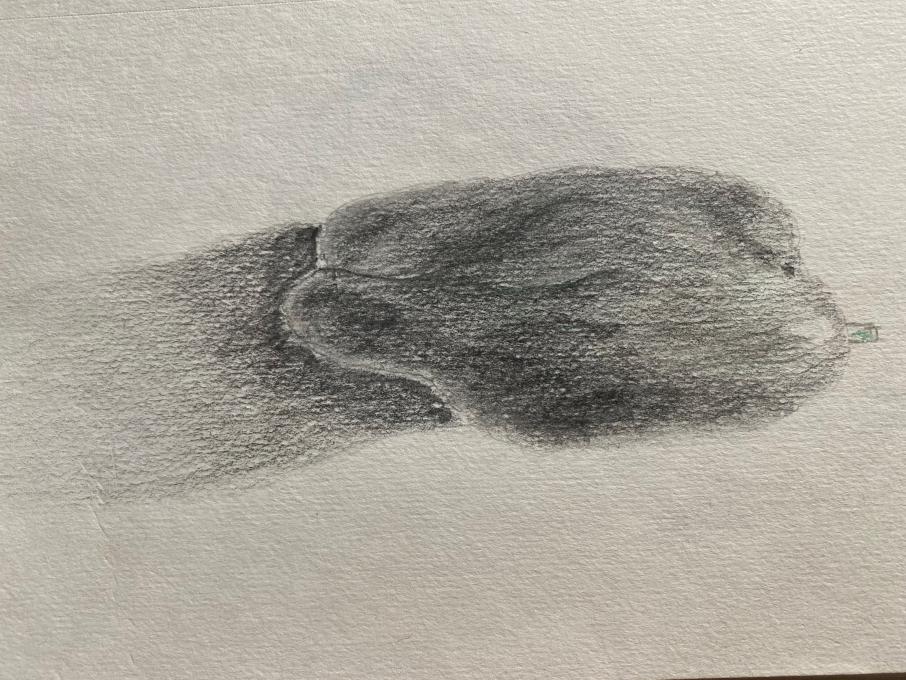
How challenging it has been to draw a pepper! The grain of the paper I use has been a factor as well. Will switch to a smoother grain. Color has been a challenge, too. shades of green, for example. Better luck with grey/black tones. But promising results with a touch of color on a peach. The pine cone was relatively easy, for some reason.


-

-
Here are some of my attempts at using the skills you have taught us. I can see how to apply the techniques but will definitely need more practice. I did enjoy trying them all out. It was fun learning ways to draw and how to use the different marks. Also I found I was more relaxed, not worrying too much about the finished product and just having fun. I like to write notes in the journal as it helps me remember what I did and what techniques I used as well as anything special about that particular sketch.


 I found the 3D shading difficult. I am looking forward to more lessons and practice
 -
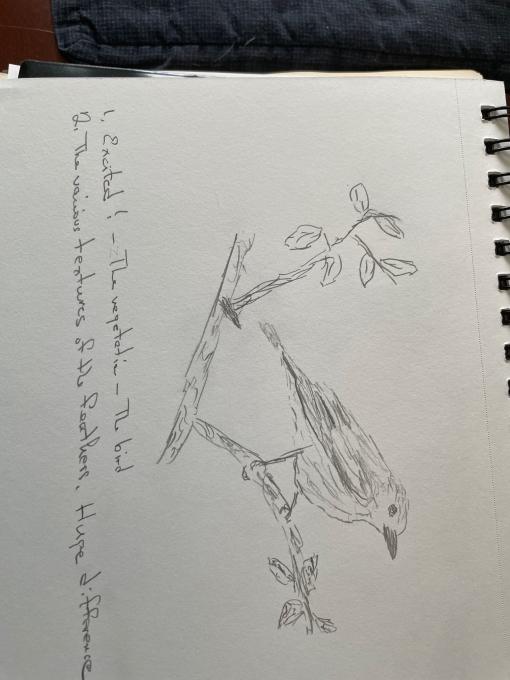
After trying some of these drawing skills, it was a little easier to see where and how each could be applied. I am definitely starting to feel more comfortable putting marks on the page compared to before. I want to work on my shading a little more though. I decided to do a robin, although there wasn't much contrast and the proportions were a little off, I'm happy with how it turned out.

-
 This is my last drawing and painting and is the result of all of your advice and the techniques taught by you during this course. I am quite happy because it has given confidence to continue with this endeavor. Dear Liz your advices have been very helpful and I have really enjoyed your talks. I will continue doing the exercises to improve this hobby .Thanks
 -

 I am starting to find it easier to find details and textures, as well I am getting more comfortable with putting pencil to paper. I had some challenges with chiaroscuro but I’m thinking it’s because I was to tense with my apple drawing and need to take a step back, maybe get the techniques to work for me. It was fun regardless and I am finding my work is starting to get better slowly with practice.
Read More:
 My Binoculars
 I used a combination of stippling and hatching to attempt this value exercise. The most challenging thing for me is achieving the transitions between the values. This drawing probably would have been more successful if I had stuck with just stippling.
  When I drew textured objects with light shadow contrast - I became so preoccupied with the form and light shadow that I forgot to try out the various types of shading
 I am starting to see better how to use different kinds of marks to make the kinds of textures that I see. It was fun to scribble on the top of the bison head to make the curly hair.
I don't think I was quite able to capture the texture of the lichen that I was going for. Perhaps zooming in even more would be more effective.
It is still difficult to get the values input correctly on something that is unevenly lit like the dog close-up at the bottom.
I want to work on using the squint to get the values more accurate. When I can get them right I feel like the image is most successful.
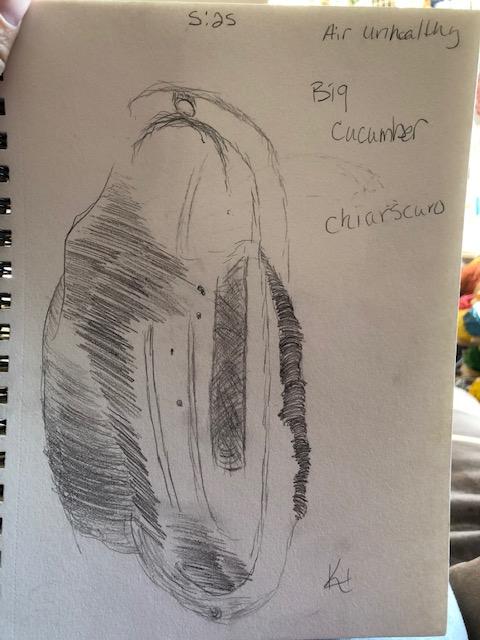 trying to do chiarscuro of big cucumber.
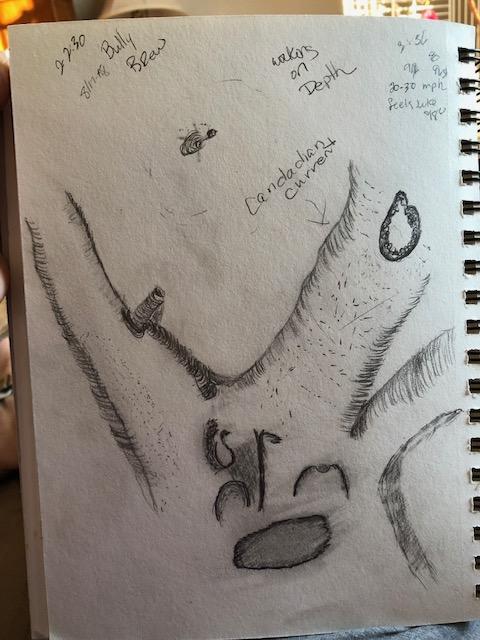
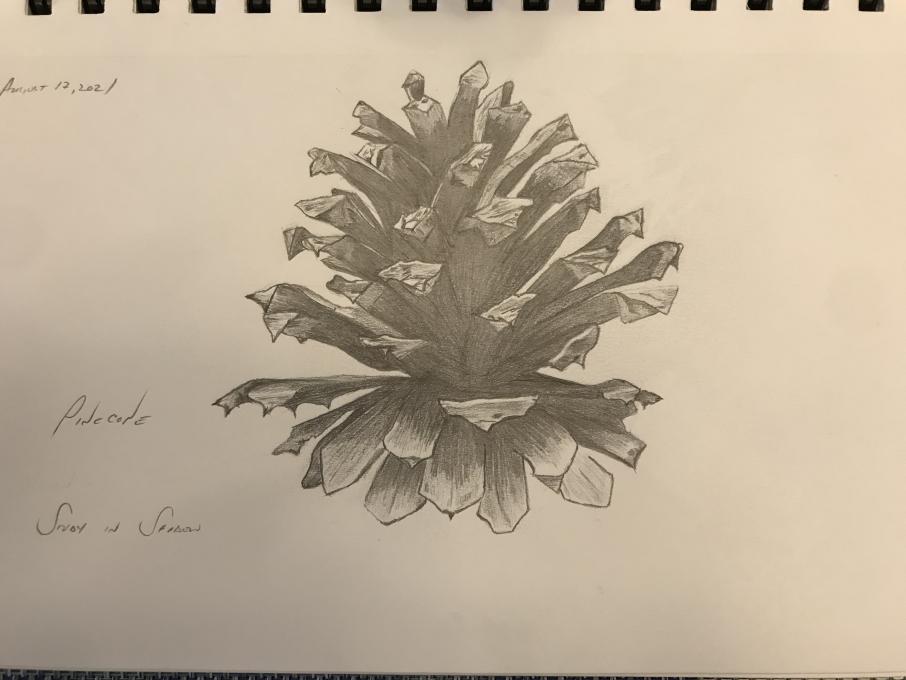 I used this pine cone and hatching, contour hatching, and blurring to practice finding appropriate value that provides a 3D illustration. I'm not sure that a pine cone was the best option (I've never drawn a pine cone) and I got a little lost (!) but I tried to refer to a scale of light and dark to consistently convey where the lightest/darkest parts of the cone were observed.
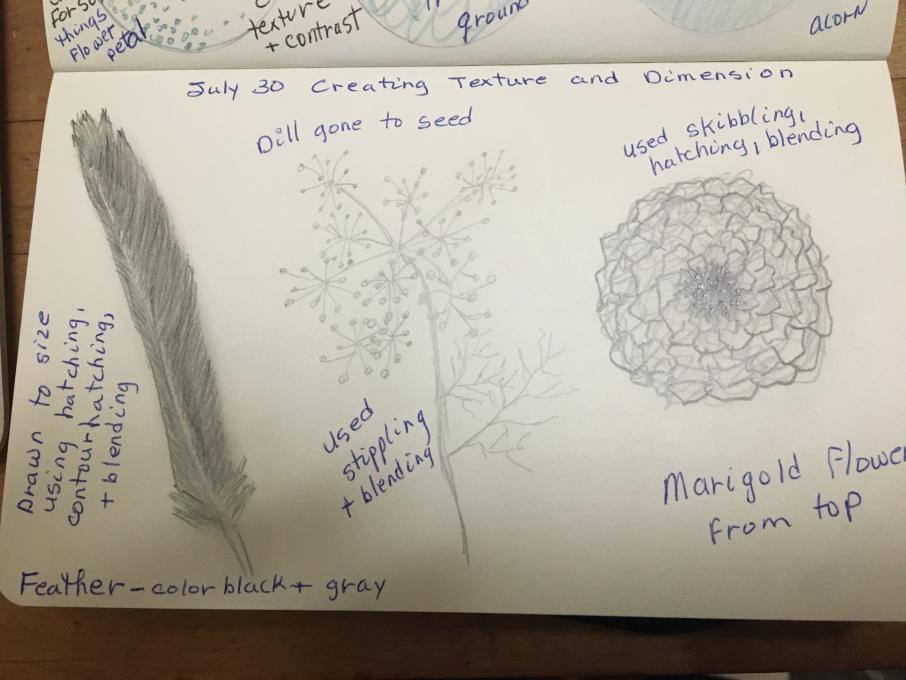
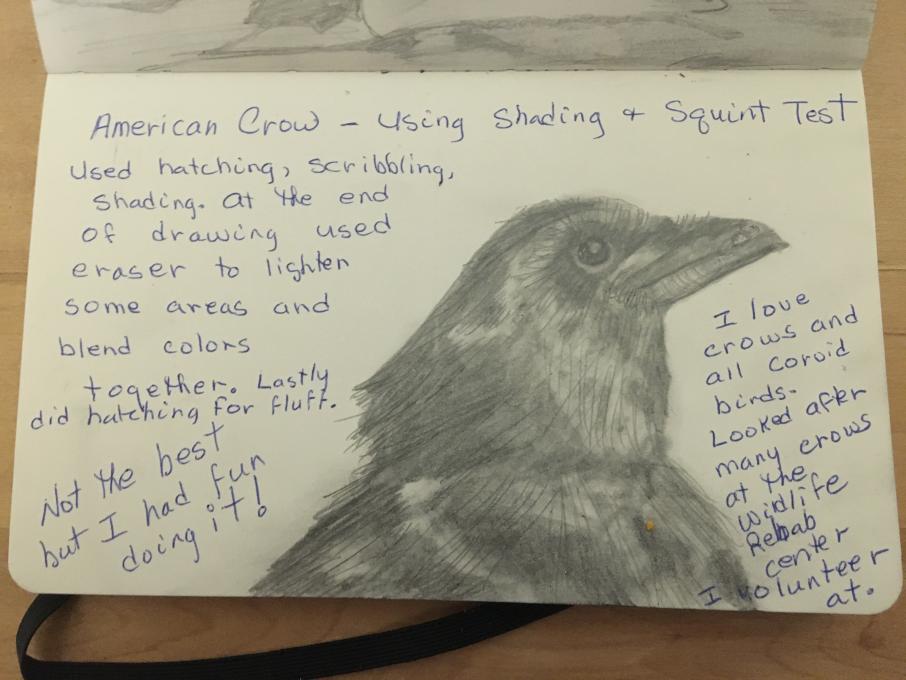
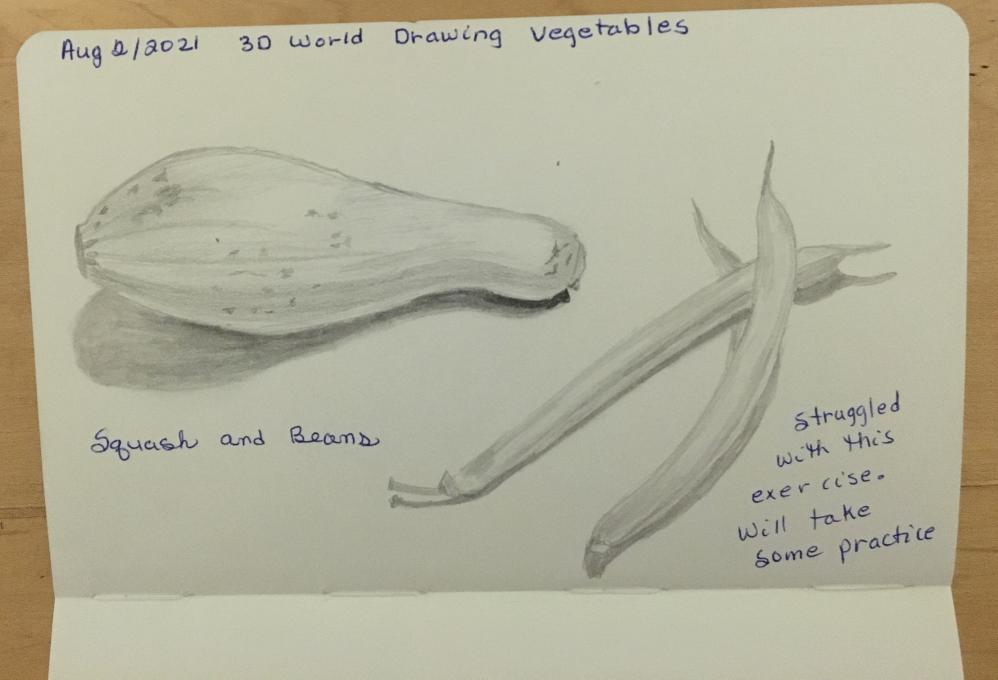 I found the 3D shading difficult. I am looking forward to more lessons and practice
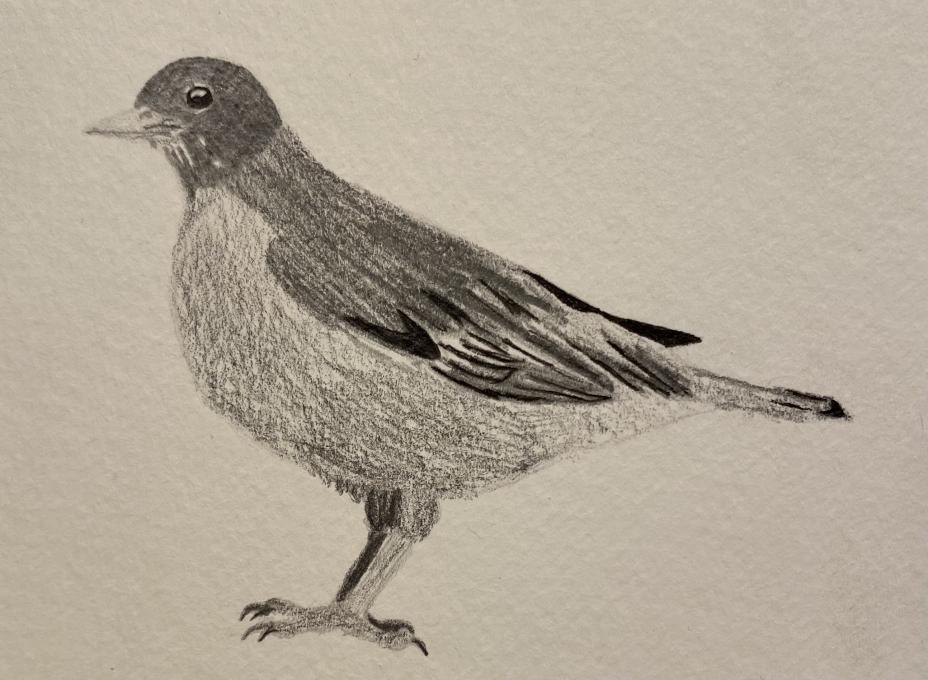
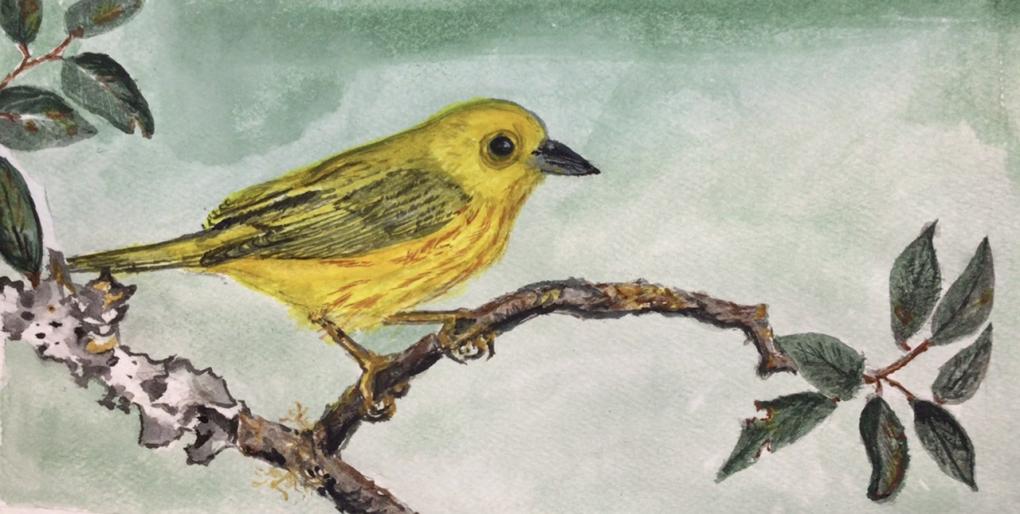 This is my last drawing and painting and is the result of all of your advice and the techniques taught by you during this course. I am quite happy because it has given confidence to continue with this endeavor. Dear Liz your advices have been very helpful and I have really enjoyed your talks. I will continue doing the exercises to improve this hobby .Thanks
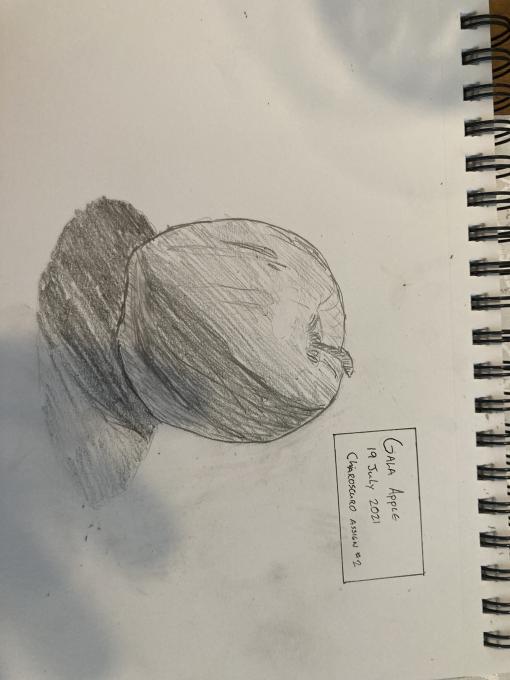
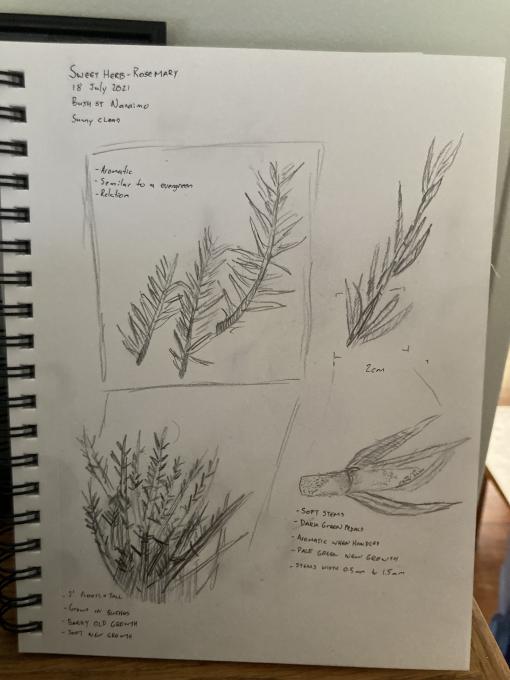 I am starting to find it easier to find details and textures, as well I am getting more comfortable with putting pencil to paper. I had some challenges with chiaroscuro but I’m thinking it’s because I was to tense with my apple drawing and need to take a step back, maybe get the techniques to work for me. It was fun regardless and I am finding my work is starting to get better slowly with practice.