Free Preview: Joy of Birdwatching
Explore Joy of Birdwatching Now!
Enjoy this sample content from Joy of Birdwatching with Kevin McGowan. There are 33 topics like these to learn from in this self-paced course—plus dozens of practice exercises and a discussion forum to help you connect with other birdwatchers.
Welcome to Lesson 2: Bird Identification Strategies
In this lesson, I’ll share these with you as a way for you to build up your own birdwatching toolbox. Think of them as clues that you’ll mix and match to hone in on a positive ID when you encounter an unfamiliar bird.
And as a bonus, at the end of the lesson, I’ll provide some tips on how to adjust and use one of the key tools of the birdwatching trade, binoculars.
Size and shape, size is a good place to start in bird identification. Was it big or small? Bigger than a sparrow, smaller than a goose?
Size can be useful as long as you know what to use as a yardstick. I’ll show you how to use size to your advantage and how to keep it from confusing matters. Shape is the ID clue that experienced birders use the most.
Beginners often ignore shape, because they find it confusing, but everyone can tell some birds just by their shape. Say a goose, an owl, or an eagle, how do you do it? By paying attention to details. Is the neck long or short? Is the bill thin or stout? Is the tail long and pointed or short and stubby? Subtle shape differences can also be just as informative as the more obvious ones.
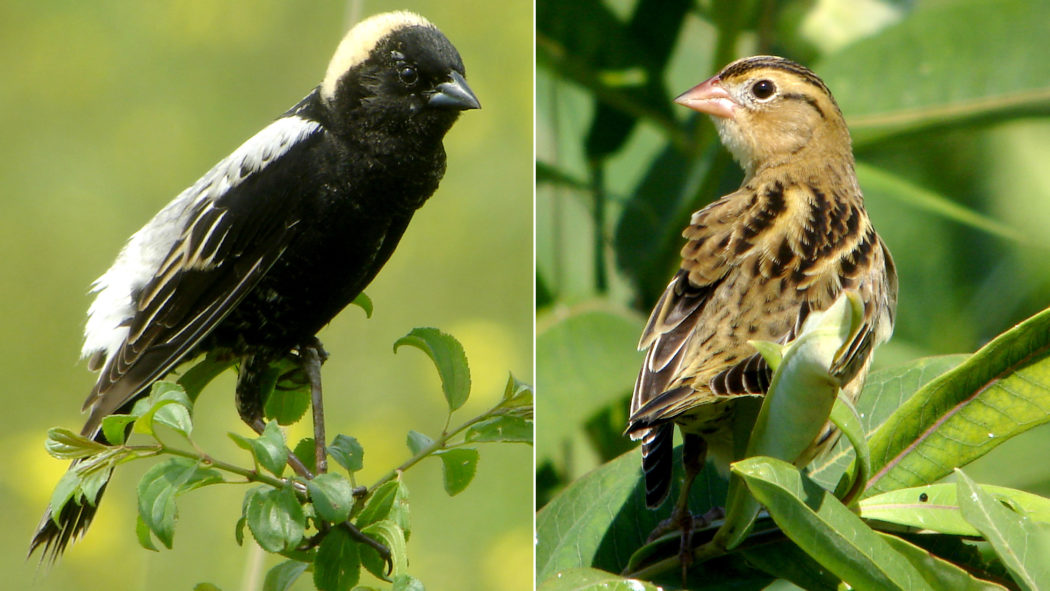
Color pattern and markings. Color is often the first thing you notice about a bird. It helps that birds come with such striking colors, but usually, color alone isn’t enough.
Where was the color? How much of it was there? What other less obvious colors did the bird have? Birds can have very distinctive markings just about anywhere on their bodies.
When you see bright red, what pattern is it in? Is it a cap, a throat patch, a bib, a flash on the wing, or was most of the bird red? Learn to see the patterns. Spot streaks, stripes and patches, rings, necklaces, spectacles and crowns. Sometimes just the arrangement of the markings can tell you what the bird is, and I’ll help you learn the lingo for those markings, so that you can quickly solve ID puzzles.
Behavior, what is the bird doing? Woodpeckers don’t swim, and ducks don’t climb up the sides of trees. Most birds have things that they do and things that they don’t. Many have distinctive displays or ways that they find their food. Paying attention to what a bird is doing is a very good clue for figuring out what it is.
Habitat and range. Ducks like water, woodpeckers like trees. Where you saw the bird can tell you a lot too. Some birds are only found in grasslands, others only in forests, and still others only at the beach. Birds can move around, but most species prefer a particular kind of habitat that can help in their ID. Where in the world you saw your bird is also important.
Knowing where species live can really help narrow down the possibilities. It matters when you saw your bird too, because many birds migrate. They’re only found in certain places at particular times of the year.
Sounds, bird song is widely appreciated for its beauty, but birds use it to say who they are, and songs can help you tell who you’re hearing. Sometimes two bird species can look so similar that hearing the song or call is the only sure way to tell them apart. Birds do more than just sing, and those other calls and drums can be important for identification too.
The best way to identify birds is to pay attention to all these things and use any and all the clues you can. It helps to try for several on each bird you’re attempting to identify. As a rule of thumb, see if you can get three or more.
Identifying birds is much like investigating a mystery. The more clues you have, the better your chance of solving the ID.
From Lesson 2: Birdwatching Tools—Binoculars

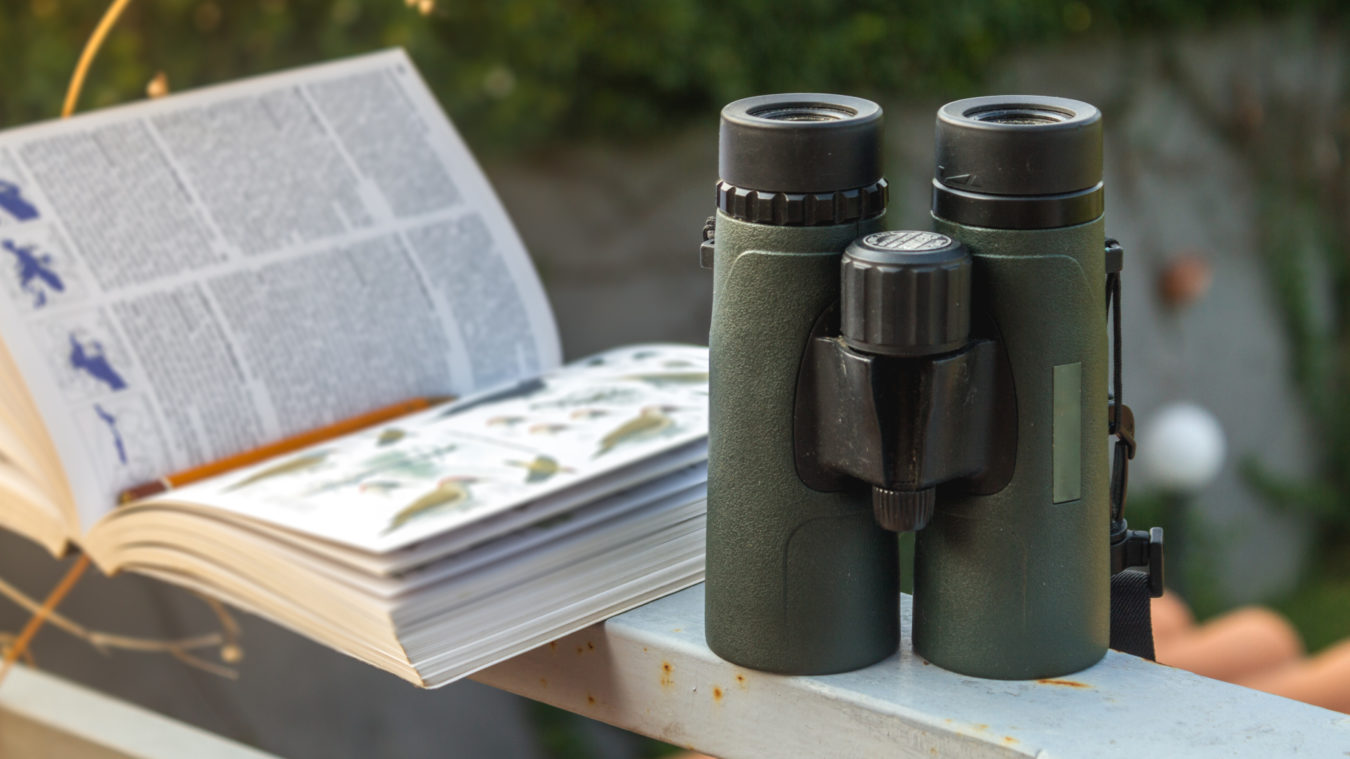
Binoculars are the most important tool for watching birds. But no one is born knowing how to use them. This section describes the basics of how to fit, adjust, and use binoculars to look at birds, and introduces some other tools that people might use as well.
How to fit your binoculars to your eyes
Step 1: Adjust the eyecups (down if you wear glasses; up if you don’t).
Step 2: Squeeze the barrels together and spread them apart. You need to get them adjusted to the width of your eyes. Find the distance where you see a single image with no black areas.
Step 3: With your right eye closed, adjust the focus. Focus on something by turning the central wheel between the two barrels.
Step 4: With your left eye closed, adjust the diopter correction wheel (usually near where you look into your binoculars with your right eye) to correct for any differences in your eyes.
What the numbers mean
There are two numbers that are used to describe the main optics of binoculars: magnification, and lens diameter.
- Magnification means how much bigger a bird appears when you look through your binoculars. The bigger the number, the bigger the magnification. A magnification of 8 means the bird looks 8 times bigger than it would with the naked eye. Almost all binoculars are 8x or 10x magnification.
- Lens diameter is the size of the lenses at the front of your binoculars. The bigger the number, the bigger the lens diameter. The bigger the lenses, the more light that can come through the binoculars. More light is helpful if you are in a low-light setting, like early dawn or in deep woods.
The higher the magnification, the lower the light-gathering ability, and the narrower the field of view. My rule of thumb is a factor of 5 or greater between magnification and lens diameter. Divide the lens diameter by the magnification, and if the result is less than 5, the image will be slightly dark. If it is at least 5, the binocular will be brighter.
These numbers are usually expressed as (magnification)x(lens diameter). So, my 8×42 binoculars have an 8x magnification, with 42mm lenses. 42 divided by 8 is 5.25, so the images in these binoculars are bright.
Troubleshooting your binoculars
I look inside my binoculars and all I see is black! Try moving the barrels closer or farther away from each other.
It looks foggy when I look through my binoculars. If there’s condensation on your lenses, you can gently wipe them clean with a lens cloth (or a sleeve if you’re in a real pinch). But be careful with your lenses!
Oh no, I think I see a scratch on my lens! A scratch is only a problem if you’re noticing an issue with the image quality. One of my favorite pairs of binoculars has a visible scratch on the right lens, but to my eyes they still work just fine. But if you’re noticing you can’t get a nice clear image in that eye, it may be time to repair or replace your binoculars.
The image in my binocular looks different in my left eye than in my right eye, like it’s in two different places. Your binoculars may be out of alignment, meaning your lenses are magnifying two slightly different fields of view. This can usually be fixed, but it should be done by a professional.
Looking through binoculars gives me a headache. It sounds like your binoculars are giving you eye strain, which is usually the result of your brain trying to make the images from your two different eyes match up with one another. Eye strain can be relieved by adjusting the diopter. It might also be caused by a scratch on the lens, or your lenses could be out of alignment.
Preview a Joy of Birdwatching course discussion
From Lesson 4: Birdwatching Through the Seasons
Many of the keys to bird identification can change over the seasons
Size and Shape
Size and shape generally stay the same throughout the year and are always good things to use for bird identification.
Color and Pattern
Color pattern and markings can vary dramatically with some species, usually going from bright and obvious in the breeding season to dull and camouflaged in the non-breeding season. Brilliant patterns displayed while trying to attract mates can disappear and be replaced by patches of dull nothingness.

Sounds
While many bird calls are used throughout the year, birds often only use songs on the breeding grounds or while they are on their way there.

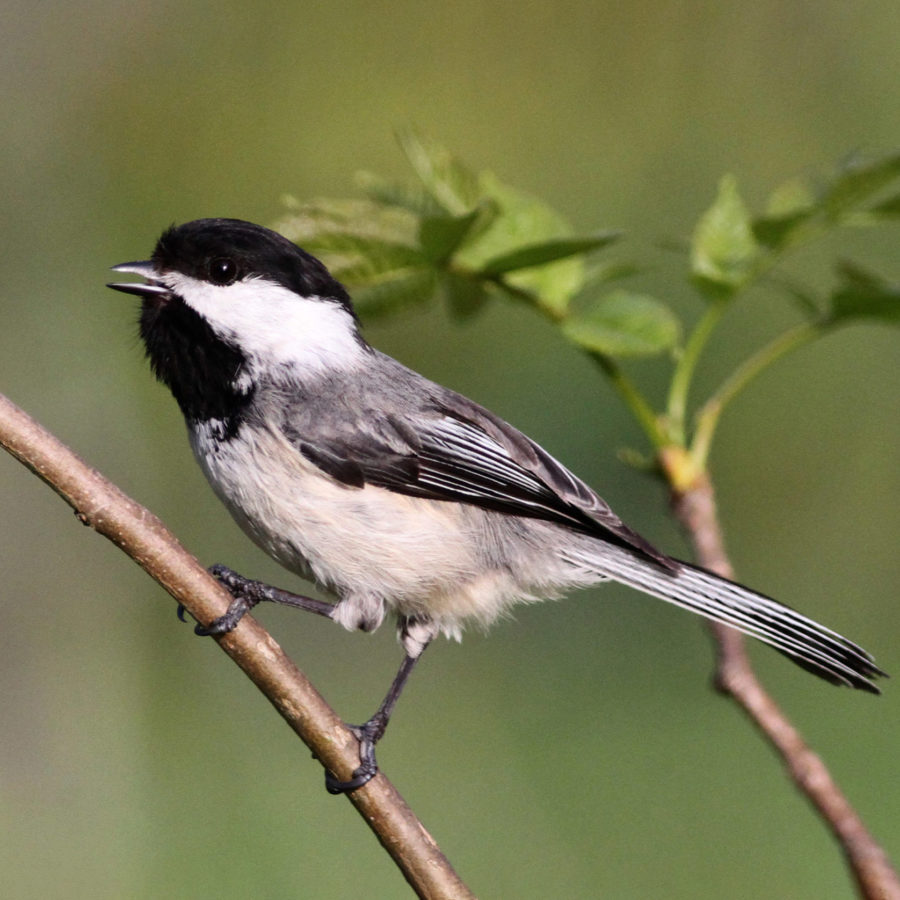
Black-capped Chickadees give their “chicka-dee-dee” call all year long.
But their whistled “hey sweetie” song is only heard during the breeding season.
From Lesson 5: Behaviors to Look and Listen For
Foraging for Food
When we use the term foraging, we mean a bird actively hunting for food and eating it. Birds eat a large variety of foods, and they have many different ways of getting them. Even if we consider a single type of food, different birds often use different methods of obtaining it.
In this video are some examples of the different ways birds go about foraging for food.
– [Kevin] When we use the term foraging, we mean a bird actively hunting for food and eating it. Birds eat a large variety of foods, and they have many different ways of getting them. Some of the most familiar bird feeding behaviors involve seeds.
Many seed eaters, like this female Northern Cardinal, use their thick strong beaks to quickly open seeds. A Blue Jay with a thinner beak hammers on a tough seed by holding it down with its feet. Other birds eat different parts of plants, such as fruit or nectar. Here, Crested Berrypeckers in the mountains of New Guinea eat small fruits which are relatively easy to grab and swallow.
Some fruits aren’t so easy to eat, but the massive beak of the Blue-throated Macaw from South America allows the bird to just bite through the husk of tough fruits.
The hummingbirds of the Americas are maybe the best-known nectar feeders, like this long-tailed Cuban Emerald, which hovers while probing long, tubular flowers. But other species also eat nectar. The Anianiau, one of the Hawaiian honeycreepers, shows another way it’s done, perching on branches to reach the flowers of the ohia tree.
Insects are perhaps the most important food item for the majority of birds on earth, possibly because insects can be found in abundance almost everywhere. Birds have developed a variety of ways of finding insects and eating them.
A female House Sparrow has a simple technique, pecking tiny insects off the surface of a branch, a process known as gleaning. The Akikiki, a Hawaiian honeycreeper uses its small, pointed bill to probe into moss to find insects. The Brown Creeper specializes in finding insects in the bark of trees, working its way methodically up a tree trunk while pecking and probing into crevices.
Woodpeckers use a much different strategy to get insects. If they can’t see the insects, they drill into the wood to find them. The Pileated Woodpecker hammers deep into a tree to get carpenter ants that have bored tunnels in the wood. Many birds around the world catch insects on the wing, like this Scissor-tailed Flycatcher.
Many invertebrates live below the surface of the ground, but that doesn’t stop birds from eating them. This American Robin is enjoying a worm brought to the surface by rain.
Shorebirds, like Spoon-billed Sandpipers, Dunlin, and Kentish Plovers probe and pick in the mudflats along the Yellow Sea in China. This Sandhill Crane uses its bill to pull grubs out of a lawn. And the American Woodcock probes deeply in moist leaf litter and is rewarded with earthworms. The amazingly long bill of the Bar-tailed Godwit proves useful to go after invertebrates deep in the mud.
Lots of birds eat fish, but different birds catch fish in different ways. Great Blue Herons slowly stalk their prey through shallow water and catch them with a quick stabbing motion. Galapagos Penguins use their paddle-shaped wings to swim after their fast-moving prey.
Other birds dive down from the air and use their feet to grab a fish, like this Bald Eagle. Northern Gannets also fish from the air, but they use their bills and they plunge from impressive heights to depths of up to 15 meters or 50 feet. Skimmers fly over the surface, dragging their knife-narrow lower bill through the water until they hit a fish, a fishing strategy unique in the bird world.
Finally, there are the predatory birds that feed on mammals, birds, and other land animals. They use a variety of ways to catch and process their prey.
The Merlin, like many other falcons, catches its food by a fast pursuit. The American Kestrel, a slightly smaller falcon, more often drops down on its prey from above, either from a perch or by hovering high in the air before dropping to the ground.
Once prey’s been captured, it needs to be processed, like this Cooper’s Hawk plucking the thick coat of feathers off a Rock Pigeon to get to the meat. Once the feathers are out of the way, it digs in.
Even though they’re songbirds, shrikes actually eat meat, just like hawks, falcons, and owls. Unlike raptors, though, shrikes use thorns and similar things to hold their prey while they eat. This is a pretty handy innovation for eating when you don’t have strong feet or sharp talons for holding your prey.
Enroll in Joy of Birdwatching Now!
Thanks for previewing sample content from Joy of Birdwatching with Kevin McGowan. There are 33 topics like these to learn from in this self-paced course—plus dozens of practice exercises and a discussion forum to help you connect with other birdwatchers.