Free Preview of How to Paint Birds with Jane Kim
Join Jane Kim for this exciting self-paced art course. Jane breaks down her process into achievable steps that show you how to look at a bird through the eyes of an artist. You, too, can create realistic bird drawings and paintings that sparkle and shine!
From Lesson 2: How to draw birds
Finding feather groups
Understanding feather groups is the first step to learning how to get your drawing just right. As you practice tracing feather groups on different birds like this Lark Sparrow, to build your muscle memory and gain an understanding of how feather groups are similarly arranged on all birds.
We’re going to look at the head of a Lark Sparrow. And the reason why it’s easy is because, conveniently, the patterns on this bird fall very cleanly and neatly against the feather groups.
Let’s start with the crown, and it’s nice and fluffed up. And remember, birds can move in feather groups, but they stay together. So, all this is the crown.
And let’s find that throat, which comes under the bill with that black marking down and up, back up to the bill.
Now watch how the nape is shaped.
So, we’ve got the back of the head, and it comes down all the way around. And see that separation?
That cues us in to where the nape begins and the other feathered groups start.
Okay. Now let’s go back to the eye. And around the eye is an eyering. And remember, eyering is featherless.
And surrounding that are the orbital feathers. And there’s orbital feathers above and below the eye. And above that we have eyebrow. And see how it ends at that dark pattern.
And then we have the auriculars, which are the cheeks, right, of the bird, and covers the earhole. And it goes to that white mark.
And that space between the eyebrow and the auricular is the eyeline. On the other side of the eye, in front of the eye, is a group of feathers called the lores. And remember, that’s the area where you can imagine your glasses sitting.
And then on the bridge of your nose or on the bird’s top of the bill are a group called the nasal bristles or the nasal tuft.
And finally, next to the throat and under this bill, kind of where you might consider our jawline to be, is a group called the malar.
From Lesson 3: Mix colors to create hues
The course also has interactive elements to help you with everything from mixing the perfect paint color to recognizing the types of feathers on a bird’s body. With this engaging interactive, you will learn some of the ins and outs of mixing colors to establish a foundational color for your underpainting.
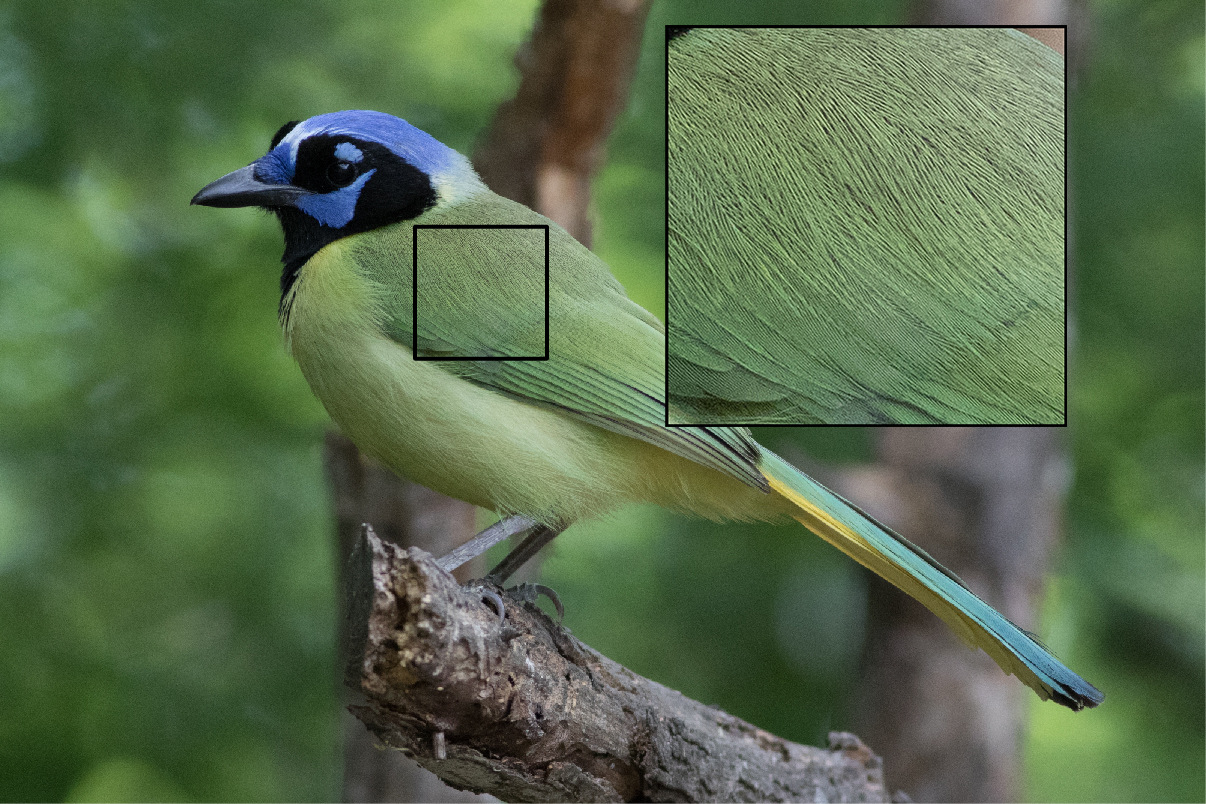
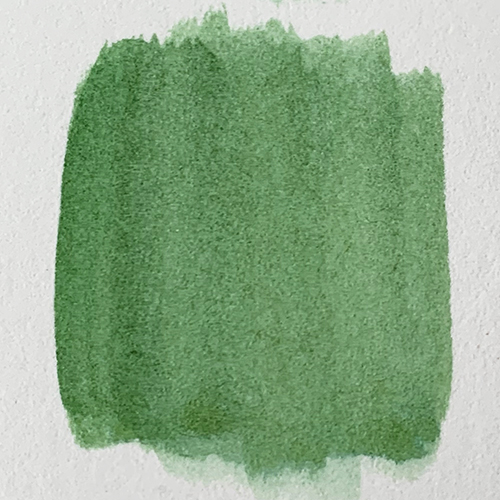
Observe the color detail of this Green Jay.

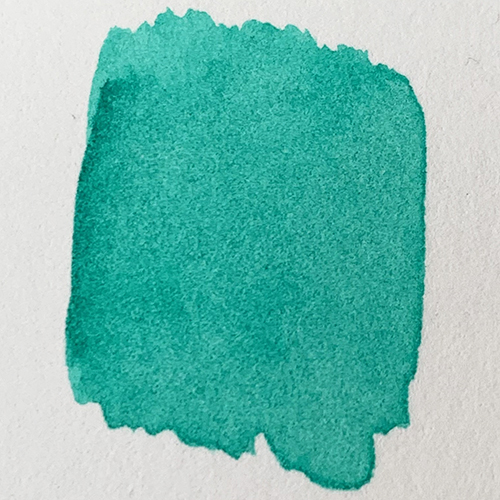
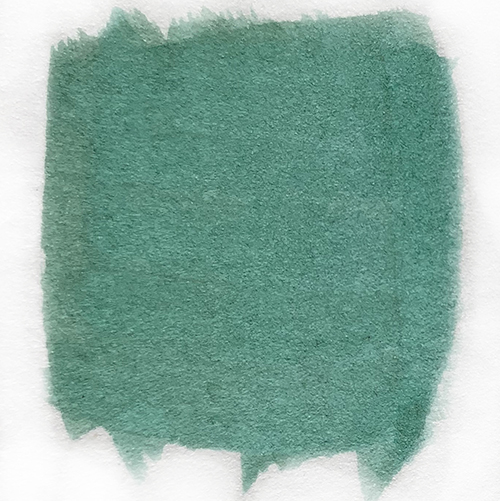
Let’s start with Phthalo Green. A good start, but too cool for these feathers. There’s more than one approach. You could add a warm color, such as Benny Yellow, or an earthy color, such as Burnt Sienna.
Adding Benny Yellow definitely warmed up Phthalo Green, but it’s too vibrant.
Quinacridone Magenta is on the opposite side of the color wheel. Just adding a tiny bit of it works perfectly! This makes a good base color.
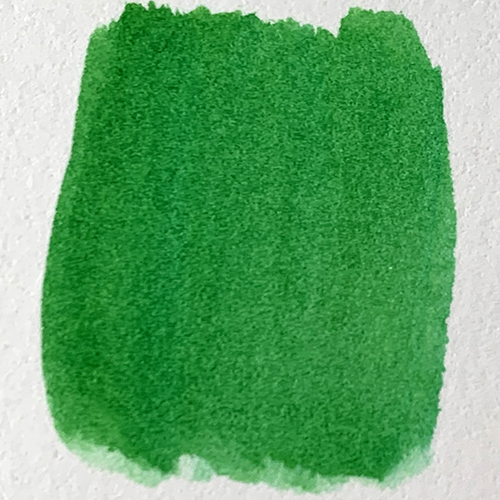
Adding some Burnt Sienna makes the Phthalo Green more earthy. This looks like a good first step, but it’s a little too cool.
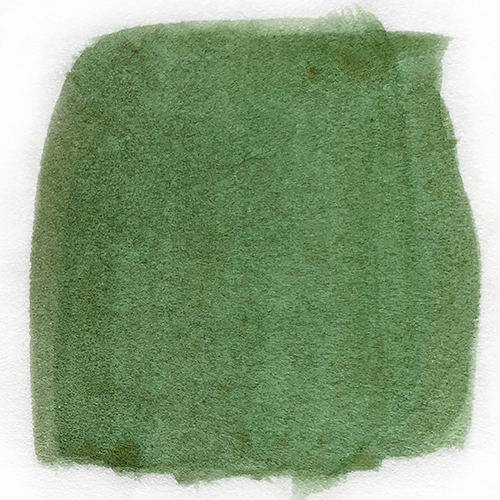
Benny Yellow is great for warming it up. It seems a little dark in value though.
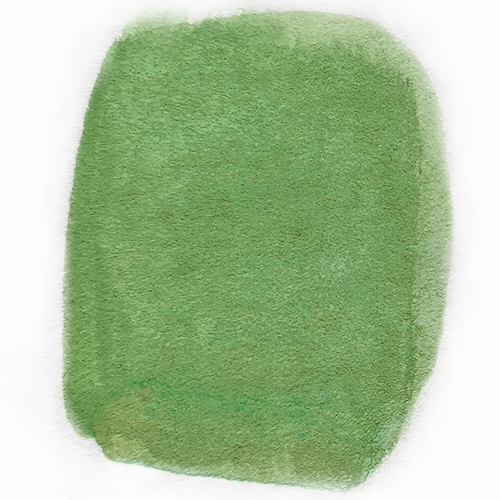
Titan Buff lightens the color nicely! This makes a good base color.
From Lesson 3: Bird-in-a-Ball
Jane’s “Bird-in-a-Ball” exercise, sped up for this preview, is designed to familiarize you with acrylic paints, water brushes, and specific bird-painting techniques. In the full video, Jane talks you through color mixing, creating three-dimensional forms with glazes, painting feather details, and last but not least, adding the finishing touches she calls “sparkle moments,” all in one surprising and unique activity.
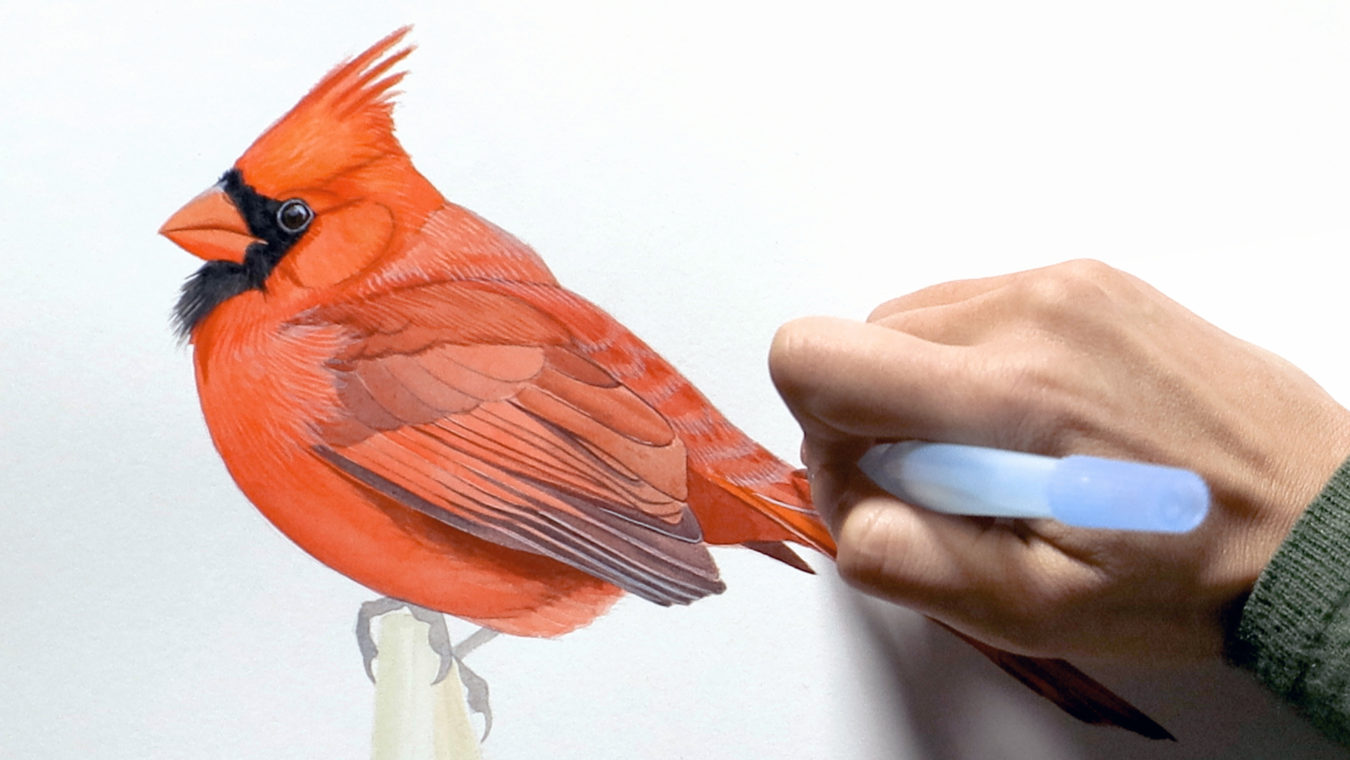
From Lesson 4: How to paint birds
In this course, you’ll draw and paint two birds from start to finish: a Barn Swallow and a Northern Cardinal. With Jane Kim as your guide, you will gain the skills and confidence to paint not only these birds, but any other bird you might like to try. As Jane will show you, no matter the bird, the same basic steps apply.
Barn Swallow details
In this video, Jane walks you through painting the inside of the Barn Swallow’s wing. Watch how she mixes colors to match her reference and adds texture, highlights, and shadows to make the wing come to life.
So let’s mix some Yellow Oxide. I want to grab some of this red, add more Yellow Oxide, and I want to test this color. Great.
I’m going to rub some of it off so there’s not too much paint on my brush. And I’m going to lightly start adding similar strokes, but add a little Titan Buff to this, and continue to make long strokes.
Remember to paint what you see. Okay?
And I’m going to come back in with some straight hits of the Titan Buff right over areas that I just painted.
I’m adding texture. And then I see that there are sort of little hits of highlight on the top.
I’m going to put those in, too, with a little bit of white and a little bit of Ultramarine Blue.
And I’m just going to touch the tip of my brush to make the smallest highlights.
Enroll in How to Paint Birds Now!
Thanks for previewing content from How to Draw and Paint Birds with Jane Kim. There are over 12 hours of video instruction like this to learn from in this self-paced course—plus additional practice exercises and handy tips to help you become confident in painting beautiful birds.