Free Preview: How to Record Bird Sounds
Enjoy this sample content from How to Record Bird Sounds. There are 26 topics to learn from in this self-paced course—filled with everything you need to know about choosing gear, finding a location to record, and crafting great recordings of the birds you love.
From Lesson 4: Craft Great Field Recordings
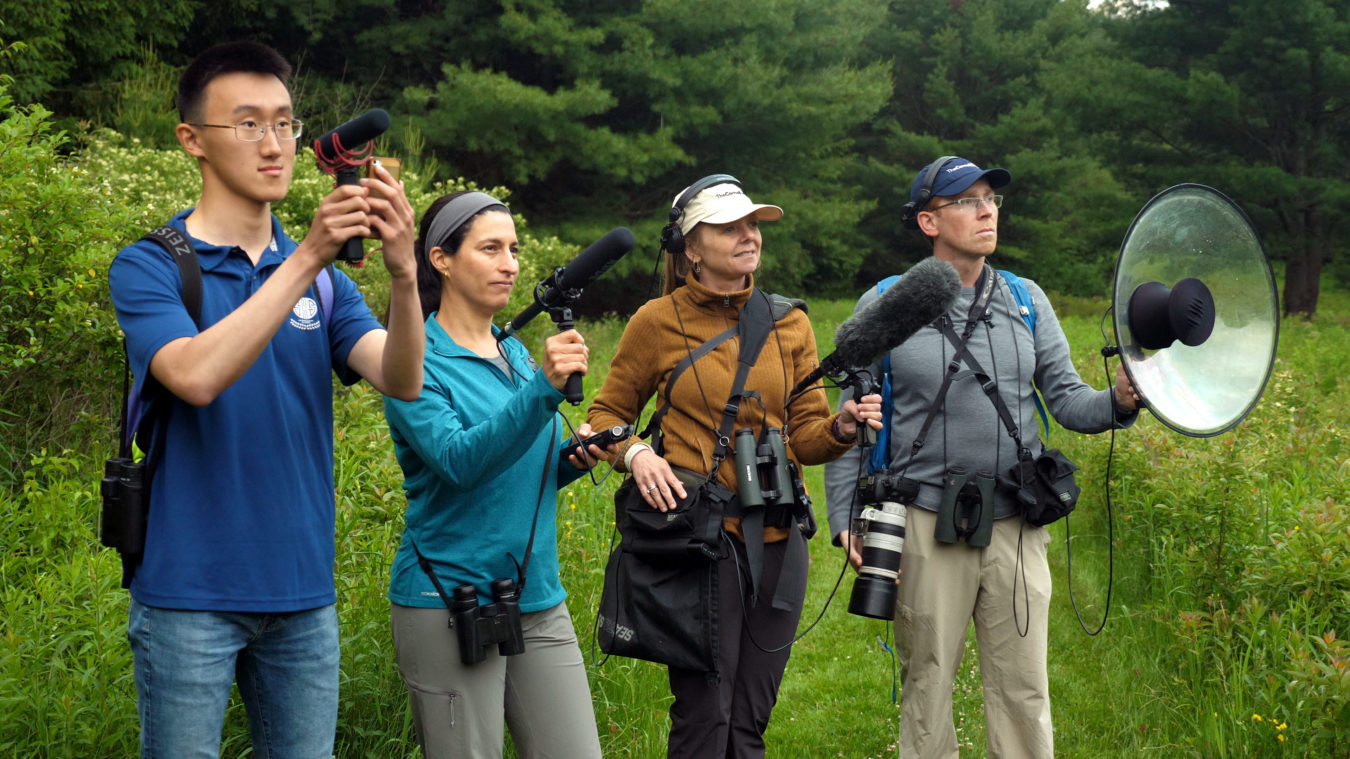
Getting out into the field is the best part of recording birds. This course will show you how to make recordings in the field that sound great.
[Jay] Okay, it’s finally time to jump in and make some recordings in the field!
We’re going to show you good field techniques that will help you make great recordings, no matter what kind of equipment you have. Before you start recording, it’s important to note the date, time, and your location. An eBird checklist will automatically capture these details for you. You can also note this and any other relevant information in a recording.
(Kathi records date, time, and location)
When you find a bird you want to record, get yourself into a comfortable position, so you can stand quietly while recording. Then press the ‘Record’ button. It doesn’t hurt to peek at your recorder to confirm that you are, in fact, recording.
Now it’s time to perfect your aim. If you can see it, point the end of your microphone directly at the bird. The next step is to set your level, or gain. Take a look at the recorder’s display and watch how far the meter jumps up when the bird sings.
When the bird you are recording is singing, you want the peak recording level somewhere in the middle, roughly between -30 and -12 decibels on the recorder’s meter.
If the meter shows the peak level close to or going over zero, you run the risk of distorting your recording. You should decrease the gain to bring the peak down into the middle range.
(bird singing)
If the peak level is far below -30, the recording will be too quiet, and you’ll want to increase the gain. The trick is to set your gain so that you don’t have to adjust it in the middle of your recording. That way, you can focus your attention on what the bird is doing and change your aim if it moves.
Try to record from your spot for at least 30 seconds, or until you’ve captured at least a few songs or calls. If the bird continues to vocalize, consider getting closer to get a better recording. If you think you can get significantly closer without disturbing the bird, press ‘Stop’ on your recorder and quietly approach until you find a good spot. Then press ‘Record’ again. Since you’ve moved closer, the bird’s voice will be louder, so you’ll want to recheck your levels.
Now that you’re in a better position, try to record even longer to capture more of the vocal repertoire of your target bird—perhaps a minute or two, or even more.
(bird singing)
Now that you know the basic steps to capturing a recording, here are a few extra tips, to help you in the field. If you can’t see the bird you want to record, use your ears to help determine its direction. Moving your head from side to side can help you figure out where the sound is coming from.
Microphones can get heavy, especially when you’re recording for several minutes. Instead of holding your arm out straight, you can bend your elbow, pulling it in close to your body, or holding it just slightly away. You can even brace it with your other arm, for additional support.
Finally, your sounds matter. You are, after all, the closest thing to your microphone. If you move, step on dead leaves, talk, or even let out a sigh, these things will make these things will make it onto your recording. So, try to be as still and quiet as possible while recording. Even your hand on the microphone can make a lot of noise, so make sure to keep a steady grip that isn’t too tight.
This might sound like a lot of things to keep track of while you’re in the moment of recording a singing bird. But, with patience and practice, each of these steps will become second nature.
So, get out there and start practicing. You’ll be rewarded with some great recordings.
From Lesson 3: Microphones
The microphone is the piece of equipment that arguably makes the biggest difference when it comes to the quality of your recordings. This course will help you select this and other useful gear—and how to make the most of the gear you already have.
[Jay] OK, now it’s time to talk about microphones. We’ll discuss what a microphone is, how it works, and we’ll take a look at a couple different types of microphones that can be used for recording birds in the field.
Microphones convert real-world sound into an electrical signal that can be captured by a recorder. Incoming sound pressure waves vibrate a thin, electrically charged membrane, called a diaphragm, inside the microphone. The movement of the diaphragm creates an electrical signal that travels through the microphone cable to the recorder, where it’s converted to a digital sound file.
Microphones can either be omnidirectional, which means they capture sounds from all directions, or directional, meaning they emphasize sounds coming in from a certain direction.
Smartphones and small recorders typically have small, built-in omnidirectional microphones.
You can record bird songs with these kinds of microphones, but you’ll also pick up a lot of unwanted background noise.
With good technique, they can produce reasonable results, but don’t help you hone in on a target like a directional microphone.
There are two types of directional microphones for recording birds: the shotgun microphone and the parabolic reflector, or parabola.
Shotgun microphones consist of a hollow tube surrounded by a series of slits, with a diaphragm at the back. As sound waves travel towards the microphone, ones from directly in front easily pass through the barrel to the diaphragm, where they are converted into an electrical signal. Sounds coming from the sides travel through the slits, which slow them down, causing some noise cancellation. This means that sounds from directly in front of the microphone will be louder than the sounds coming in from other directions, providing more focus on a target bird.
Shotguns are smaller and less cumbersome than parabolas, and often less expensive. They’re also easier to aim, especially while recording moving targets.
Okay, now let’s talk about parabolas. These microphone setups take more practice to use but can result in beautifully clean recordings. The microphone in a parabola is actually omnidirectional by itself. It’s the parabolic curve of the dish that provides the directionality. Sound pressure waves traveling straight into the dish reflect towards the microphone at the center. This means more of your target sound can be collected by the dish and focused at the microphone, resulting in an amplified signal.
In contrast, sounds from other directions reflect out of the dish and are not focused at the microphone. The amplification and resulting directionality the dish provides make your subject stand out from the background, much more than it would with a shotgun, (bird chirps) giving you the opportunity to make a very clear recording of an individual bird.
But there are downsides.
Parabolas are bulkier, and can be more challenging to aim. The difference between being on target and even slightly off target can be quite noticeable.
(birds singing, alternating louder and softer)
In addition to the microphone itself, there are a few accessories that you really need for recording birds. The fluffy exterior of this shotgun is a windscreen. It traps a layer of air around the microphone to protect it from gusts of wind, while still allowing sound waves to pass through easily. Even a light breeze can create a lot of noise when it hits a microphone, (wind noise) so it’s important to use a faux fur or foam windscreen when recording outside.
The microphone inside a parabola usually has some type of protection around it as well, typically a layer of fabric or foam.
Another key piece is the shockmount, the handle you use to hold a shotgun microphone. It helps reduce handling noise that might get created from holding the microphone directly. Handling noise is one of the most common forms of unwanted noise, and with a good shockmount, you’ll make much cleaner recordings.
Finally, all microphones need a power source.Many microphones can take a battery in the microphone itself. And some recorders can supply power through the cable, a feature known as phantom power, which conveniently removes the need for an additional battery.
Your microphone is your window into the world of sound, so consider your goals for recording and choose an option that best fits your style and the type of recordings you want to make. If you’re only looking to provide documentation of the birds you find, a smartphone may be sufficient, but if you plan to record frequently, or are interested in documenting natural history and bird behavior, it’s probably worth investing in a shotgun microphone, or even a parabola.
From Lesson 2: How to Talk about Bird Sounds
Knowing how to talk about bird sounds will help you speak the same language as other recordists, and it might even help you go from hearing an unfamiliar song to identifying it.
Pitch
The pitch of a song or call is what we hear when a bird vocalizes. Pitch is closely related to frequency, which is the number of sound wave cycles produced in a given amount of time. Frequency is measured in Hertz (Hz; cycles/second). Most bird sounds range in pitch from 100 Hz to 10,000 Hz, but there is a lot of variability both within a single song and across different species.
Pitch also varies during a bird’s song and can be broken down into five different patterns:
Monotone: a note that stays on the same pitch and is represented on a spectrogram as a flat line.
Upslur: a note that rises in pitch. This will look like “/” on a spectrogram.
Downslur: a note that decreases in pitch. This will look like “\” on a spectrogram.
Overslur: a note that starts at a lower pitch, rises, and then moves back to a lower pitch. On a spectrogram this looks like “∩”.
Underslur: a note that starts at a higher pitch, drops in pitch, and then moves back up in pitch. On a spectrogram this looks like a “U”.
From Lesson 6: Curate and Share Your Recordings
During the thrill of recording, it can sometimes be difficult to assess the quality of your recording. That’s why it’s important to take the time to look at and listen to your recordings and reflect, which can help you improve your skills. This course will help you diagnose and fix some of the most common errors new recordists make when getting started:
- Does your target bird sound far away?
- Does the volume of your target change during the recording?
- Does your recording sound unnatural?
- Do you hear jostling noises?
- Do you hear swishing sounds?
- Can you hear yourself breathing?
- Do you hear electronic noise or static in your recordings?
- Do you hear other people moving about or talking?
- Do you hear wind in your recordings?
- Do you hear water or traffic noise?
First, let’s look at a recording with an eye towards the strength of the focal bird versus the background noise, the ratio we’re always trying to maximize. In this recording the bird is audible but rather quiet compared to the background.
(bird calls)
This is probably a case where the calling bird was pretty far away. Maybe next time, the recordist could try to get closer to the bird to get a better recording. For example, here’s another recording made with similar equipment where the recordist was able to get closer to the bird. The focal bird stands out better from the background, and sounds clearer.
(bird calls)
At the beginning of this recording, the focal bird doesn’t stand out very much from the background, and it sounds a little muffled.
(bird sings)
It’s possible the microphone wasn’t pointed directly at the bird. Precise aim is very important with directional microphones; if you aren’t “on target”, the bird can sound quiet or fuzzy. Later in this recording, we can see that the aim was corrected, and the focal bird is much brighter on the spectrogram and sounds much clearer.
(bird sings)
Let’s take a look at another. This one has high technical quality, with low background noise,
(bird sings)
but the recording starts when the bird is in the middle of its song. Perhaps the recordist wasn’t prepared for the onset of the song, and didn’t press record quite fast enough. Using a recorder with a pre-record buffer, or letting the recorder run, even if the bird hasn’t started vocalizing yet, might help prevent this.
Here is a nice recording of a Swainson’s Warbler.
(bird sings)
The signal seems good, and the recordist was obviously close to the bird. Anything to improve? Well, this is the whole file, with only a single song. With such a nice opportunity, the recordist could have made a much longer recording. Maybe the bird just flew away, but if you’re in a good situation, it’s worth recording for a few minutes to get more vocalizations, and maybe some variation.
Let’s look at another. The vocalizations stand out on this one, but see this messy part here?
(rustling sounds and bird calls)
This is an example of where being aware of the noise you or your companions are making is important. Some of this could have been avoided by wearing quieter clothing, or making sure to stand still while recording.
Here’s a recording where wind drowns out the bird, making it hard to listen to.
(wind noise and bird songs)
Using a windscreen is very important, but sometimes even that isn’t enough. In those cases you could try blocking the wind with your body, or even try to record from a more sheltered position behind a rock or a tree, if you can.
Water or traffic noise can also be surprisingly loud, like in this example.
(traffic noise and bird songs)
In some cases, there’s not much you can do about it, but maybe next time the recordist could find a quieter location, or go at a time when there is less activity.
All of the recordings we just walked through are valuable and worth archiving, but spending a little time listening and reflecting can help you become a better recordist.
From Lesson 4: Craft Great Field Recordings
In addition to your expert instructors, you’ll also hear from several other recordists about the tips they’ve developed over time to make their experiences recording birds even better.
[Ben] Learn about the bird before you go out and record it because that’ll better prepare you, not just in terms of what kind of equipment you select, but what kind of habitat you can expect and what time of day you need to go.
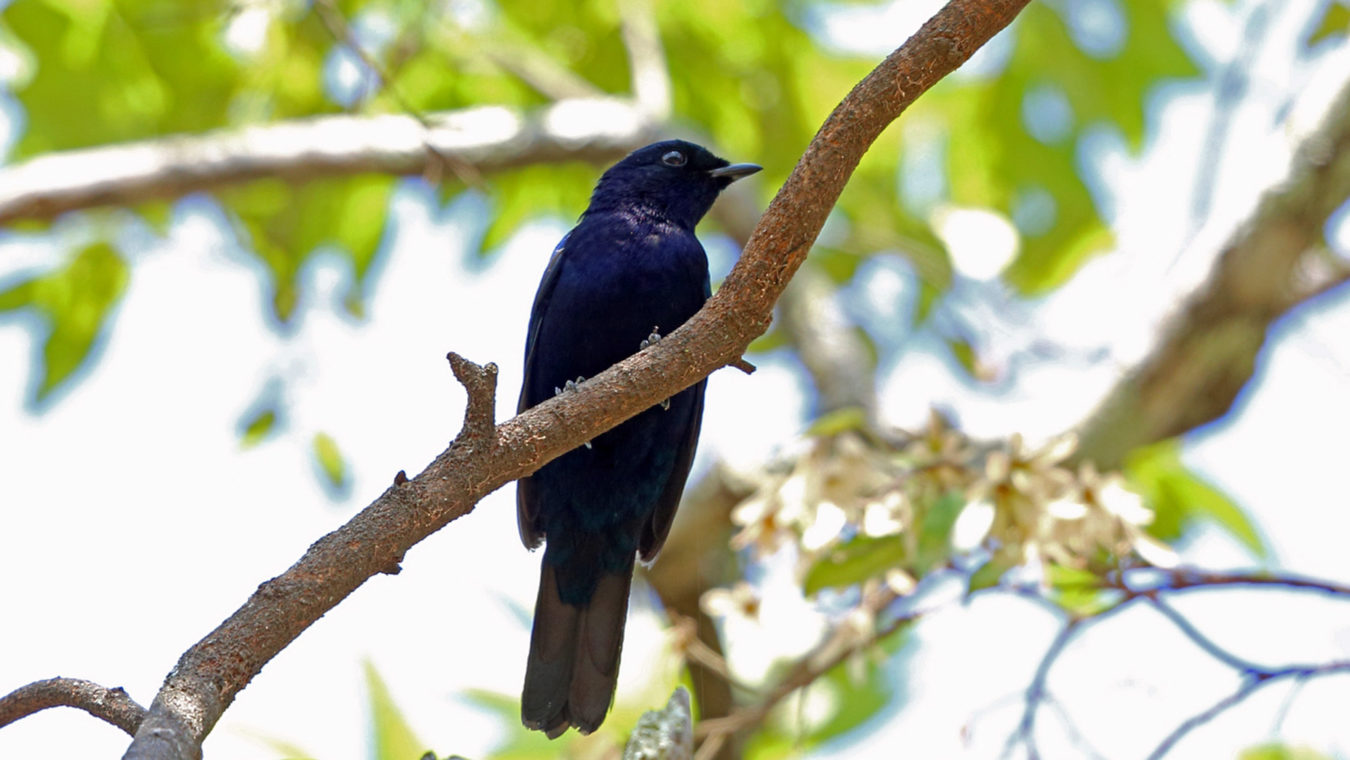
[Emma] I have a little mental inventory of equipment that I’ll need. You want to have spare batteries, always, or you will definitely run out right when that Fairy Bluebird is in the middle of his dawn chorus, and you’ll be super bummed. So, take all your equipment with you, and check it.
[Bob] I learned very early to have something to eat before I went out in the morning, because stomach rumble took over and came in.
[Emma] I like to carry a little notebook everywhere, and I actually write down the little recording ID and a few notes about the observation. I can just flip through my notes and get a sense of what I’ve recorded throughout the day.
[Tom] Let the tape roll. You can never have a recording that is too long. If a bird is cooperating, maximize it.
[Emma] Figure out where is a good spot that a bird might come back to and wait. Just sit and wait and see what shows up. That is how I have gotten the closest to, and seen the most unusual behaviors of different birds, is by being patient.
[Tom] The ideal recording is one that really, captures the target sound, you know, and everything else is in the background, and with no interference from that darned environment, which is full of sounds of its own.
[Ben] And when you get a lock on a bird in the field, if you happen to be wearing headphones, you’ll know when you have it. It will shimmer in your ears, and that, to me, is a feeling I can never get enough of.
Enroll in How to Record Bird Sounds Now!
Thanks for previewing sample videos and topics from How to Record Bird Sounds. There are more videos and topics to learn from in this self-paced course, plus a discussion forum where you can connect with other beginning recordists, to help you create, curate, and share beautiful recordings.