The Cornell Lab Bird Academy › Discussion Groups › Nature Journaling and Field Sketching › Filling Your Sketches with Color
-
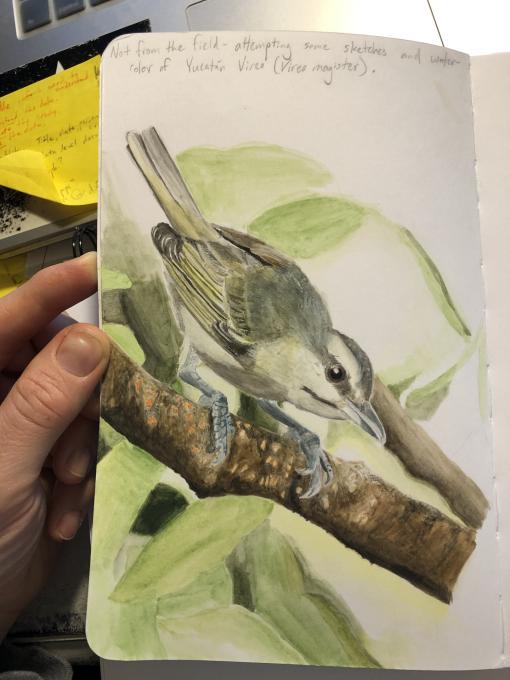
My attempt at a Yucatan Vireo (Vireo magister) based on a photo on the BOW account for the species. I often encountered this species while conducting fieldwork for my master's thesis, studying the Black Catbird (Melanoptila glabrirostris) in the Sian Ka'an Biosphere Reserve and on Isla Cozumel. I even found a few nests, which formed the basis of a manuscript that I just submitted. Working on that manuscript and thinking about vireos made me want to try painting one, and this piece is the result. This sketch/portrait is the first time I've produced something in color that I was pretty proud of. For a long time, I've found making art in color daunting, probably because I didn't have the patience to experiment more and find the exact effect I wanted. I always dislike the resulting texture of colored pencils and never wanted the mess of other painting media. Liz's art and this class have shown me the media I was missing: watercolor. I still want to refine some techniques and pick up more tricks of the trade, and I'm looking forward to tackling more projects. I have my eyes set on a Greater Ani group portrait in the near future :) Thanks, Liz!

-
It looks like that bird had good camouflage, well done just to spot it in the trees! Nice painting. I’m sure it helps you know the bird so well.
-
-
-
This is from a photo. I have enjoyed this class. I hope to do field sketching when spring arrives and I can get outside to sketch. Also hoping to improve my watercolor painting. And sketching birds which I enjoy doing.
-
-
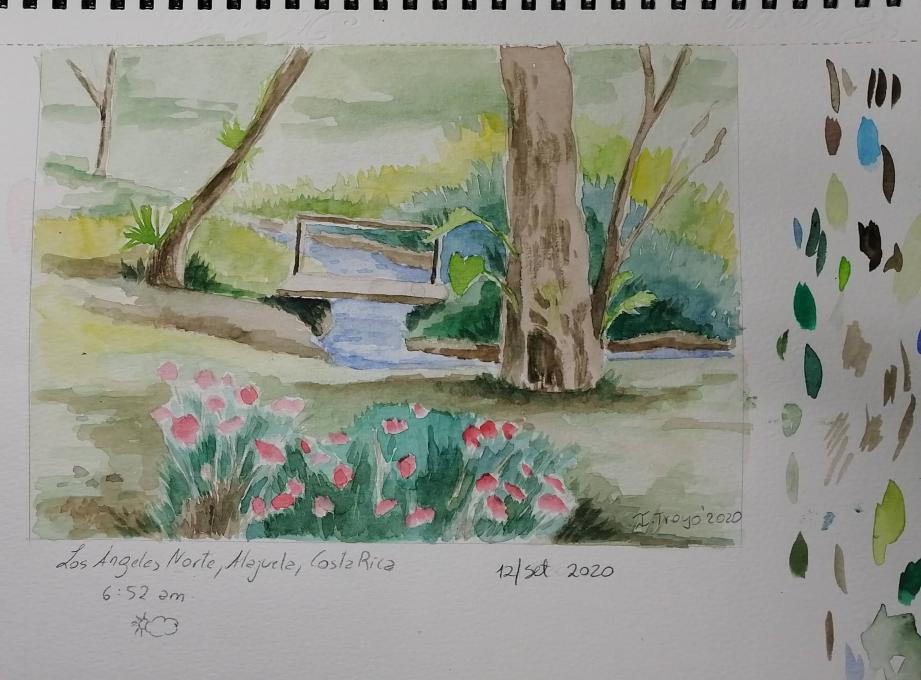
I did this from a photo since I was painting a 5am before the sun came out, it’s not super accurate and I ran out of time for more detail.
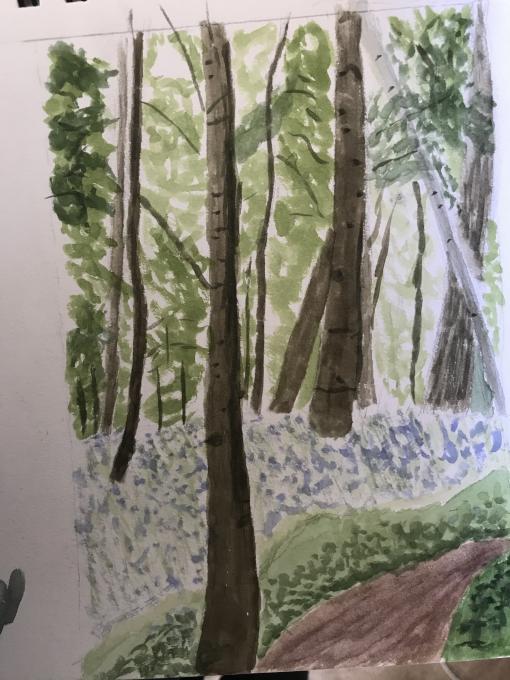
I did the left half of this scene.
-
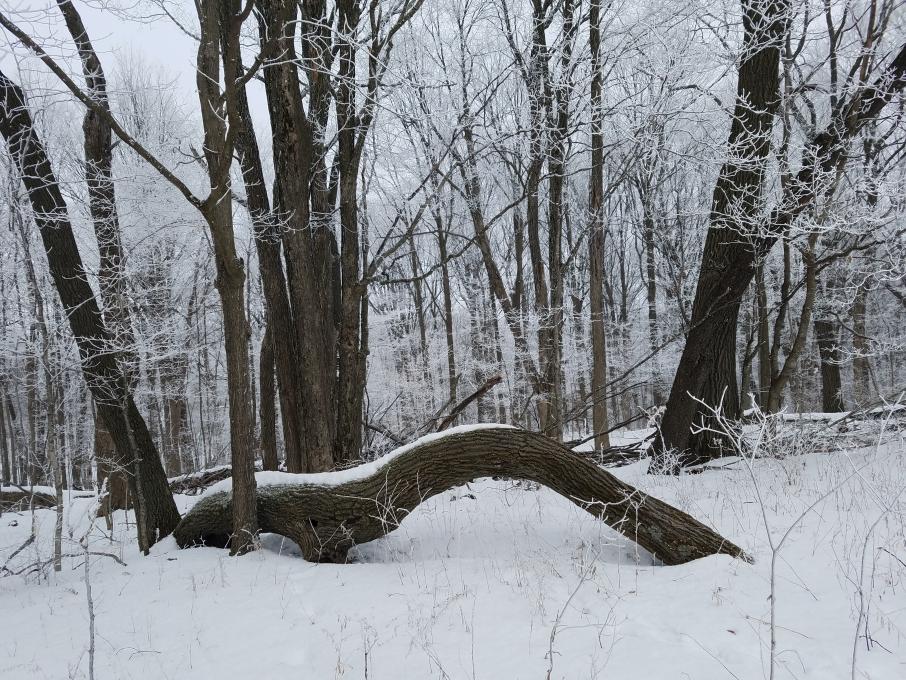
Getting outside. How to add white lacy rime frosted branches in front of dark trees?
-
How did you get white paint overlay and snow areas?
-
I love the rime frost painting. I think it captures the sense of temperature and the shadows of Winter.
-
-
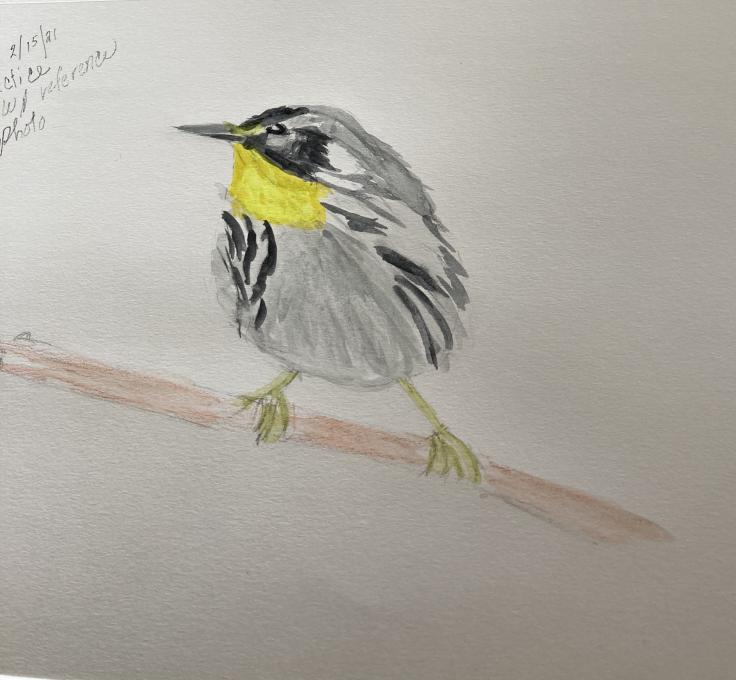
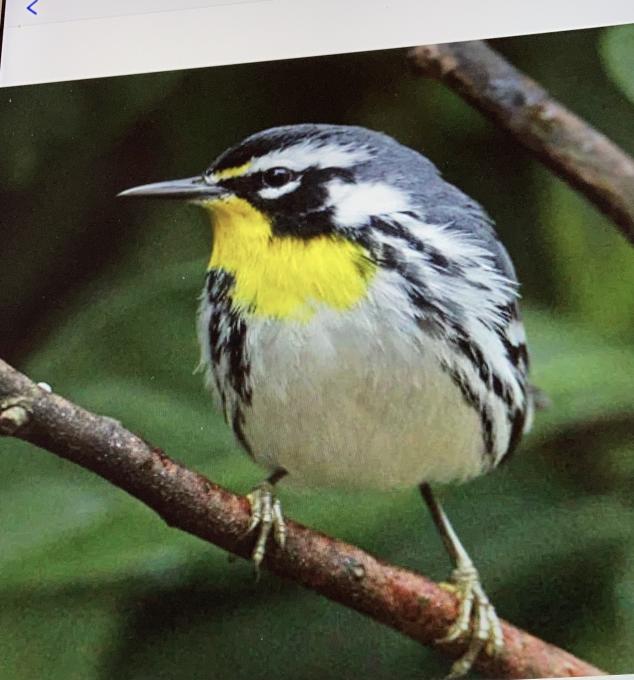
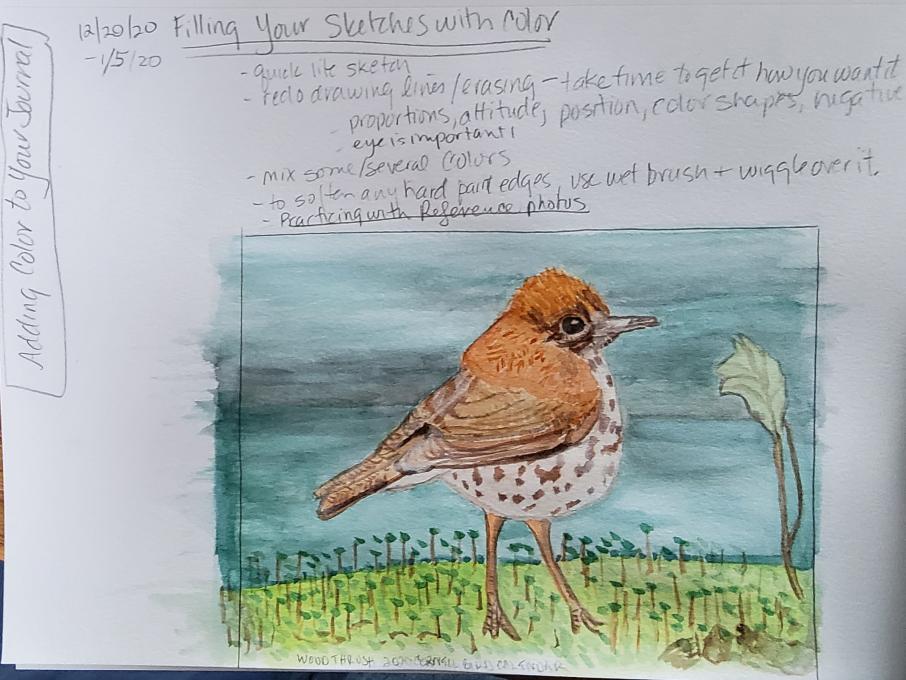
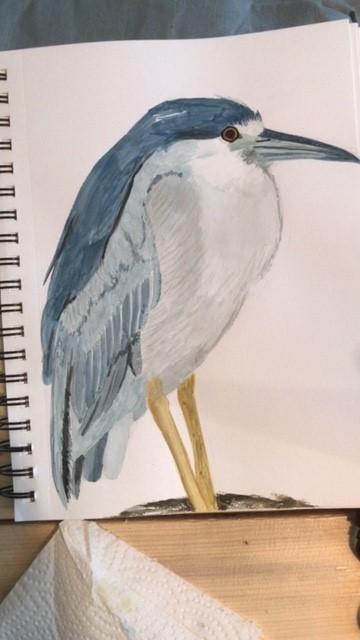
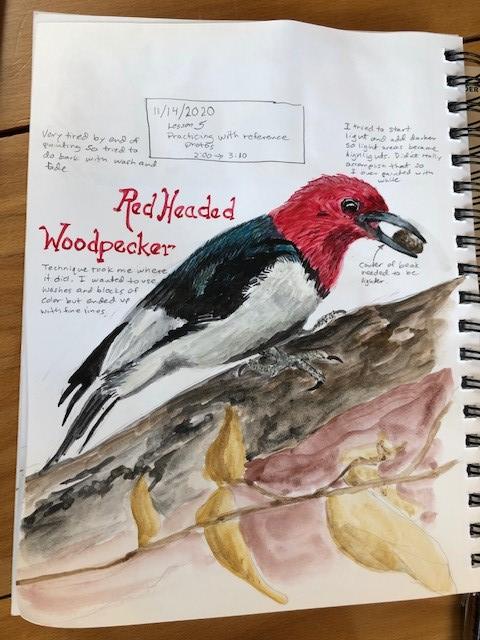
Feathers are difficult! And, overworking is a problem. I am using the 2020 Cornell bird calendar for reference photos.
-
-
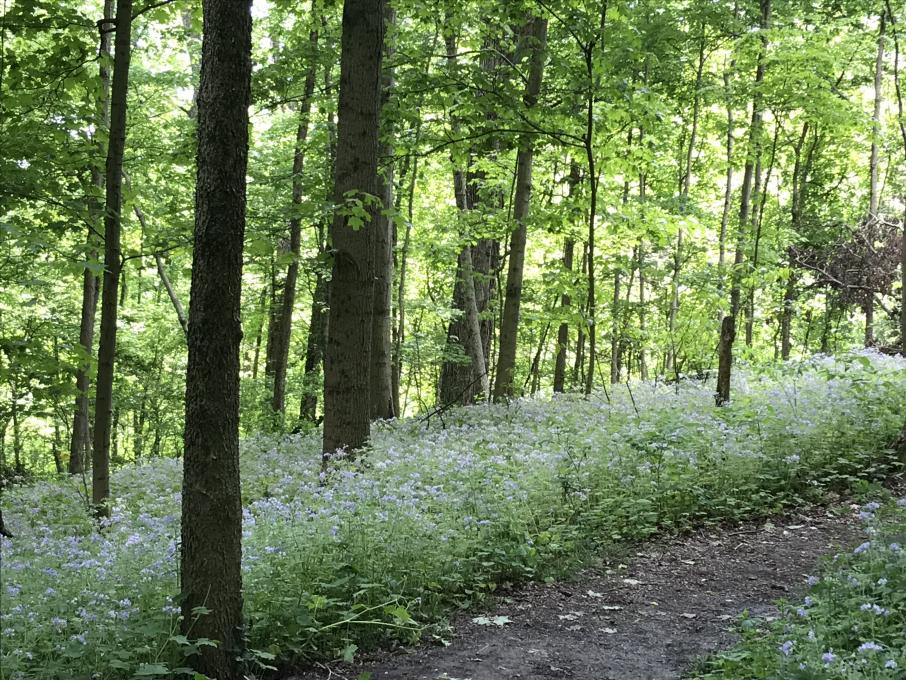
I copied this painting from a photo and used the wet on dry technique. (For the background I used wet on wet).
-
I love and see amazing sunsets and sunrises...now I have to practice to get those colors right! My first watercolor painting. I like how it feels to let go and just paint even if it's not a work of art - it's my work of art :-)
-
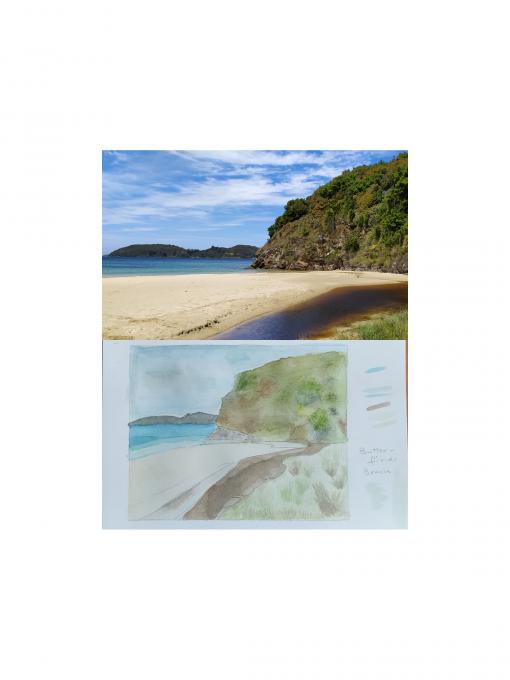
1. To help have less stuff to manage when in the field, I tried putting the paper towel to dry my brushes in the upper hinged section of my paint box. I used that trick of making a pencilled frame for my painting on a single page, using the edges outside the frame to test the colours. I also found it helpful to have two waterbrushes, one wet and one dry, as when I tried to use a dry technique after a wet one with just one brush, the bristles didn't dry enough, even without squeezing the body of the brush. 2. I think I have got too focussed on the drawing/painting and have forgotten about the recording/questioning side of my observations! Will need to leave more room too. 3. These are my first watercolours; a tomtit from Ulva Island and my local beach, Butterfield's Beach on Stewart Island, New Zealand. I have a long way to go but wouldn't have thought I could do anything like this so pretty excited!
-
I think John Muir Laws has a good tip for blotting brushes. He cuts the foot part off of an old sport sock and uses the cuff on the wrist of his non-painting hand to blot his brushes. My only thought of caution would be if some of your paints contain irritants or heavy metals.
-
@Steven thanks for the tip
-
-
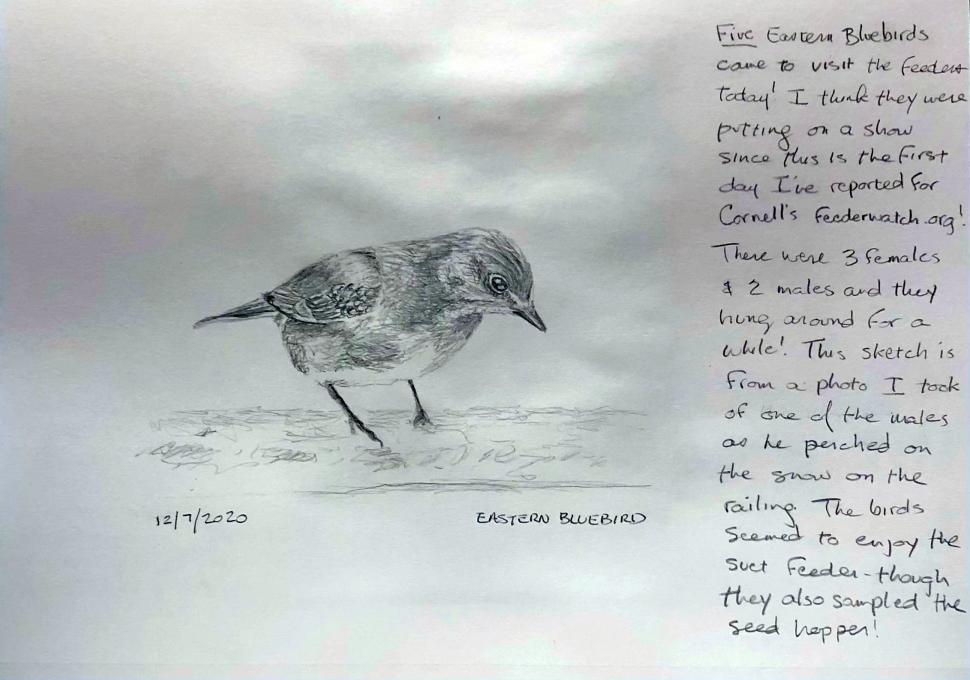
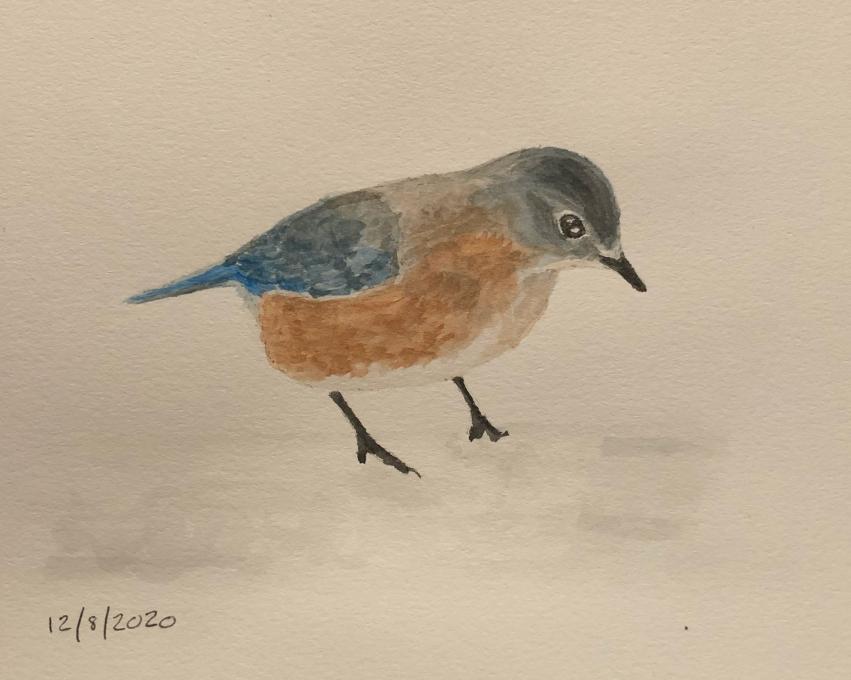
I'm really trying to pay attention to proportion, value, and negative space. I'm pleased with how my pencil sketch of this Eastern Bluebird came out, though I can see the bird's eye needs to be bigger. I'm going to try to sketch it again more loosely so I can add color. This drawing is from a photo I took yesterday when five bluebirds appeared at my deck feeders. Such a treat! Because it's cold and snowy I'm doing a lot of drawing from the photos I take - and then I research/add notes about my subjects. What a great way to learn!
-
-
Very nice. Thank you for sharing both the pencil drawing and the watercolor one. It helps to look at and compare.
-
Wow, so nice
-
-
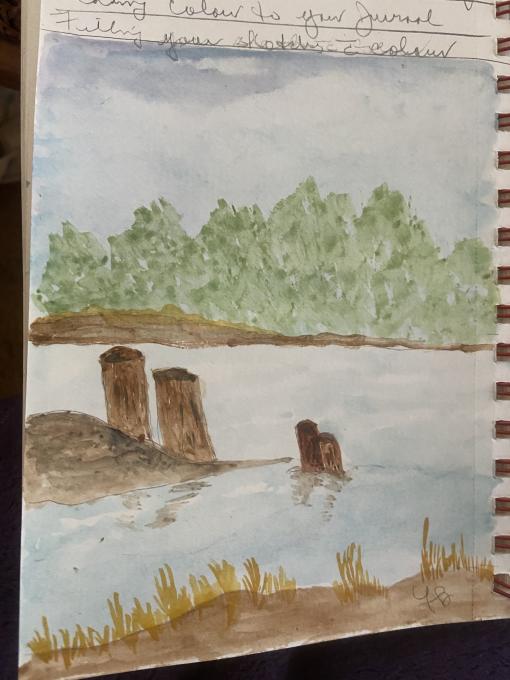
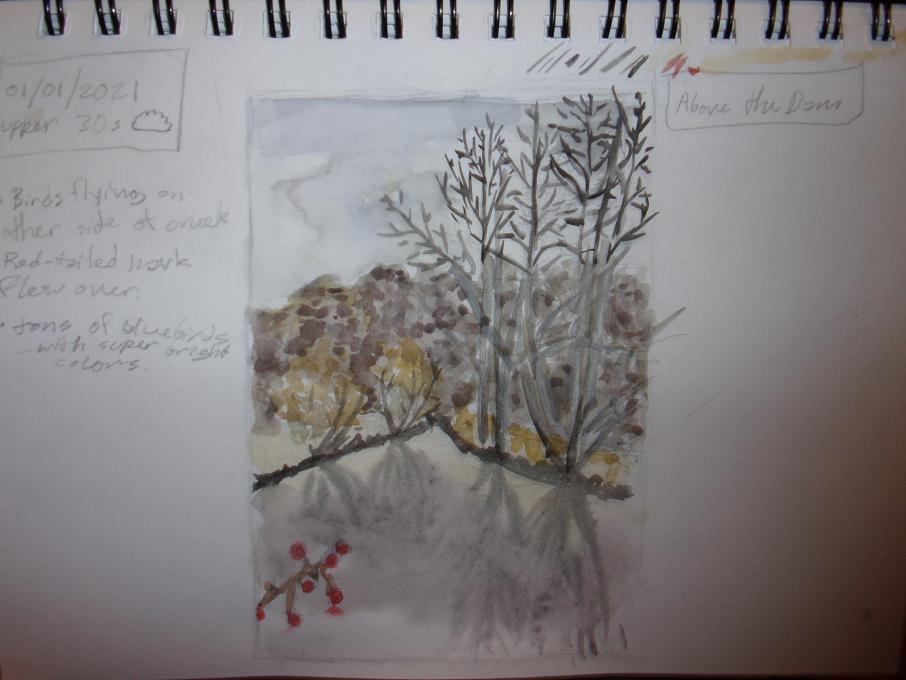
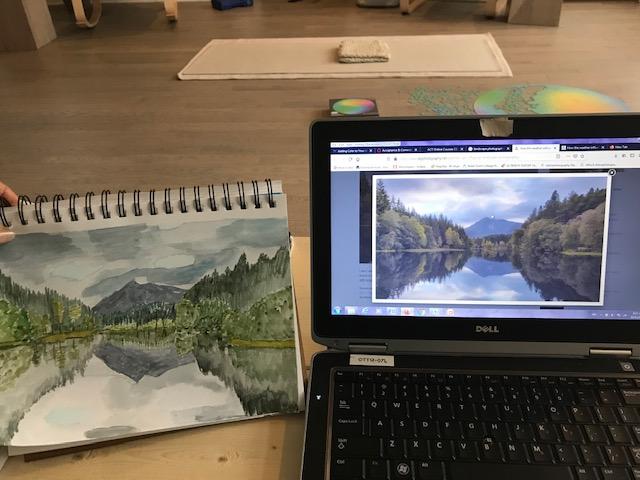
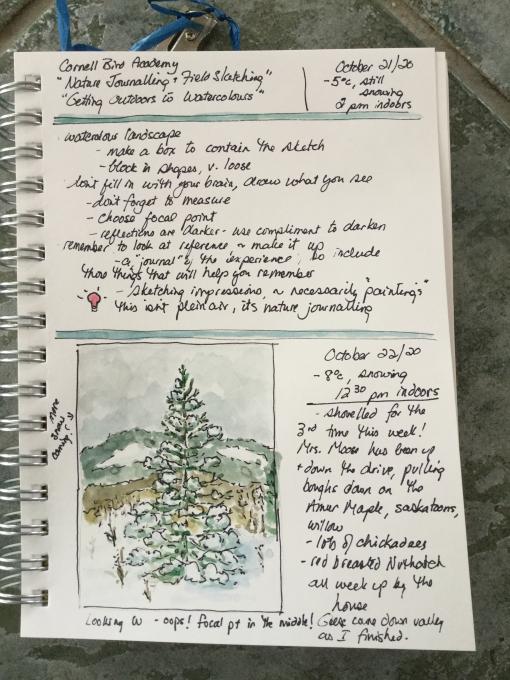
I bought a little fold up tripod chair that fits into my tote bag, along with my materials. I have a large leather pencil case for my pencil/eraser and it fits the watercolour set nicely as well! I also have on hand my phone and binoculars, and some herbal tea :). I use the tote on my lap to raise my sketchbook, and it all works nicely. Adding colour helps you observe even more! When doing this landscape below, I was noticing how the reflection was much darker, and I imagined that the images become sharper and more colourful if the lighting is brighter. I wondered about humidity, and atmosphere. Its winter here now in Ottawa so my drawings and paintings will most likely be from computer images until spring....but I'm definately building skills regardless.
-
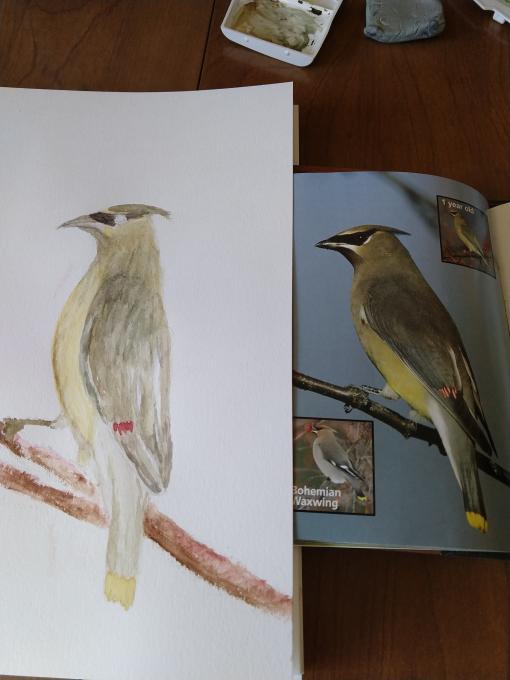
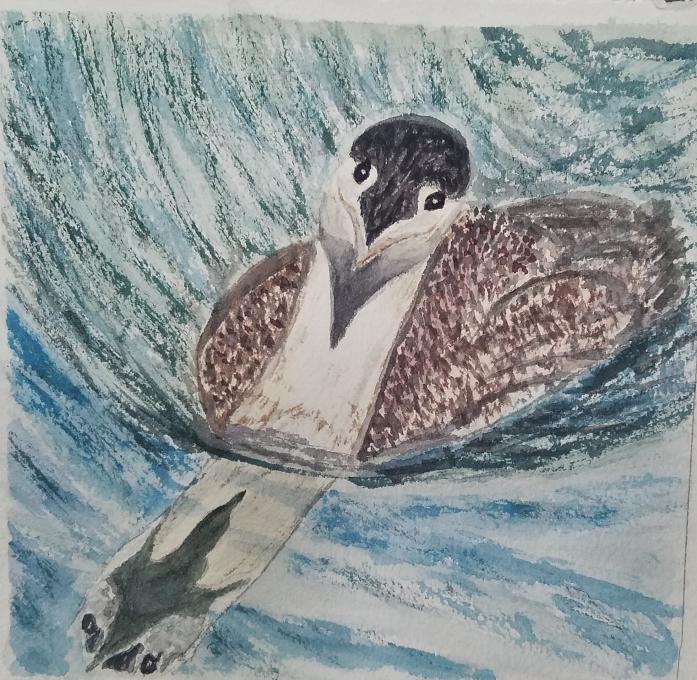
Now that I see my photo, I can tell that my water color needs much more pigment. The shades should really all be darker. I seem to always have little droplets at the end of my brush strokes, so I think I have too much water in my pigment. Perhaps I squeeze as I paint, releasing more water from my brush! Also, there is no black in my pallet, so I tried to color a big black spot with a black water color pencil and then add water to it, but the best it gives me is a dark gray. Hard to do the mask of a waxwing with no black :( And again, too much water on the red of the wing. also, I did not do the eye yet - waiting to get some real black!
-
yesterday I drew & painted my Northern Flicker from a photo I took a few days ago. I enjoyed using some purple wash for shadowing on the bird’s chest. I realized how right Liz was about getting the bird’s eye right. I found the wrong location or size of the eye really detracts from a drawing so it was worth erasing & trying several times.
-
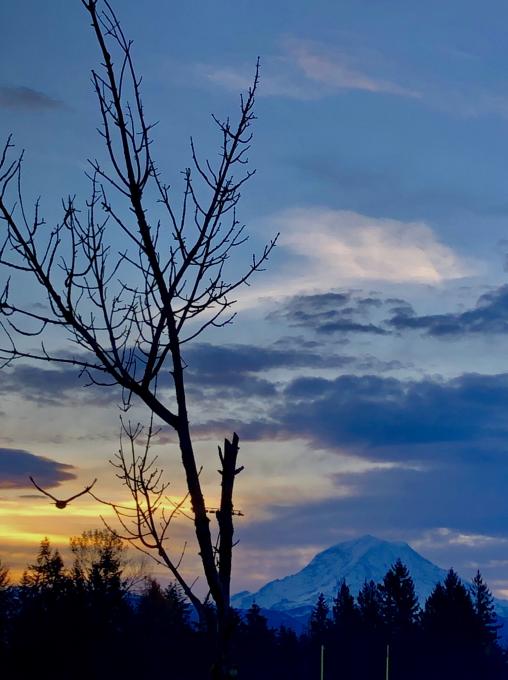
I tried to recreate a sunrise landscape of Mt. Rainier I took yesterday. Crows often join me. I included 2 more crow poses from other photos in the sequence. The photo scene generated a lot of energy I tried to capture. I’m overall happy with the composition, colors & remembering to add a blue wash at the end. I’m becoming more comfortable using a water brush. I can take my little journal, tiny paint kit & what I need anywhere I go meaning I can’t wait to take them backpacking. This class has taught me so much about painting & drawing, especially birds.
-
Wow!
-
-
I am challenged when I go into the field to sketch and paint. I over pack just in case I want other equipment. I have a small field kit for just painting, but, I have a bag with all the possible equipment I may want depending on how far I will be walking to get to the location. if I can paint from the car, I have a chair, I usually like to have my camera, cell phone, binoculars, water, and snacks, in addition my sketch pad and paints. I usually make the choice between my painting/sketching or photography and birding. It takes effort to focus on a composition in the field, but I do like making notes. My journaling will most likely be worked as a memory project where I will develop a theme and use a combination of all the material I have done on site. I have attached 2 paintings using my photographs and 1 of a landscape on site.
Pat
-
I love that first bird. How do you decide how to make the shadow? How long? How thin? It is very hard for me to catch that in the field, maybe photos will be better for me.
-
I'm loving that strutting grackle too - you can really see her personality. Nicely captured!!
-
-
-
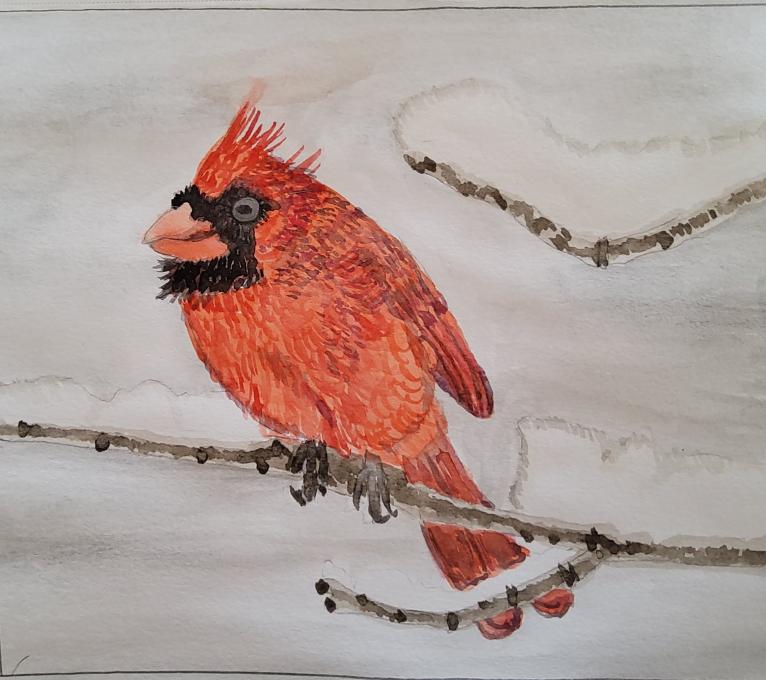
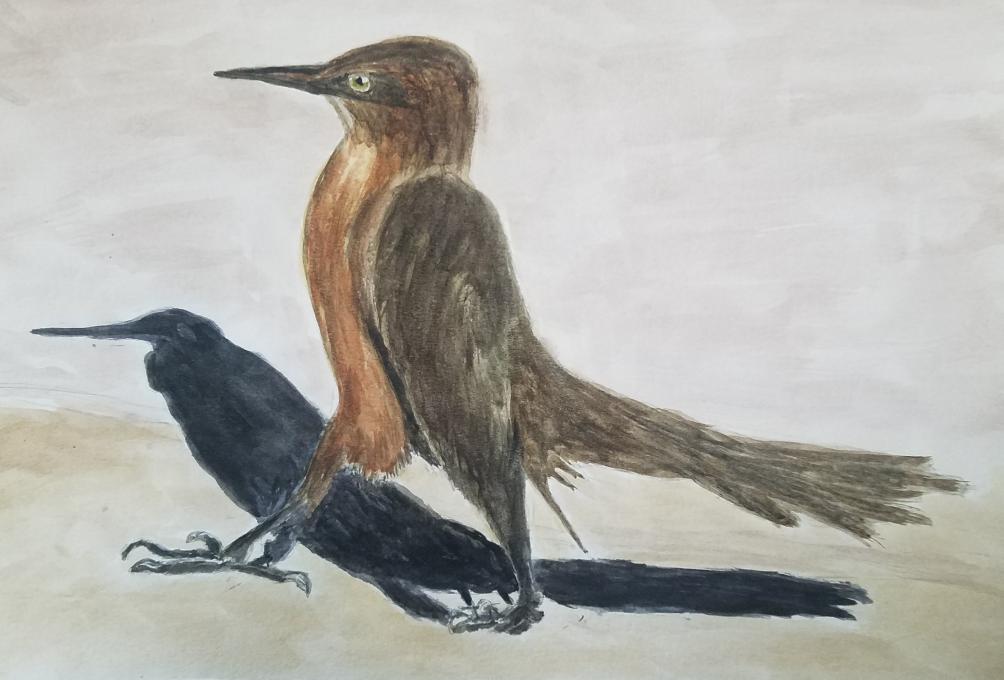
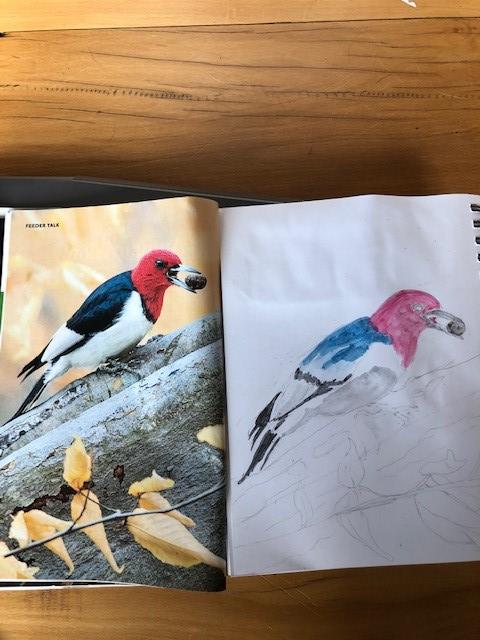
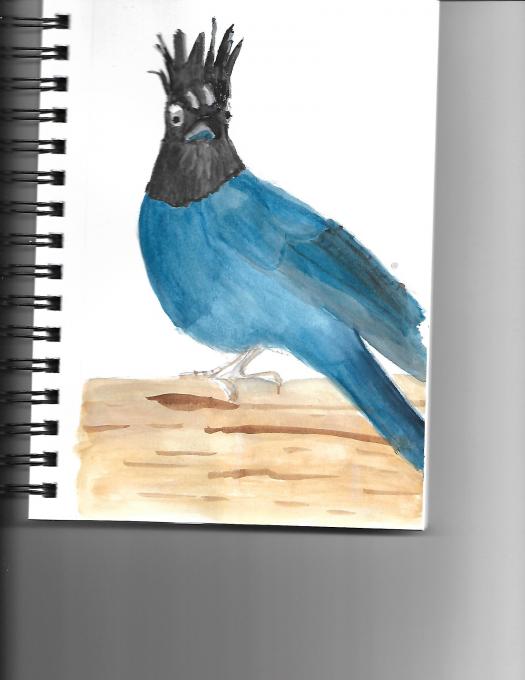
I started using a light wash of pink that I thought I would overpaint with swashes of darker color to get highlights on head. Same as back of bird only I used a teal. I kept darkening the teal as the light wash didn't work. I couldn't manage to get the effect I wanted so I started using thin brushstrokes (feathers) in dark red and black. It seemed to work but it was not what I wanted. I also went back over the head with white thin strokes for highlights. Again, not what I had hoped to do.
-
Bravo!
-
-
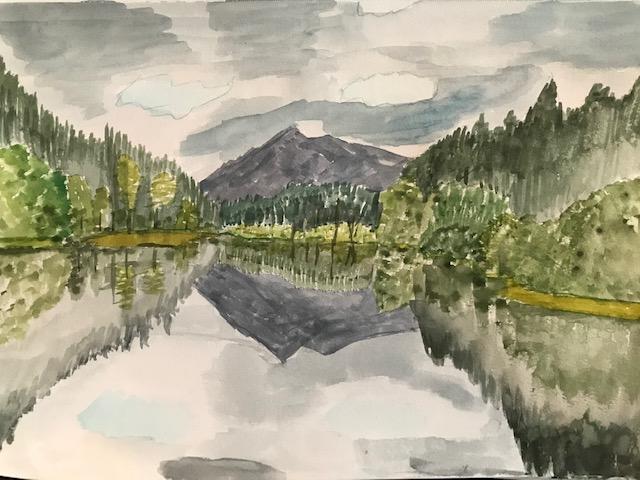
My landscape was from the middle of the lake. I took a picture and painted it later. I am not sure what caused all the circles but am guessing it was water on the camera lens. Again I am still struggling with the water colors. I left the white white but needed a few white highlights and could not get them.
-
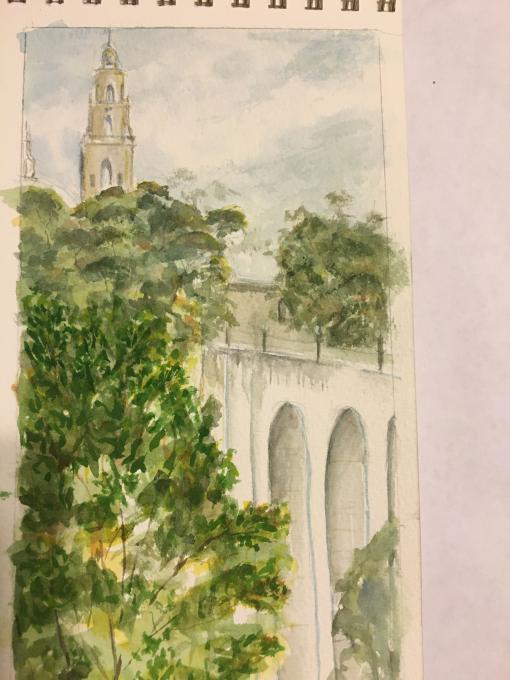
Went to Balboa Park and sketched the Cabrillo Bridge with the San Diego Tower. Clouds in the sky, 70*, Light breeze. I carry my supplies in a back pack in a ziplock bag. I usually have a heavy sheet of plastic to sit on if there isn't a bench or other perch. This was fun to do. Took a little over an hour to do.
-
Fellow San Diegan here! A great representation of that beautiful landmark! The shades you used in the tower at the Museum of Man are striking. Nicely done.
-
-
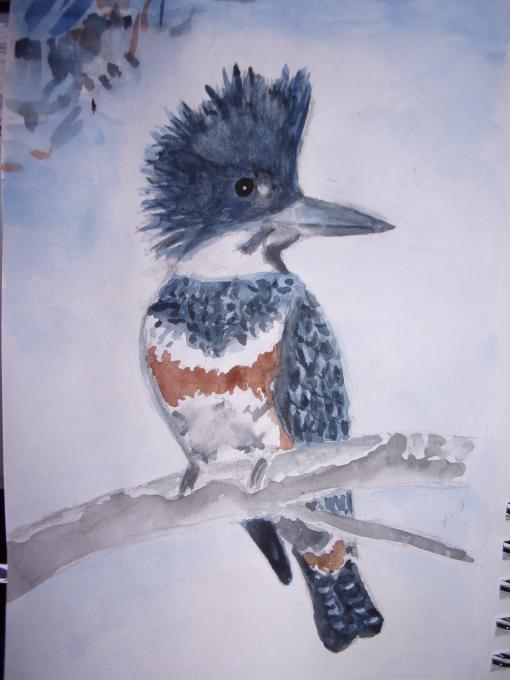
Managing my materials is no problem. While my husband fishes I sit and sketch so I have a bag ready to go at the drop of a hat. Now I just need to include my paints. The sketching is going really well. I feel I have really improved. sketch of the stellarjay turned out so good and then I started painting. Watercolors are really frustrating me. I cannot get the colors write and I cannot paint in the details. I gave up after trying multiple times for detail. I like the facial expression but the rest ...I give up.
-
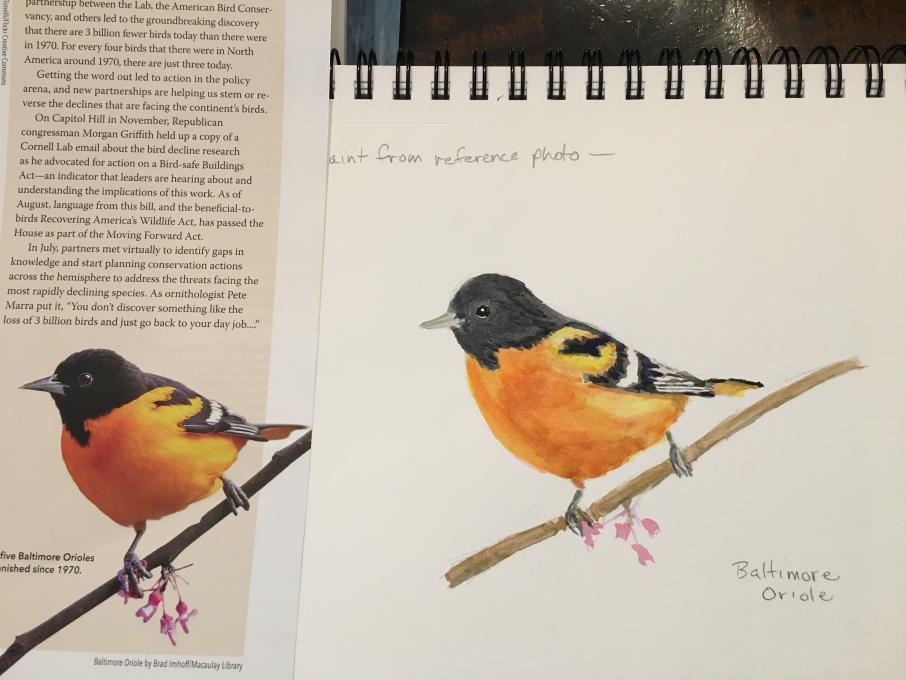
Painting from a photo exercise--I used layering of colors. I found this technique useful but time consuming. Its hard to wait to get to the next color. I think you would definitely need a photo to complete in the field journaling if you want to be detailed. I enjoyed this exercise but don't always have the time it takes....
-
-
Cool page :)
-
-
It is very useful to work small and leave enough space to test the colors
 I did the left half of this scene.
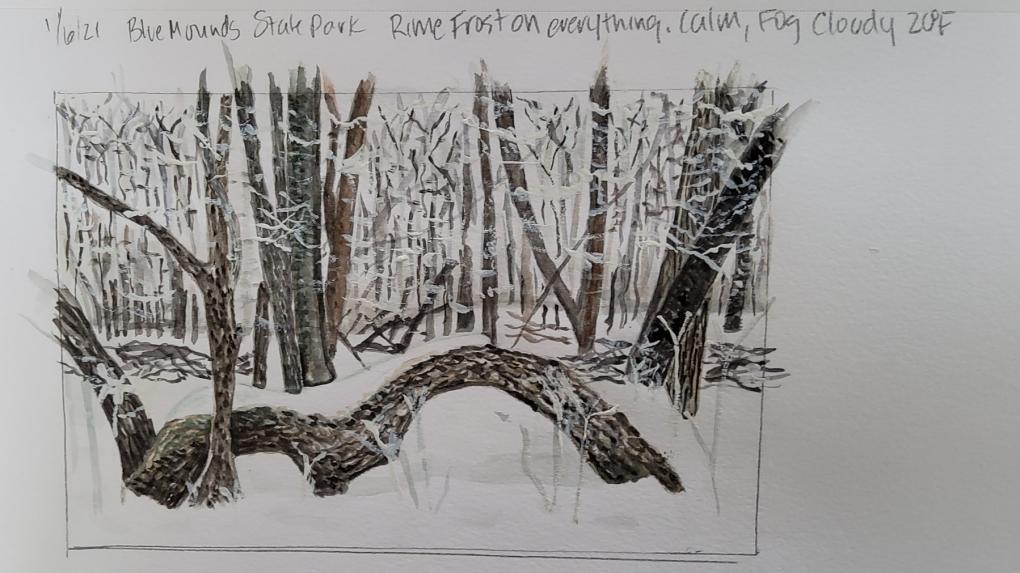
 I copied this painting from a photo and used the wet on dry technique. (For the background I used wet on wet).
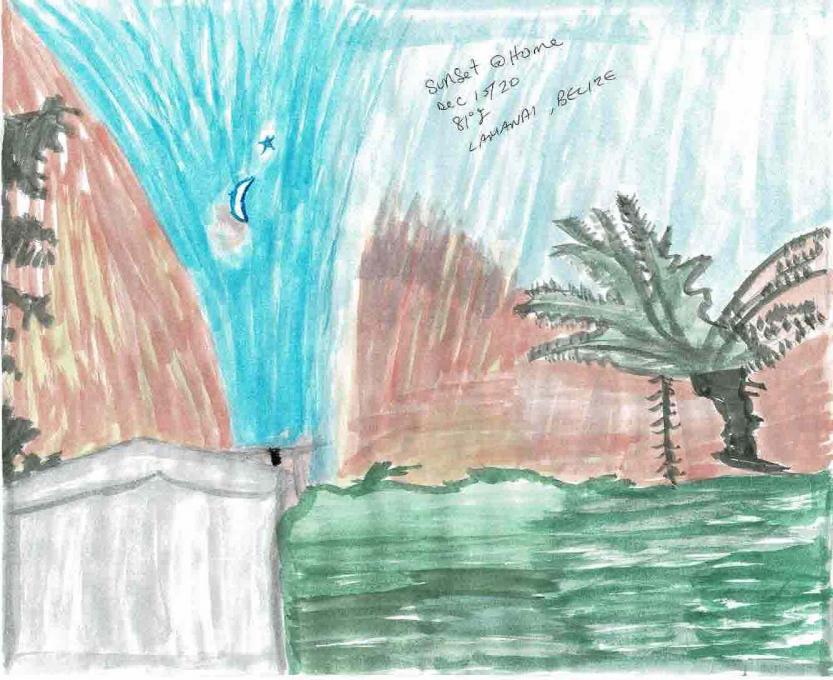


 black!
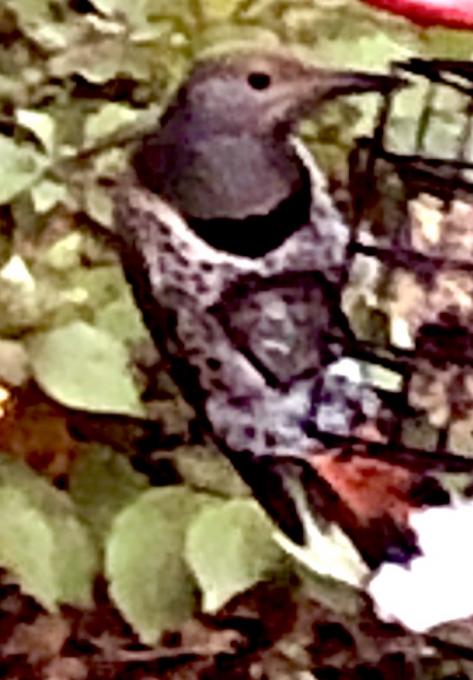


 I am challenged when I go into the field to sketch and paint. I over pack just in case I want other equipment. I have a small field kit for just painting, but, I have a bag with all the possible equipment I may want depending on how far I will be walking to get to the location. if I can paint from the car, I have a chair, I usually like to have my camera, cell phone, binoculars, water, and snacks, in addition my sketch pad and paints. I usually make the choice between my painting/sketching or photography and birding. It takes effort to focus on a composition in the field, but I do like making notes. My journaling will most likely be worked as a memory project where I will develop a theme and use a combination of all the material I have done on site. I have attached 2 paintings using my photographs and 1 of a landscape on site.
Pat
I am challenged when I go into the field to sketch and paint. I over pack just in case I want other equipment. I have a small field kit for just painting, but, I have a bag with all the possible equipment I may want depending on how far I will be walking to get to the location. if I can paint from the car, I have a chair, I usually like to have my camera, cell phone, binoculars, water, and snacks, in addition my sketch pad and paints. I usually make the choice between my painting/sketching or photography and birding. It takes effort to focus on a composition in the field, but I do like making notes. My journaling will most likely be worked as a memory project where I will develop a theme and use a combination of all the material I have done on site. I have attached 2 paintings using my photographs and 1 of a landscape on site.
Pat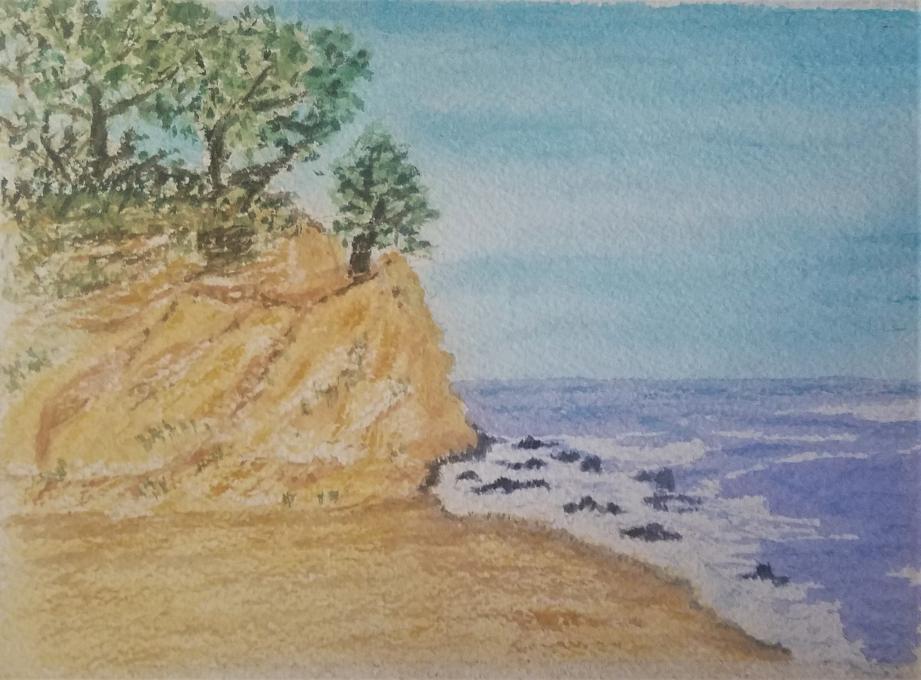

 I started using a light wash of pink that I thought I would overpaint with swashes of darker color to get highlights on head. Same as back of bird only I used a teal. I kept darkening the teal as the light wash didn't work. I couldn't manage to get the effect I wanted so I started using thin brushstrokes (feathers) in dark red and black. It seemed to work but it was not what I wanted. I also went back over the head with white thin strokes for highlights. Again, not what I had hoped to do.
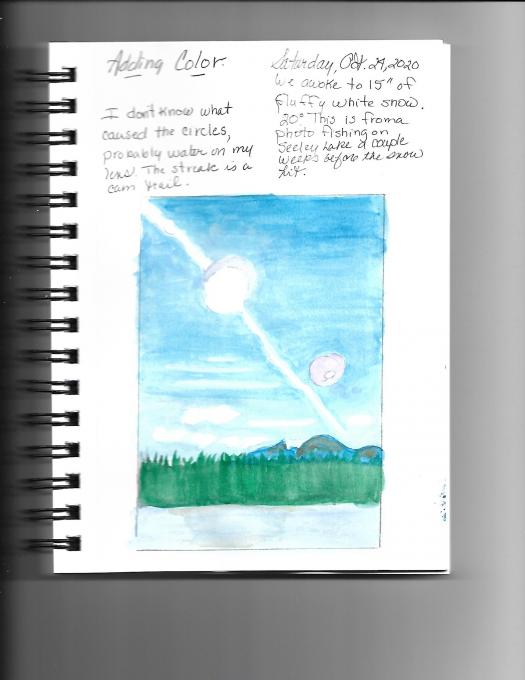
 It is very useful to work small and leave enough space to test the colors
 Read More: