The Cornell Lab Bird Academy › Discussion Groups › Nature Journaling and Field Sketching › Filling Your Sketches with Color
-
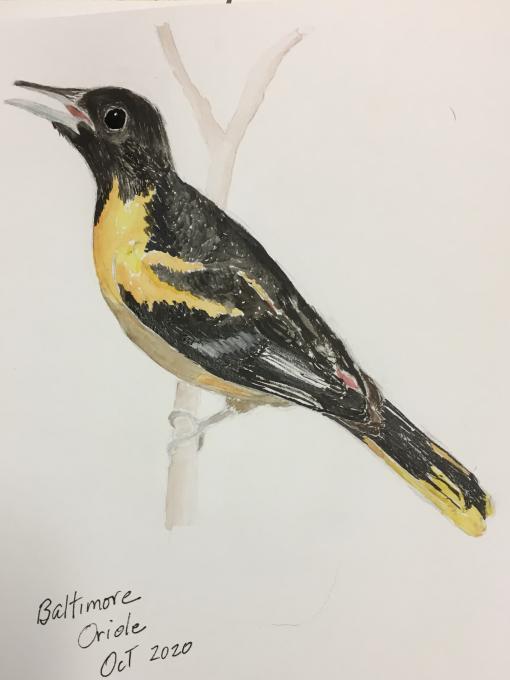
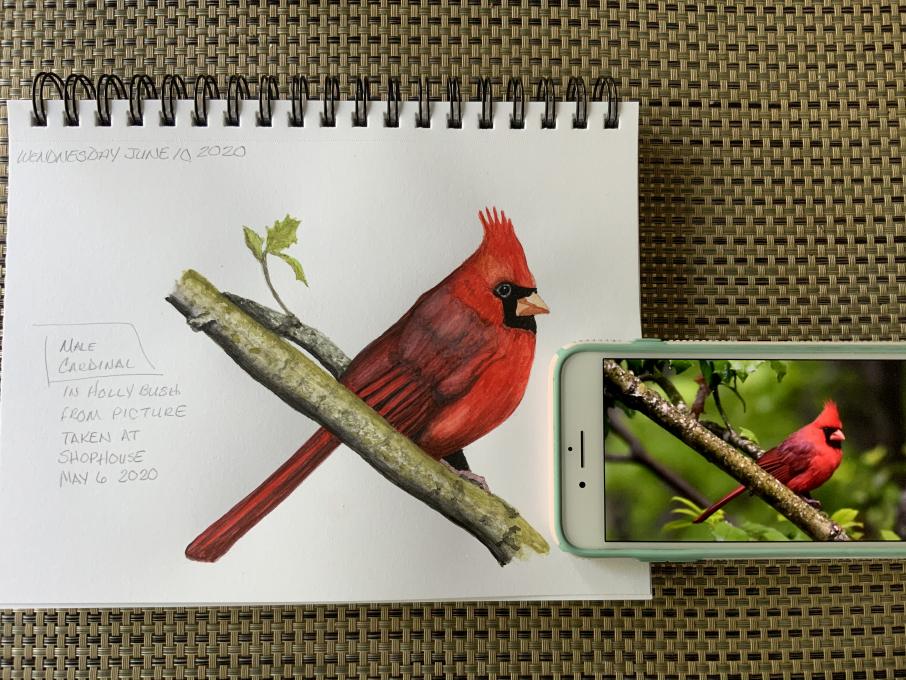
This was my watercolor practice from a reference photo. Overall I am happy with it, had problems with the beak, but the eye turned out pretty good. I am not at present able to go much beyond the backyard (gearing up for knee surgery), so haven't put together my field supplies but really appreciate all the hints and ideas.

-
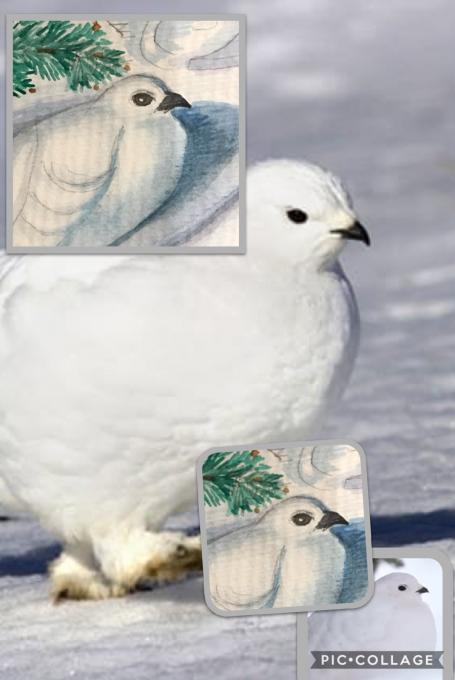
I’m coming back to this lesson and this work with entry(ies), but this is my attempt at building up 3D form through color and shading while using reference images. This snow bird (Arctic White Ptarmigan) seemed like an obvious choice to try to make standout through subtle shading and minimum coloring.
-
Beginning to work with color provides all new challenges plus, also, new fun.
-
Love those leaves!
-
-
Two common German birds!
-
Material management, well lets just say I currently have a lot of sand in my pallet. I have a zip bag that I keep my field sketching supplies that allows me to quickly take my supplies for a bike ride or a weekend getaway. In the bag is : a jar to hold my erasers, a brush holders that holds my brushes and pencils,and pens. The lose in my bag is some was-hie tape. Then I have a small on the go watercolor pad my husbands makes with 300lb hot press.
-
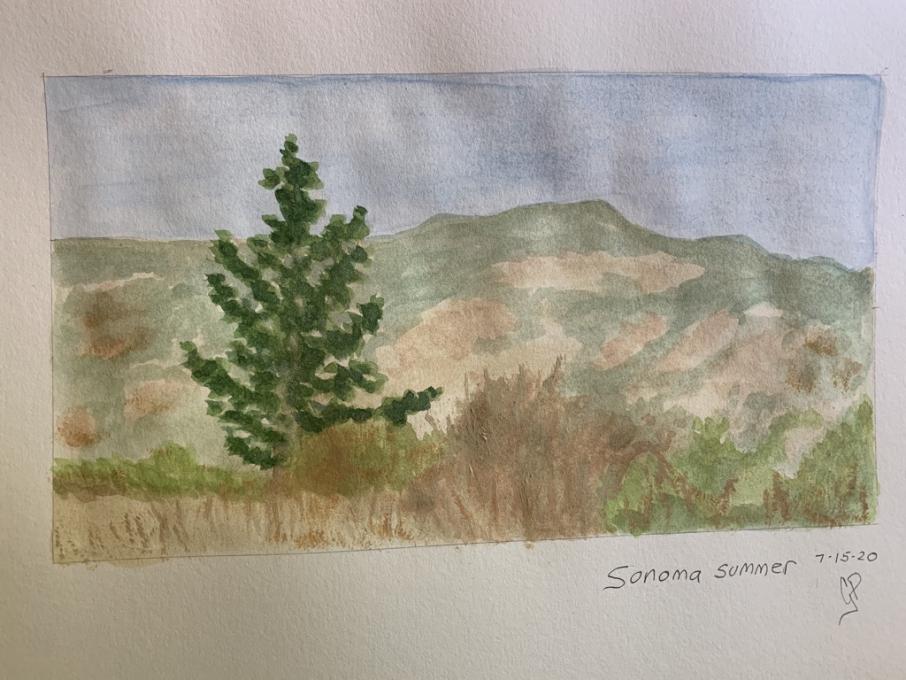
This being my first landscape in color it was a task i used a complimentary colors.
-
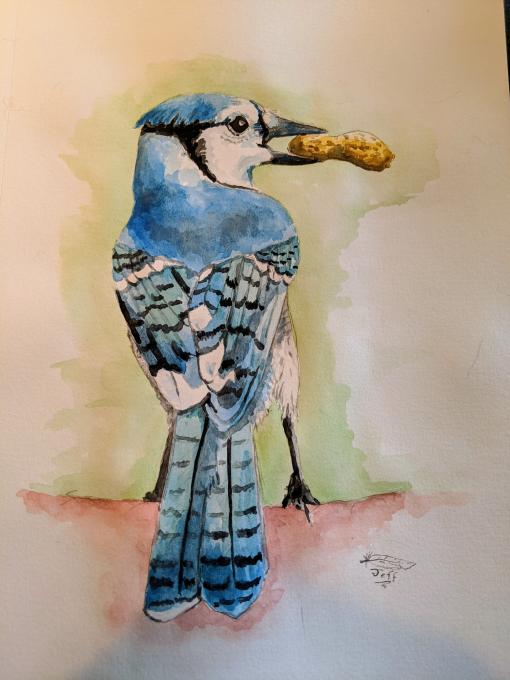
Here's my practice from a reference photo of a Blue Jay. I like the head and neck which took a lot of layering to get right.
-
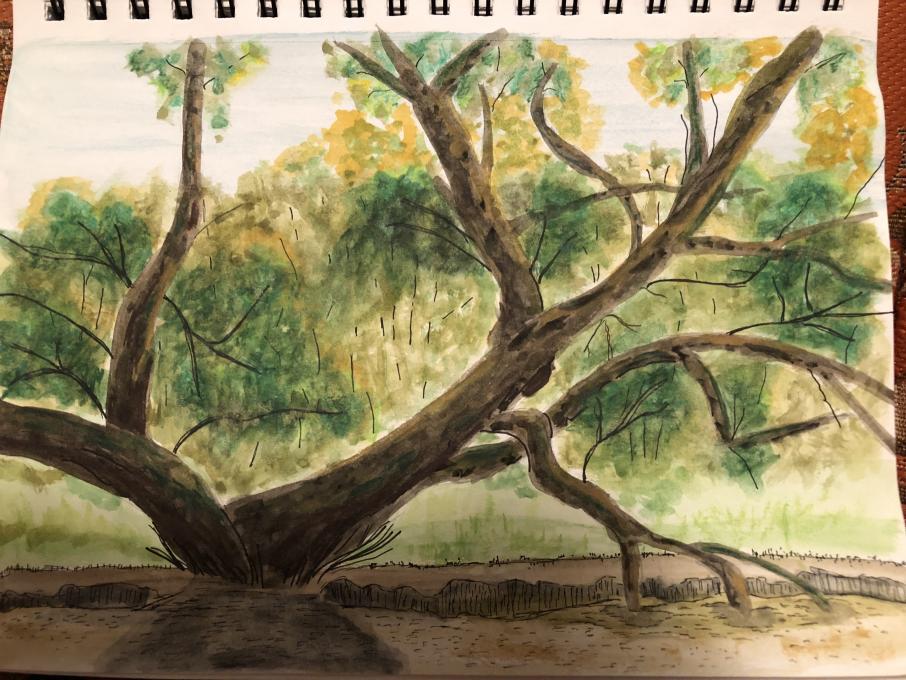
Today I didn't have the time to go to some of my favorite observation/journaling spots. This is a Japanese maple in my back yard, and a place I love to sit. This particular tree has led me to many questions about tree structure, functions, patterns, etc.
-
Did this from a photo I took while out hiking. I found the thistle difficult to get the colour accurate and the spikes were challenging. I’ve never used water colour before, I really enjoyed it. I’m happy with how the bumble turned out.
-
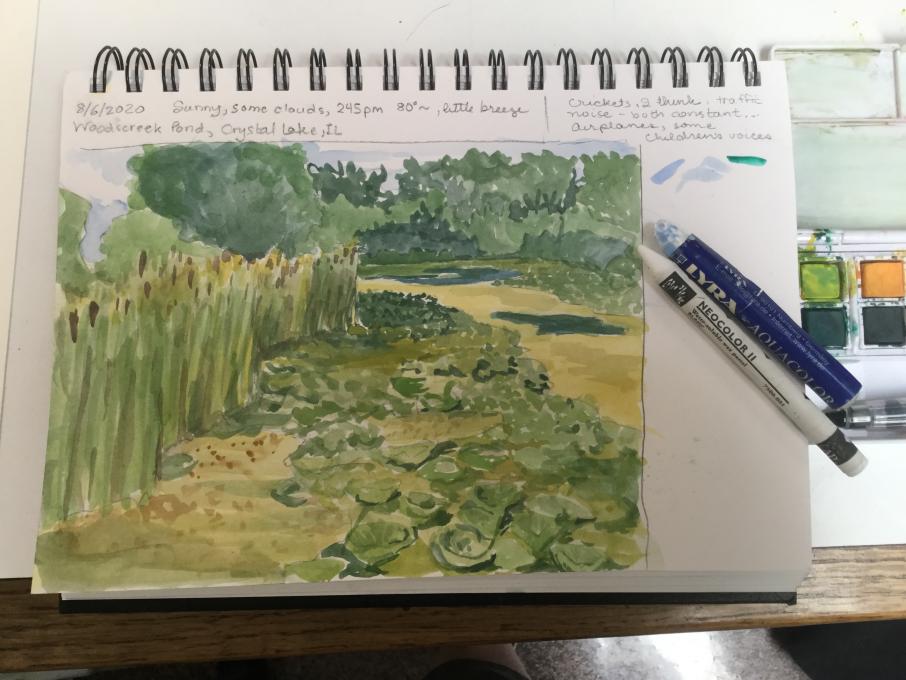
I have a little backpack that fits everything and I did bring a water bottle to fill up my water brush. The paint set I have (not the recommended one...l already had a few) didn’t have white so I brought along a Lyra Aquacolor water soluable crayon in case I needed a tint. Another brand I have is Neocolor II. It was a good solution. I also found, since I had a small place to mix paints, that using tints, tones and shades of the same colors, just adding the same blues, greens and complementary colors back in as needed, saves space. It was pretty sunny and my paints dried quickly so I could glaze over areas and the colors were related. Image of my finished landscape and the water soluable crayons (available at many art stores without having to buy a whole set. I think a watercolor pencil in white would work too.)
-
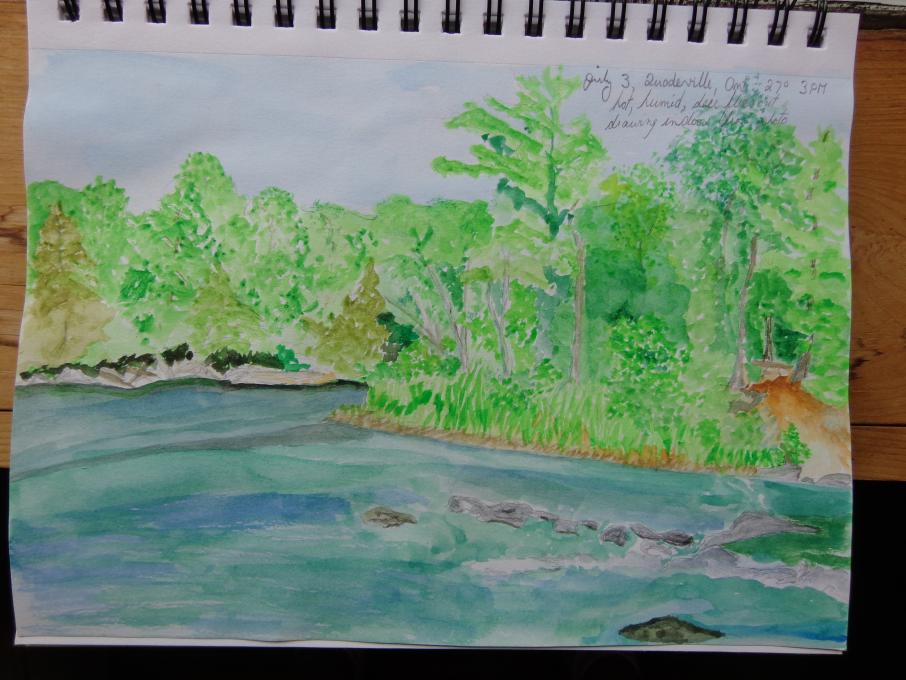
This is an island where my dog and I go for a run. I pack sketching pencils and paint kit in a backpack along with a camera. The things I often forget to take are a test paper and something to wipe the pen on to dry it so now I just use another page in the sketch book. Usually an hour is all the time I want to sit in one place so it helps to take photograph of the scene. When I get back home I can focus more on adding the details. Capturing the colour of the water, its movement and the sense of white water are areas that still need practise.
-
-
I posted before an attempt to paint a watercolour piece - BUT I spit water one it by mistake !
I didn't want to move forward without posting something here that I'm well satisfied with. So, I followed the video.
I lost control while using the water several times (I don't know why I lose it alway while brushing the right side!) The original plan was to paint the background, however, I forgot that and went straight forward to the bird. Didn't want to take the rest and ruin this piece too. I lost the side fruits as well >.>
-
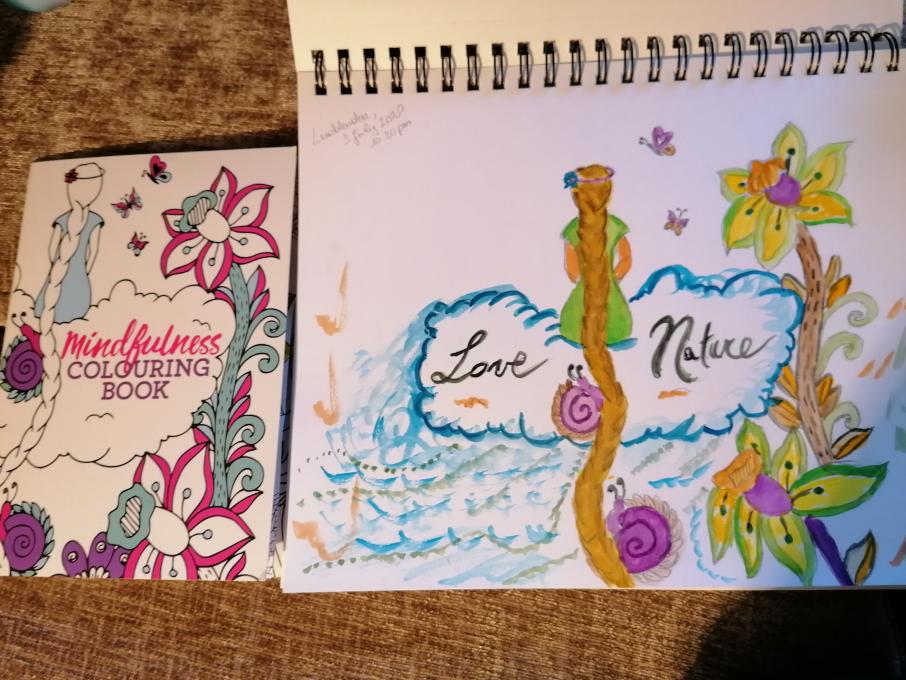
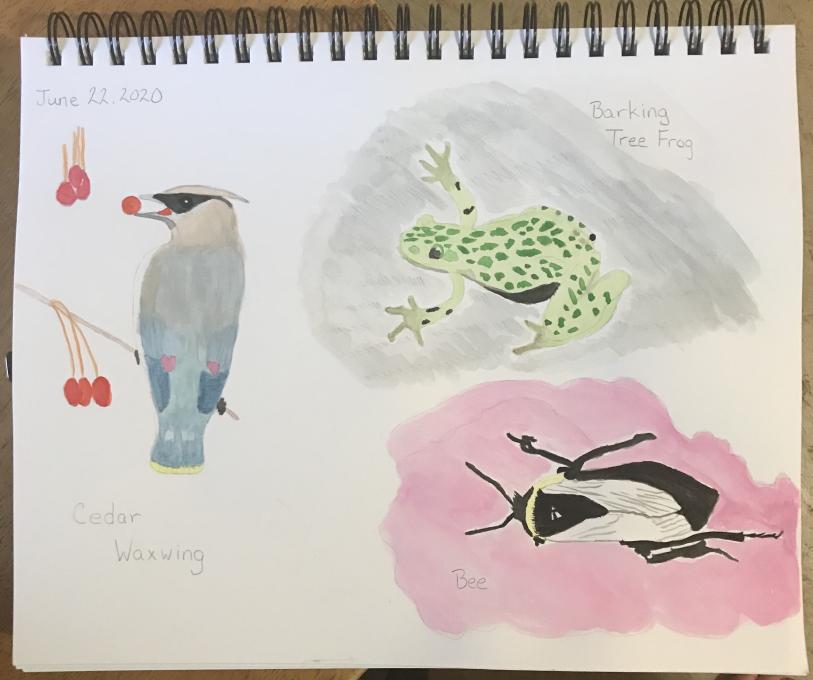
1. I create a special place for all my materials so it is easier for me to find them and start sketching. I set a place that it is easier to remember so I can find it immediately. 2. I have learnt that I tend to move forward from the focus and create something different with various colors as you can see from my pictures.
Observations are really good, I enjoy hearing the sound of the water, I observe flowers and try to observe them deeply and longer. I do enjoy watercolor very much. I struggle with animals and birds. I truly dislike to draw them, I love drawing trees, and I enjoy watching the different types of trees.
-
While Painting
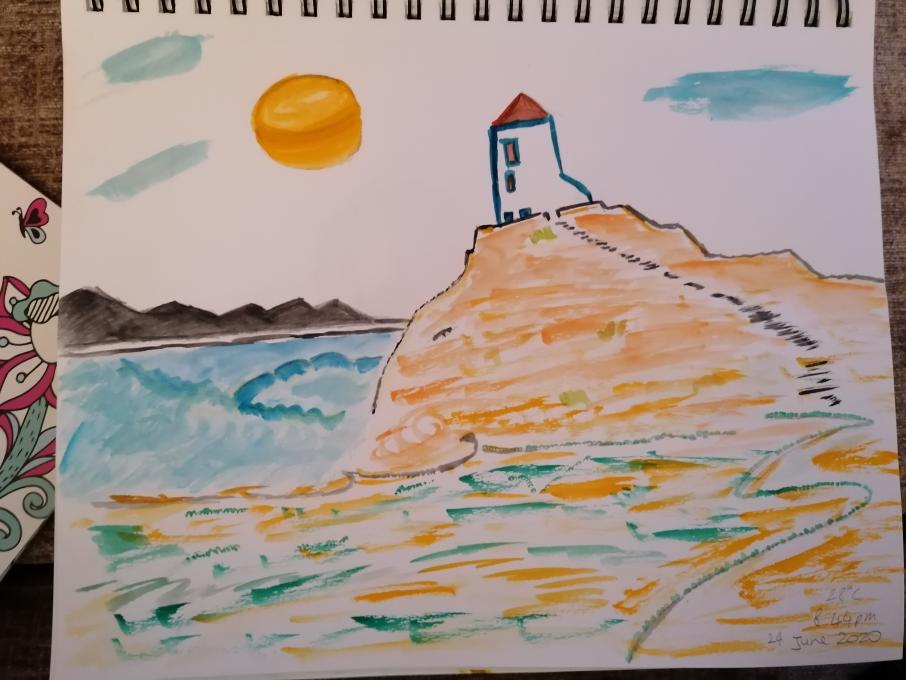
- The first thing I noticed when comparing my “outdoor sketch” with the photograph is that the horizon line was not right. I corrected my sketch and planned my painting layers ahead before mixing the colours.
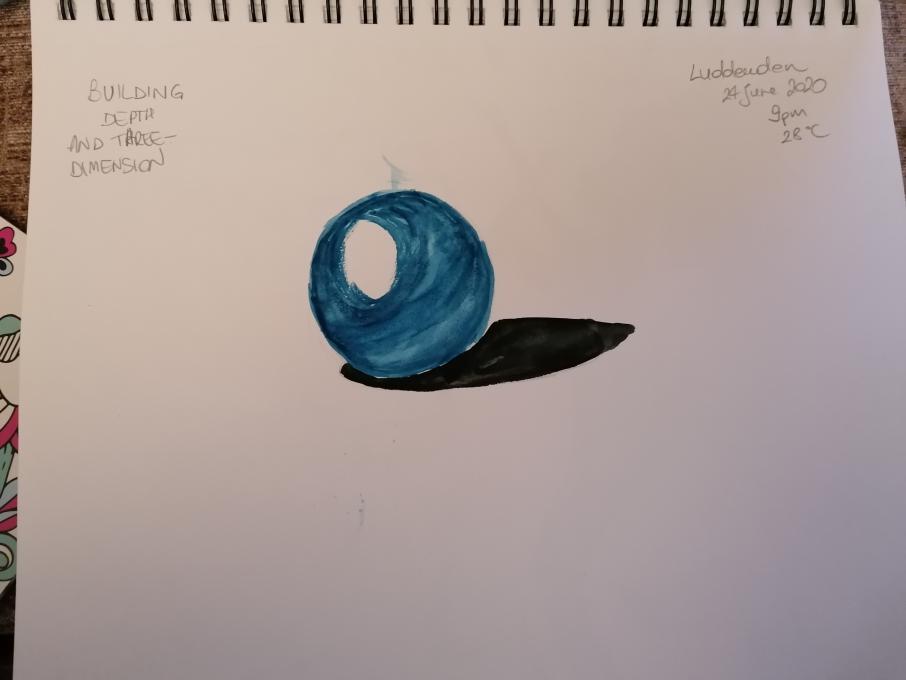
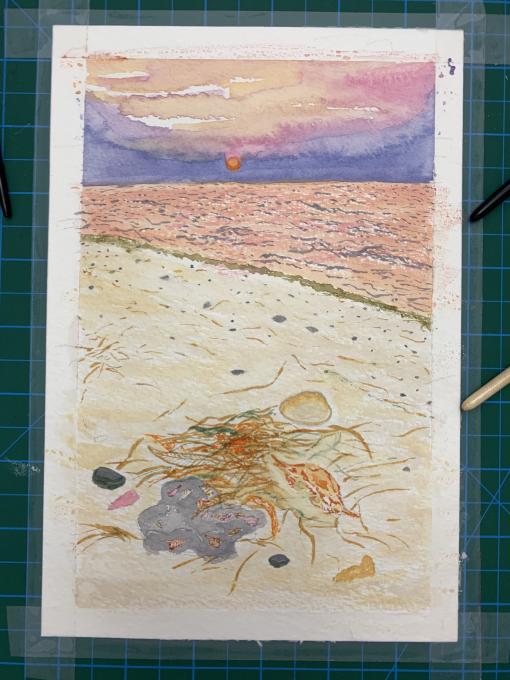
- My goal was not the sketch nor the scientific knowledge built from the observation, instead, I was focussing on experimenting with the watercolours and the brushes. I planned four layers: -1- the background; wash the sheet with the required colours and waited till it dried. -2- used dry brush for some parts and add some bright colours for the details. (Then I stopped! I just stopped and I don’t really know why!) Here were the incomplete sketch waited for me:
- The following was the “planned layers” -3- apply the glazing technique for the background and a hint of glazing for the foreground. -4- finally add the details lining and texture.
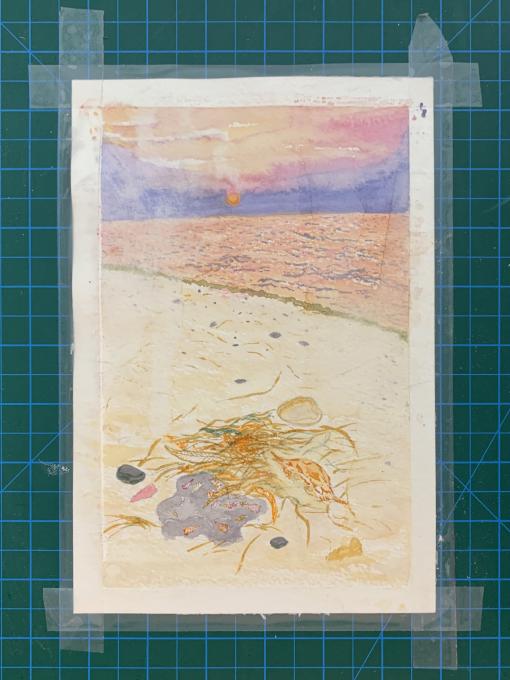
- HERE IS THE MOST IMPORTANT TIP FROM THIS EXPERIENCE Never move your sketchbook/sheet colours and change your location WHILE painting — a simple thing might happen:
- I full cup of water poured over the painting — I didn’t noticed that until I went back to continue the work. P.S. the water was from the brushes container not a regular cup , I totally forgot to empty it >.<
- now I don’t feel like finishing it — I’ll have to have a better mood or maybe I’ll go back to sketching then I’ll get back to the watercolours (I really really really wanted to finish this piece - it was going to be my first completed watercolour piece)
-
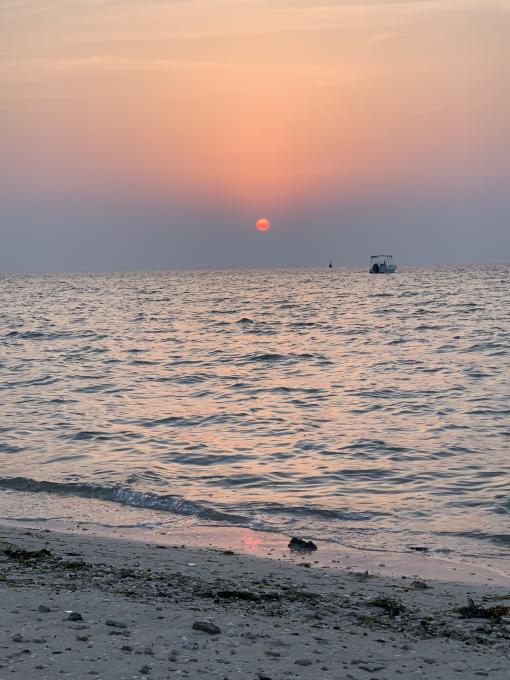
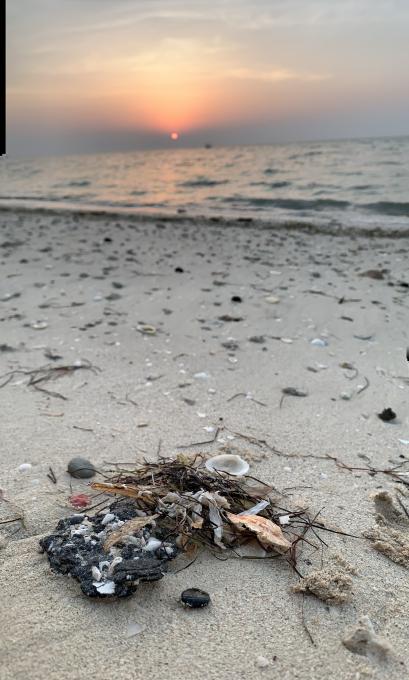
I’ll divide my reply to this discussion into two. First: before painting. Second: while painting. Before painting I went to paint a still-life outdoor, just before the sunset. Although I had all my watercolour set with me, the humidity was high - what I’ve done was to get a quick sketch of what I see. Tried to write a colour code (to paint it indoor) but I thought it won’t be good enough so I took photographs after finishing the sketch. I made sure to have colours of the sky as well as the details. So, I took several shots:
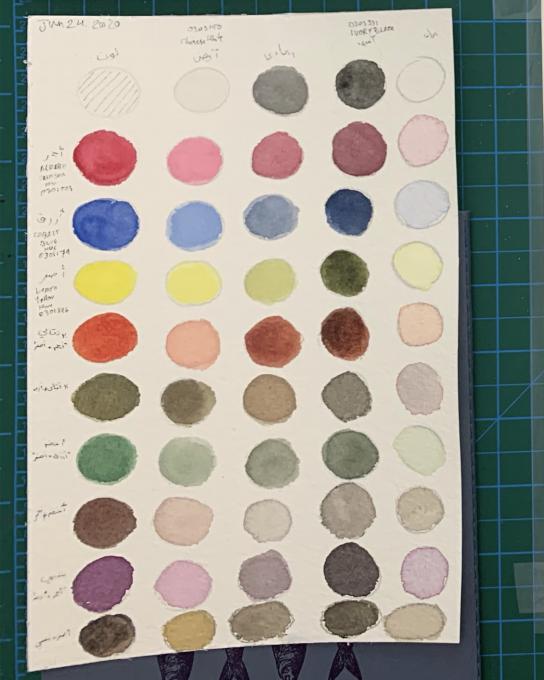
When I went back inside to paint, I felt I need to create a reference sheet. I sticked with the basic colours only (I know I have ready colours but mixing colours has a much deeper feelings which I liked). The reference sheet was done - and just before that I lost my motive to paint, therefore, I left the sketch for the next morning.
-
1. I keep my supplies (Sketch Box of Colors, Pencils, Pens, Erasers, Paper Towels, Water Brushes, & a variety of Binder Clips) in a quart size Ziplock Bag or an old small tub with my Sketchbooks. That wayI can easily grab them to put in my purse, backpack, or whatever I’m using to travel with. I use the Binder Clips to hold down pages in the book, paper on my clipboard or to hold my sketch box of colors to my clipboard.
2. After learning these drawing and watercolor techniques, I’m finding I can now add more detailed data to my science practices and experiences. It gives a deeper understanding of knowledge gained and found in my observations.
-
This is my first try at a landscape in the field. I was actually so focused on trying to paint the landscape, keep all my materials handy, mix colors, and keep the flies and sweatbees off me that I forgot to make any other observations. I really need to work on that. I also realize that I should pick a focus area because there can be a lot to look at in a landscape. I do like the wet on wet technique because it gives such a loose feel to the painting.
-
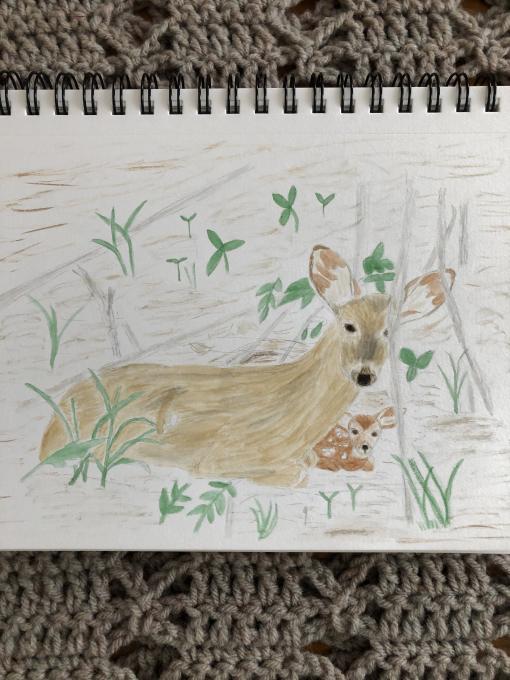
This is a sketch from a photo that my husband took. The momma deer had just given birth to her fawn hours before we came across them in the early morning.
-
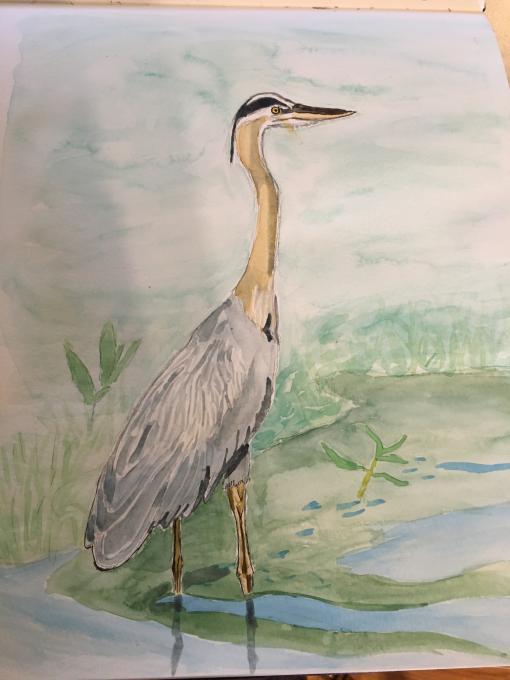
This was a fun project, and although I see some areas that could have been better, I am happy overall with my first attempt at watercolor from a photo. I chose a great blue heron because they have been at the lakes on the conservation area I have been visiting lately. They are quite interesting to watch. Their beak is like a dagger. Anyway, here is my painting, and, as you can see, I smudged the eye and dragged the color through an area I wanted to be white. I tried to add water to lighten it, but didn't want to mess up the paper there.
-
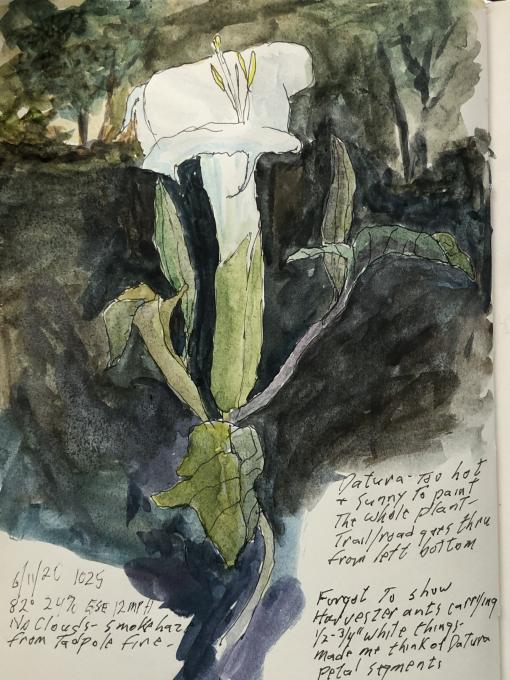
Went for a walk this morning. Thinking of sketching, but maybe not, it was super bright and getting hot. Came to this Datura, which I have always walked past because it is too complicated to try. So I did walk past, but I came back, encouraged by what I have learned and by what you all do. Unfolded my little three legged stool and sat down, determined to show one of the hundred blossoms on the five foot wide plant. My goal was to paint what I saw, not what I thought as normally happens and which usually ends in frustration. Because of a few trips outside to sketch I am slowly learning what I think I need, and I am filling the many pockets of a birding/artist style vest. After I drew with pen and ink I started coloring with the goal of showing the white blossom and stages of the plant. While it is far from perfect, I did accomplish some of the things I hoped for. Thanks for looking, and we can do this.
-
For my first attempt at watercolor I think I did ok. I still have trouble with proportion and I’m too impatient, so some of the paper got a little overworked.
I really enjoy the courses they are a challenge. Everyone is very supportive so that also adds to the pleasure.
-
This is amazing. I love the brightness of your cardinal and the contrasting colors. Also, your tree branch looks so real--I can "feel" the texture just by looking at it!
-
This is excellent and very professional looking! I also love the colour blending of the Cardinal and the life-like texture of your branch. Well done!
-
-
-
I keep my materials all together in a bag as well. I have only begun painting outside and I think I need a few weights to keep things from blowing away.
-
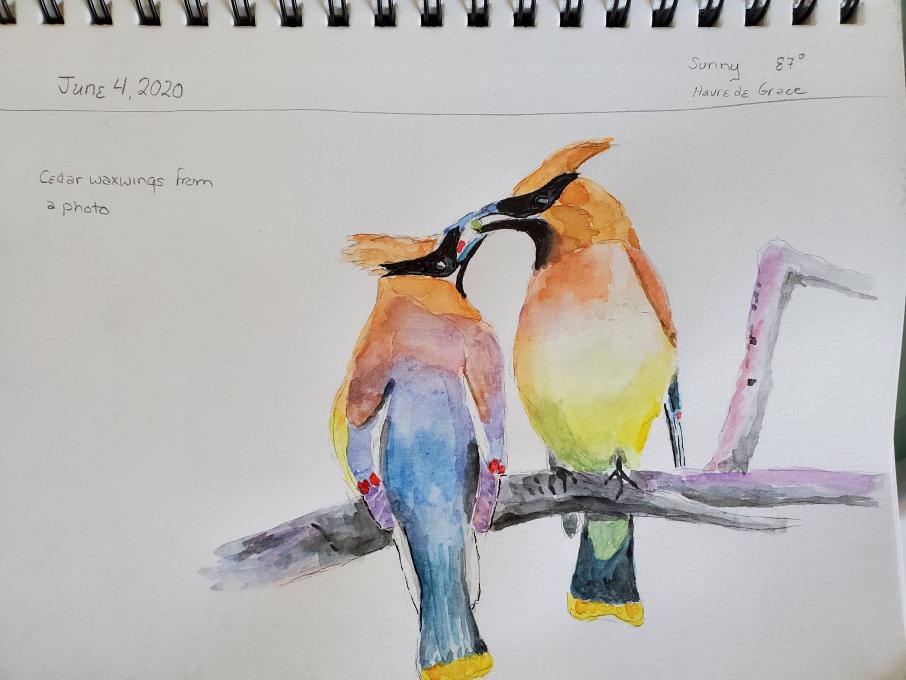
I like the mood you have captured with the colours.
-
-
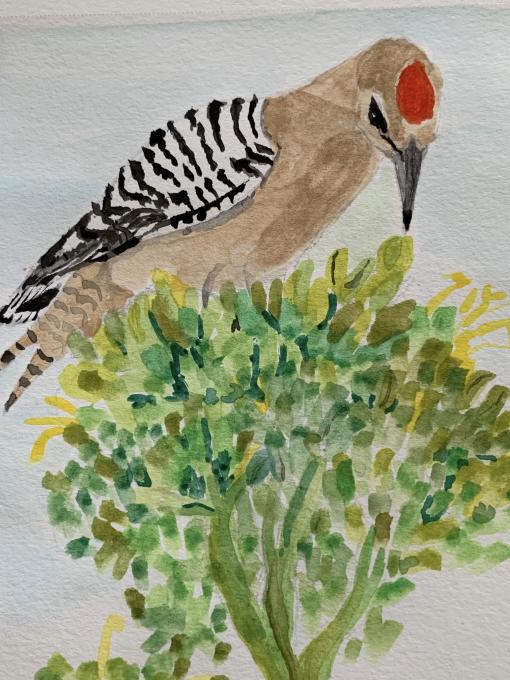
This was fun and I learned much from it. I have a century plant blooming in my yard. The stalk is higher than my house and loaded with buds. Every morning a Gila Woodpecker comes and announces his presence with a sqawk. Until the desert heat hit, I love sitting and waiting for his arrival. I think my biggest takeaway from this is to really make sure the paint is dry before adding another layer. It also showed me how tough it is to know how dry or wet to get my brush. I think I need to play with the paint more to get a feel of that. Thanks for all the good demos and teaching
 I’m coming back to this lesson and this work with entry(ies), but this is my attempt at building up 3D form through color and shading while using reference images. This snow bird (Arctic White Ptarmigan) seemed like an obvious choice to try to make standout through subtle shading and minimum coloring.
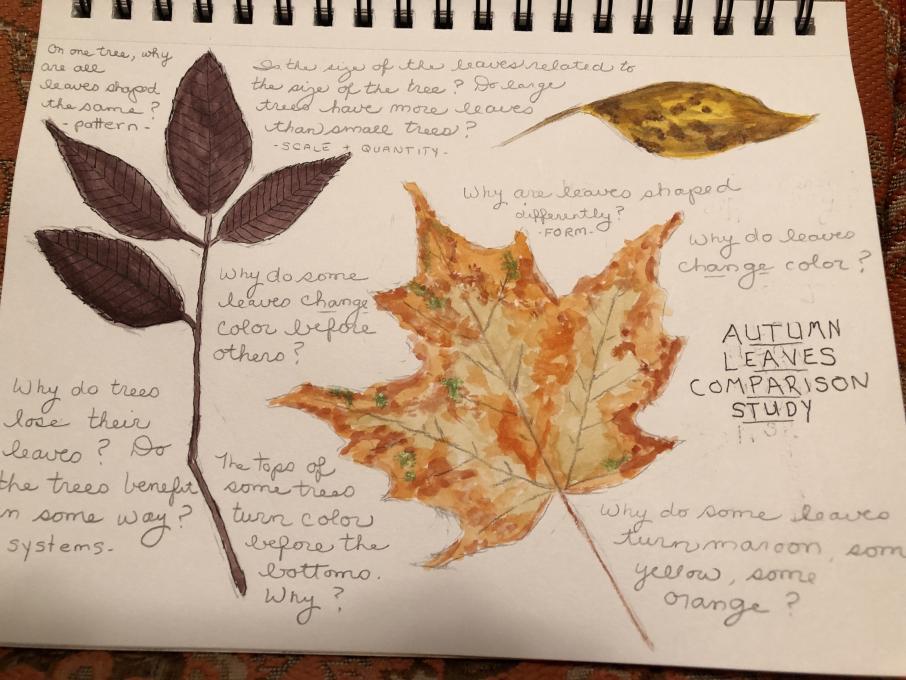
 Two common German birds!
 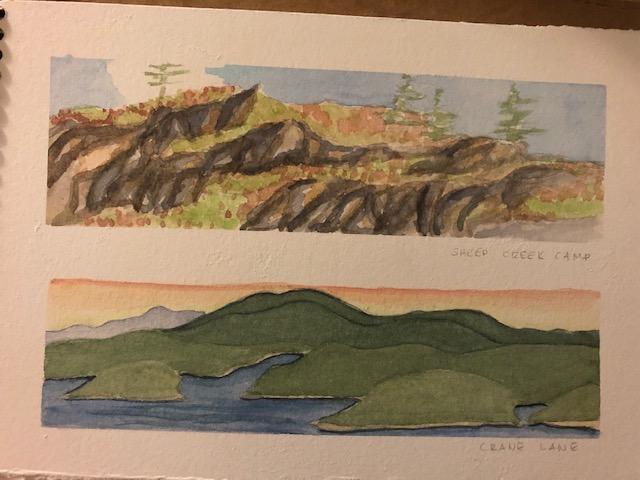 Material management, well lets just say I currently have a lot of sand in my pallet. I have a zip bag that I keep my field sketching supplies that allows me to quickly take my supplies for a bike ride or a weekend getaway. In the bag is : a jar to hold my erasers, a brush holders that holds my brushes and pencils,and pens. The lose in my bag is some was-hie tape. Then I have a small on the go watercolor pad my husbands makes with 300lb hot press.
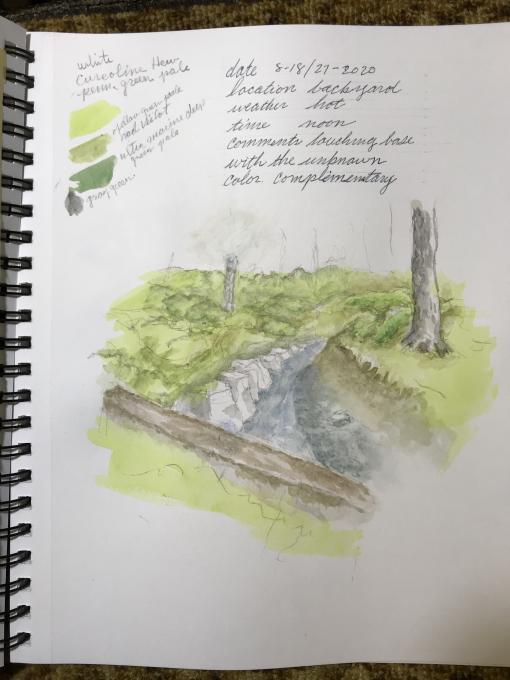
 Here's my practice from a reference photo of a Blue Jay. I like the head and neck which took a lot of layering to get right.
 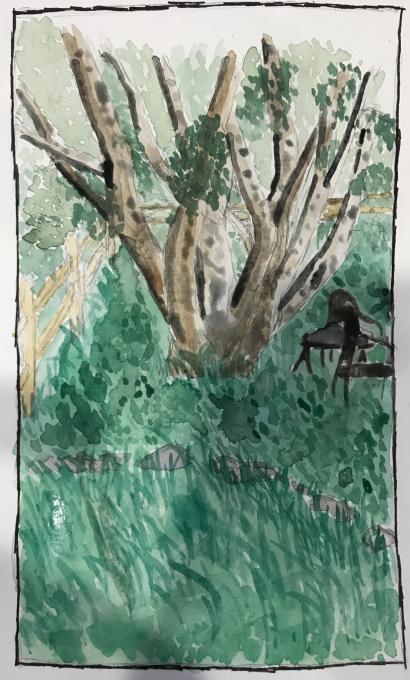 Today I didn't have the time to go to some of my favorite observation/journaling spots. This is a Japanese maple in my back yard, and a place I love to sit. This particular tree has led me to many questions about tree structure, functions, patterns, etc.
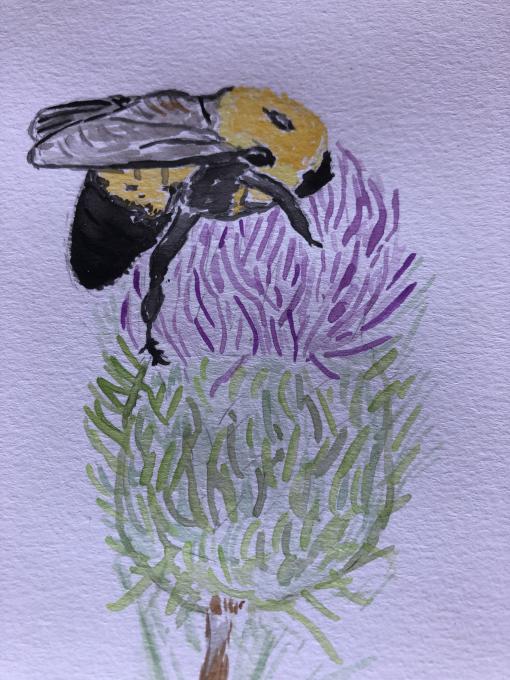
 This is an island where my dog and I go for a run. I pack sketching pencils and paint kit in a backpack along with a camera. The things I often forget to take are a test paper and something to wipe the pen on to dry it so now I just use another page in the sketch book. Usually an hour is all the time I want to sit in one place so it helps to take photograph of the scene. When I get back home I can focus more on adding the details. Capturing the colour of the water, its movement and the sense of white water are areas that still need practise.
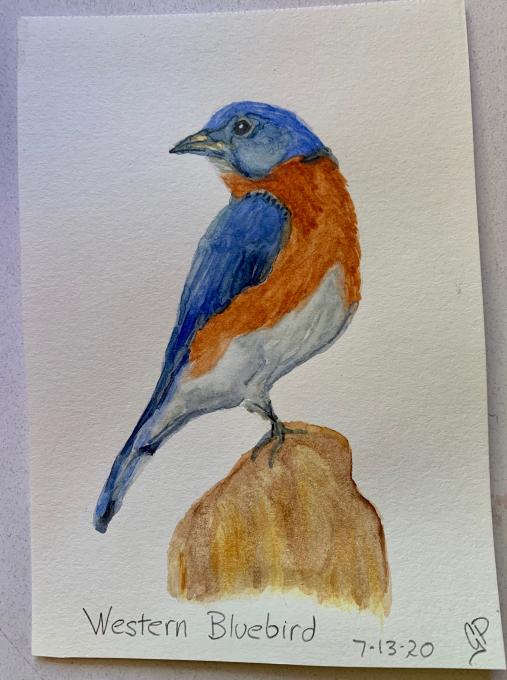
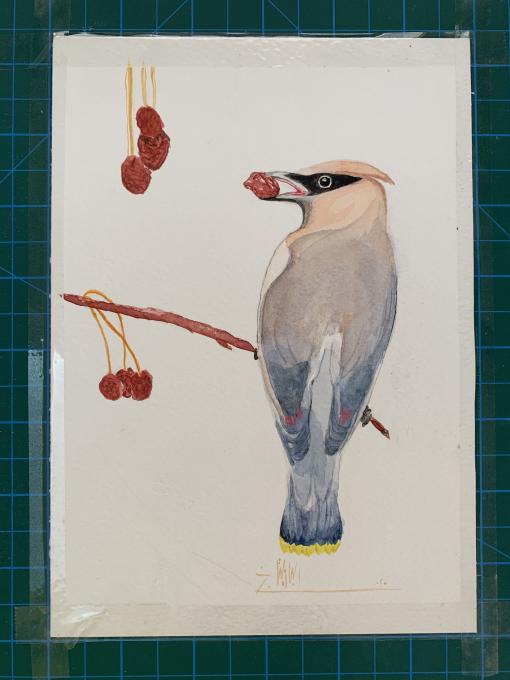 I posted before an attempt to paint a watercolour piece - BUT I spit water one it by mistake !
I didn't want to move forward without posting something here that I'm well satisfied with. So, I followed the video.
I lost control while using the water several times (I don't know why I lose it alway while brushing the right side!) The original plan was to paint the background, however, I forgot that and went straight forward to the bird. Didn't want to take the rest and ruin this piece too. I lost the side fruits as well >.>
I posted before an attempt to paint a watercolour piece - BUT I spit water one it by mistake !
I didn't want to move forward without posting something here that I'm well satisfied with. So, I followed the video.
I lost control while using the water several times (I don't know why I lose it alway while brushing the right side!) The original plan was to paint the background, however, I forgot that and went straight forward to the bird. Didn't want to take the rest and ruin this piece too. I lost the side fruits as well >.>
 Observations are really good, I enjoy hearing the sound of the water, I observe flowers and try to observe them deeply and longer. I do enjoy watercolor very much. I struggle with animals and birds. I truly dislike to draw them, I love drawing trees, and I enjoy watching the different types of trees.
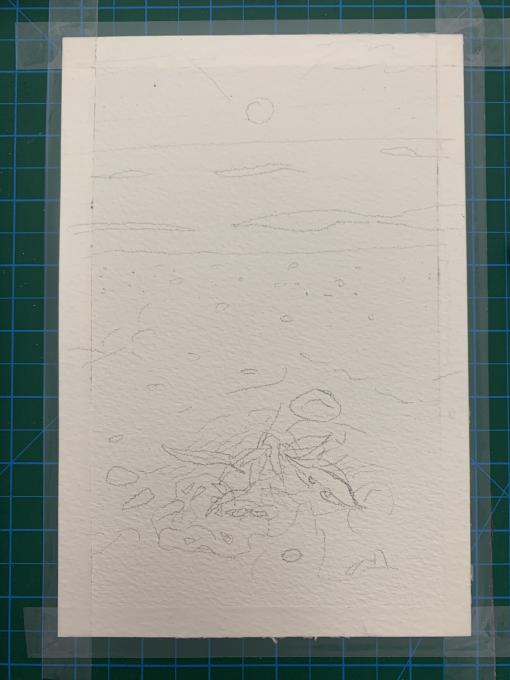
 When I went back inside to paint, I felt I need to create a reference sheet. I sticked with the basic colours only (I know I have ready colours but mixing colours has a much deeper feelings which I liked). The reference sheet was done - and just before that I lost my motive to paint, therefore, I left the sketch for the next morning.
 1. I keep my supplies (Sketch Box of Colors, Pencils, Pens, Erasers, Paper Towels, Water Brushes, & a variety of Binder Clips) in a quart size Ziplock Bag or an old small tub with my Sketchbooks. That wayI can easily grab them to put in my purse, backpack, or whatever I’m using to travel with. I use the Binder Clips to hold down pages in the book, paper on my clipboard or to hold my sketch box of colors to my clipboard.
2. After learning these drawing and watercolor techniques, I’m finding I can now add more detailed data to my science practices and experiences. It gives a deeper understanding of knowledge gained and found in my observations.
1. I keep my supplies (Sketch Box of Colors, Pencils, Pens, Erasers, Paper Towels, Water Brushes, & a variety of Binder Clips) in a quart size Ziplock Bag or an old small tub with my Sketchbooks. That wayI can easily grab them to put in my purse, backpack, or whatever I’m using to travel with. I use the Binder Clips to hold down pages in the book, paper on my clipboard or to hold my sketch box of colors to my clipboard.
2. After learning these drawing and watercolor techniques, I’m finding I can now add more detailed data to my science practices and experiences. It gives a deeper understanding of knowledge gained and found in my observations. 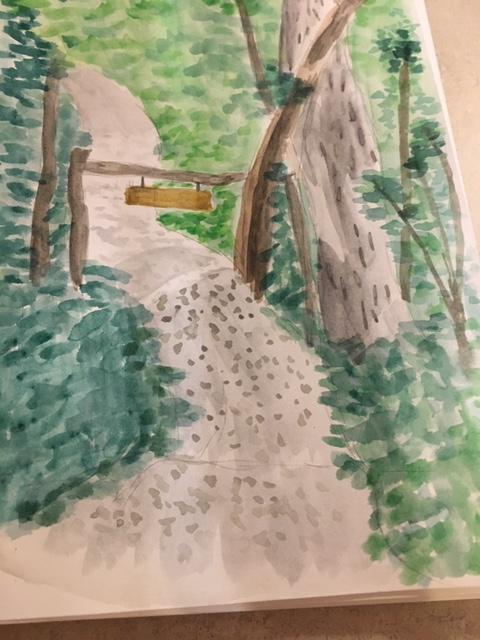
 For my first attempt at watercolor I think I did ok. I still have trouble with proportion and I’m too impatient, so some of the paper got a little overworked.
I really enjoy the courses they are a challenge. Everyone is very supportive so that also adds to the pleasure.
For my first attempt at watercolor I think I did ok. I still have trouble with proportion and I’m too impatient, so some of the paper got a little overworked.
I really enjoy the courses they are a challenge. Everyone is very supportive so that also adds to the pleasure. 
 This was fun and I learned much from it. I have a century plant blooming in my yard. The stalk is higher than my house and loaded with buds. Every morning a Gila Woodpecker comes and announces his presence with a sqawk. Until the desert heat hit, I love sitting and waiting for his arrival. I think my biggest takeaway from this is to really make sure the paint is dry before adding another layer. It also showed me how tough it is to know how dry or wet to get my brush. I think I need to play with the paint more to get a feel of that. Thanks for all the good demos and teaching
 Read More: