The Cornell Lab Bird Academy › Discussion Groups › Nature Journaling and Field Sketching › Getting Comfortable with Watercolor
-
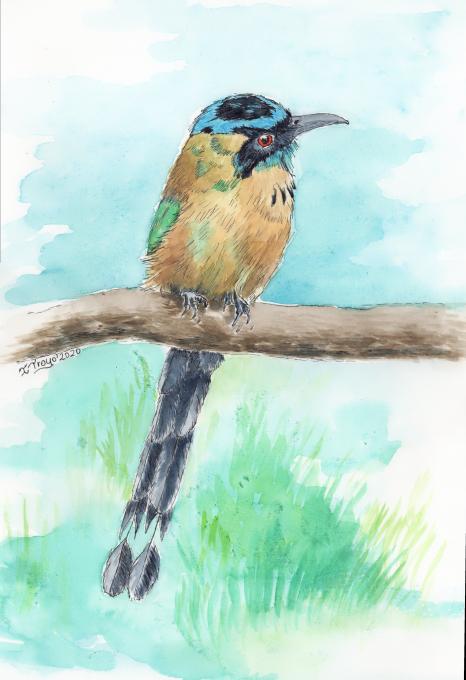
 I used the wet on dry technique on the bird and many paint layers. I tried the wet on wet technique on the sky and grass but it is very difficult.
 -
I find the end effect very beautiful!
-
I love it, too!
-
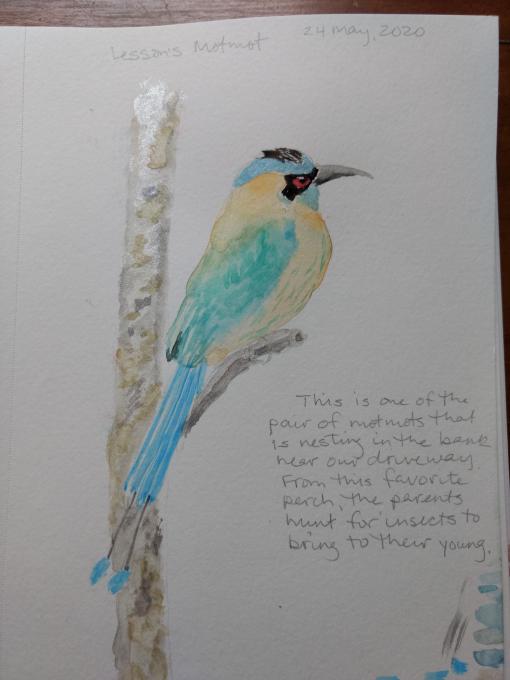
A very appealing portrait of a bird with a very long and unusual tail which reminds me of an Australian beekeeper bird.
-
-
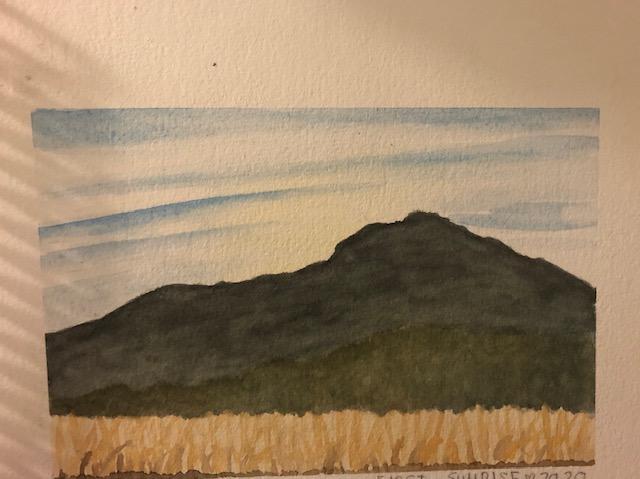
Used wet on dry on the Jayand then wet on wet with the golden light behind.
Also I layered many various colors in the feathers, especially back of neck area. -
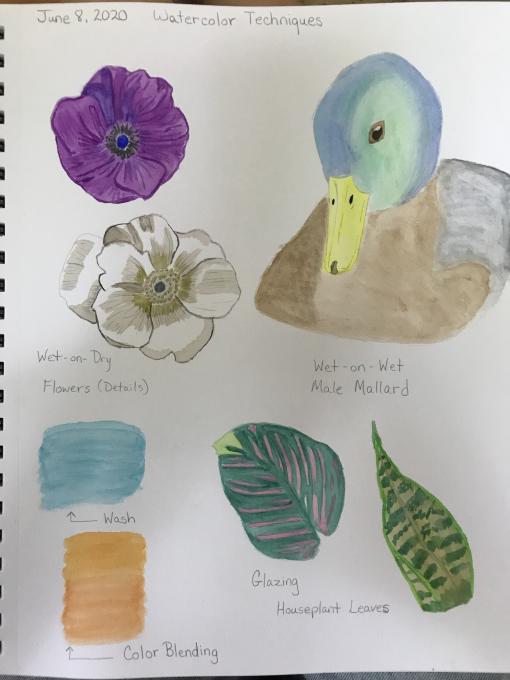
I tried all three techniques. I was interested in how far I could push the brush and paper with these techniques. I did three small painting using only one technique at a time. Wet on wet is very loose, can be a little out of control, and I had to let the paper dry between areas when I did not want the paint to blend. Also found that if I did a large painting the paper buckled a bit. Wet on dry was the easiest way to paint with the sketch book and the nylon brushes. I personally love dry brush but found it difficult because the amount of water on the brush or wet paint on the picture resulted in a combo. Next I decided to use all three on one painting. Had a false start as the watercolor paper was hard to get wet enough with the nylon brushes, it began to form little particles of loose paper from rubbing the surface. I then started over using 140 lb. paper and was afraid I would ruin the nylon brushes so I switched to real watercolor brushes to complete the same picture. My conclusion is to use the nylon brushes in the field for quick sketches and perhaps when creating a journal page. This is an excellent match of all the tools. However, if I want to create artwork to frame in a larger format, I will stick to the heavy paper and natural hair brushes. I really like the palette and the transparency of these colors. Also it pleases me that it is possible to incorporate these techniques into the journal. Since most of the paintings will be on a smaller scale, it is always good to know it is possible to use whatever is needed to complete the sketch.
Pat -
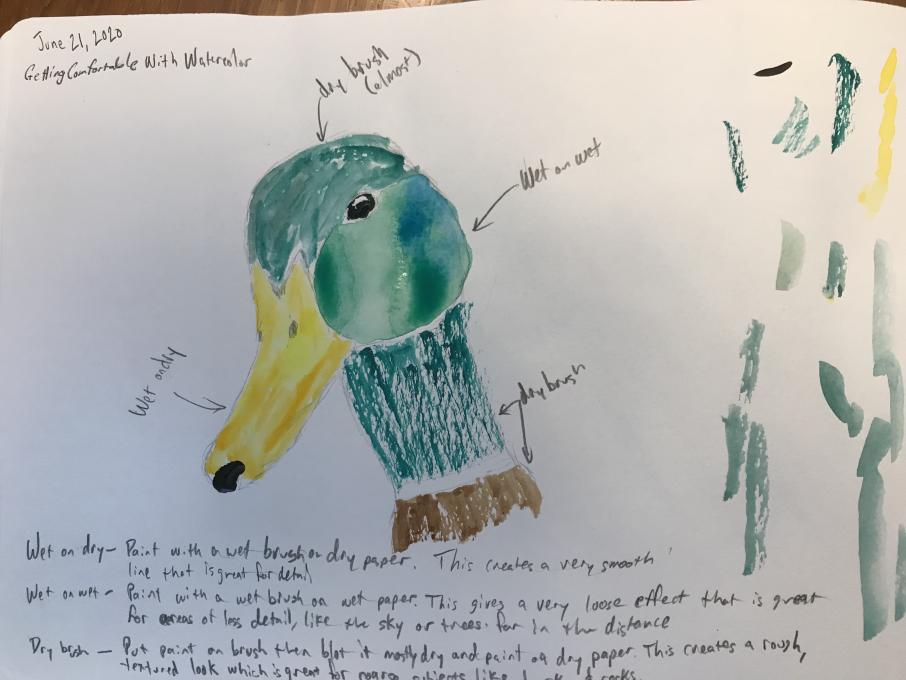
I’m still getting used to water color in general: like not using too much water etc... However, this lesson was very cool. I experimented with all three and attempted to use them in a picture. I found that the techniques fit in exactly how Liz said they would. Wet on dry for detail, wet on wet for large spaces, and dry brush for rough surfaces. The proportions are way off, but I was not really focusing on them for this exercise.
-
I haven't finished my toucan yet, but I am using the different techniques in it.
-
Woah! That’s amazing!
-
I can't believe you are using water color on this! 'How many layers have you done for this effect?
-
Beautiful
-
-
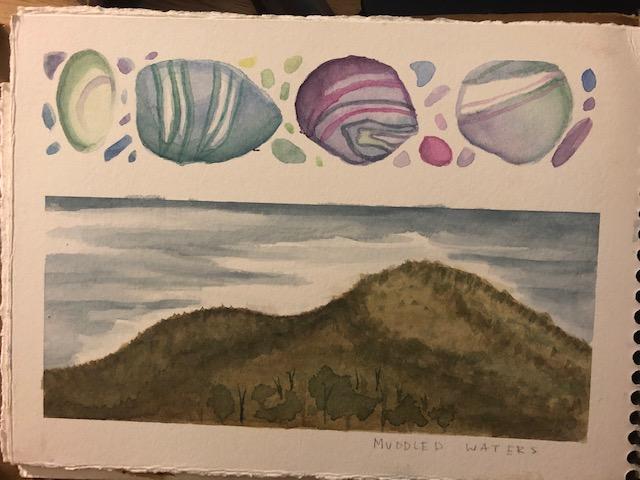
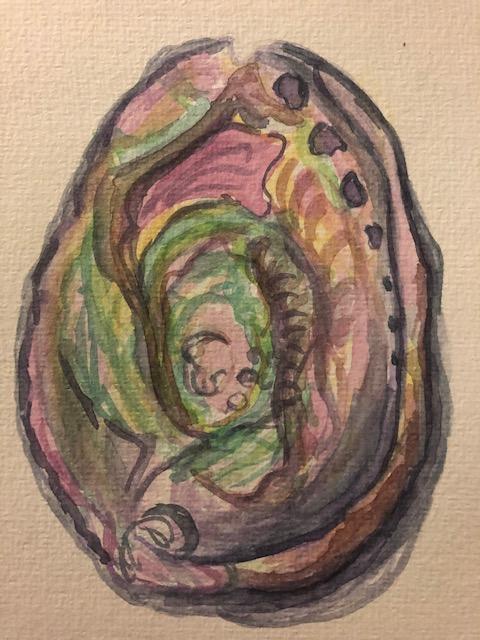
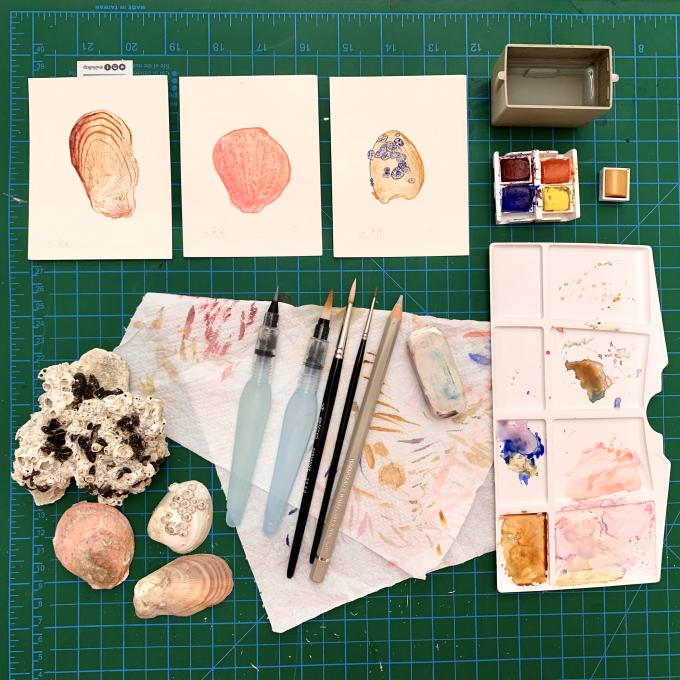
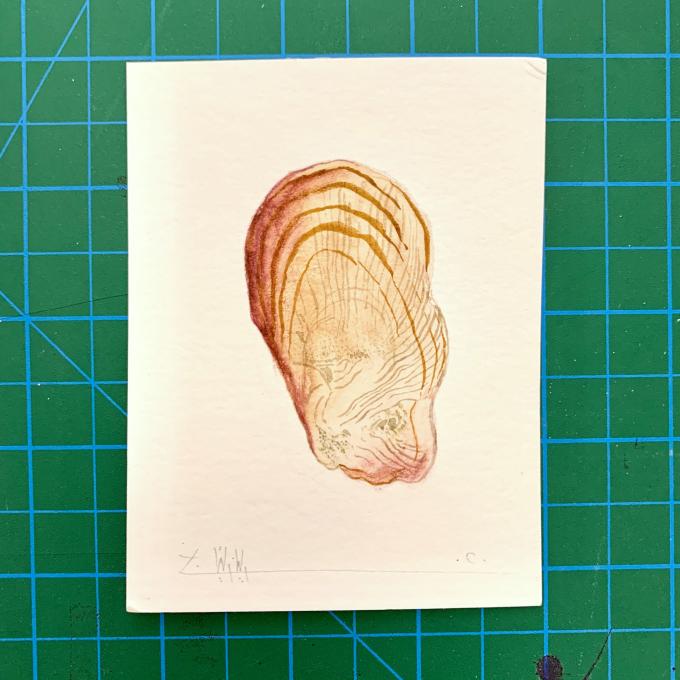
I have tried all 3 techniques. Dry brush as you can see on the abalone seem to come off to harsh or too bold. I found patience is key and waiting for the paint to dry before muddling up the painting. I love water and lightness of pigment in creating skies.
-
Like how you played with the color and line I’m smaller images
-
-
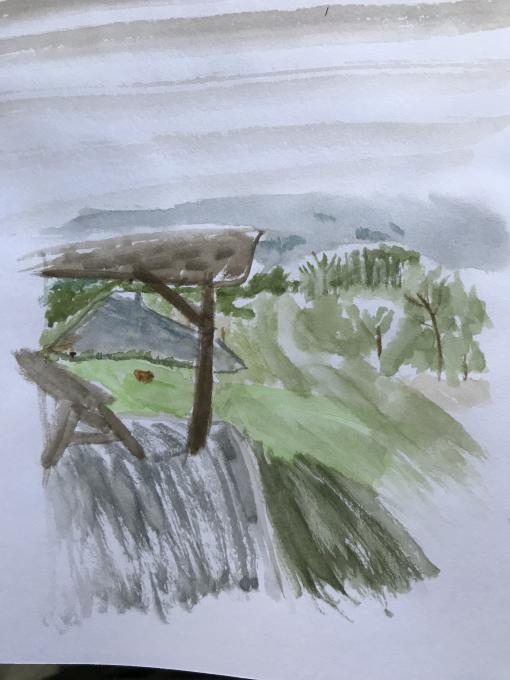
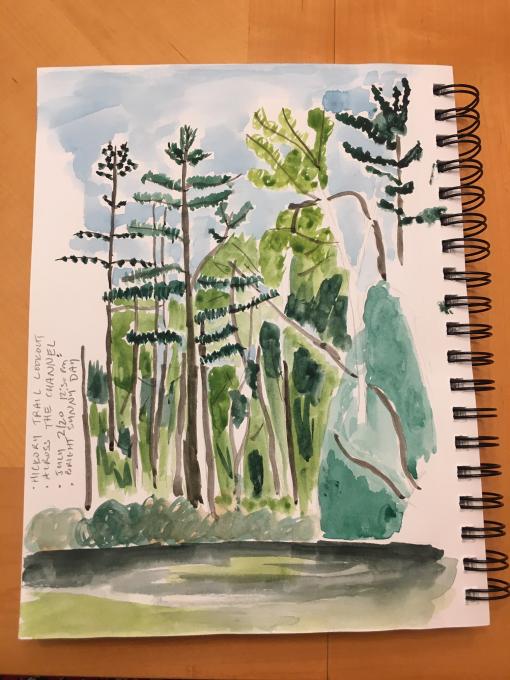
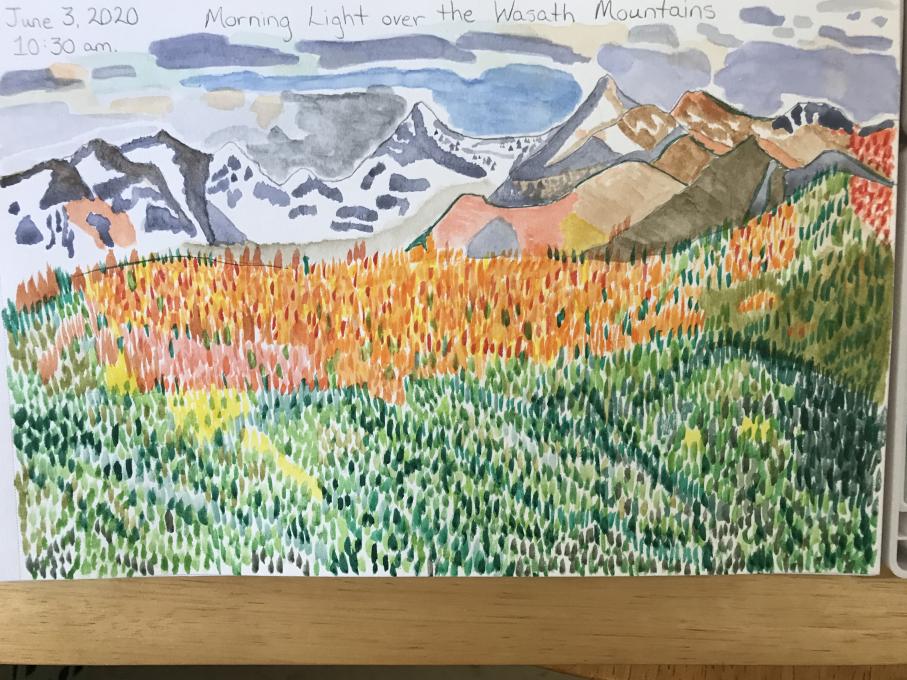
The sky, water, and trees were first wet on wet with some wet brush on top once the paper had dried. The fence was from a dry brush. The grass was wet on dry. -
I had previously tried only wet on dry. I thought wet on wet was the most interesting. I need much more experience with each to learn what works and what doesn’t and how I could use them in my journals.
-
I have tried all the watercolor techniques in the past but I rely heavily on wet on dry because of the control it gives. I have used wet on wet for sky or water and I have used dry on dry for grasses.
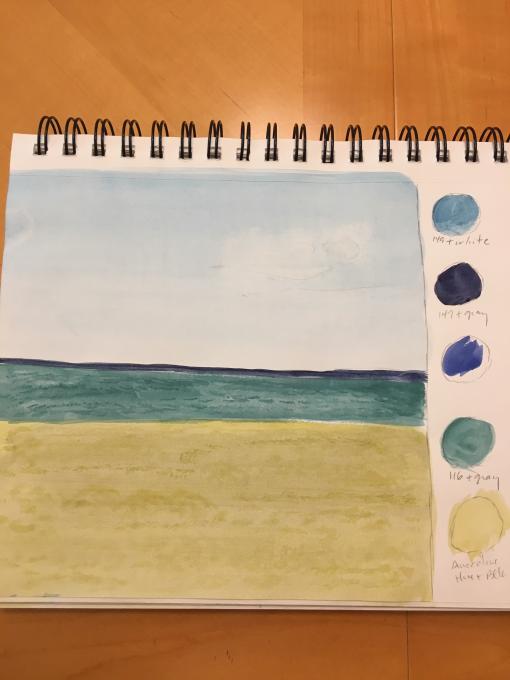
In the watercolor sketch of the sky and water below I was practicing my color-mixing but also used wet on wet for the sky. I realize now that I used wet on wet for the water too. After I laid down the initial layer of the water I went back and added some more color (wet on wet) to show the ripples in the water.
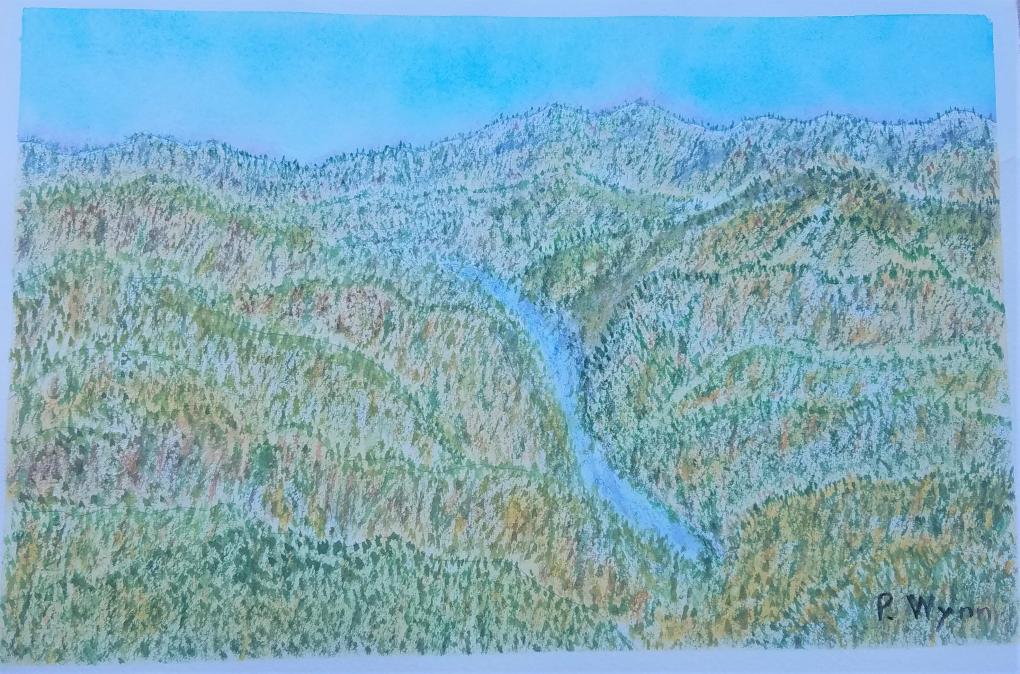
In the watercolor sketch of the trees below I used mostly the wet on dry technique. But I used wet on wet for the sky at the top and the water on the bottom. I used wet on dry for the sky near the trees because I didn't want the colors to run into each other. I'm going to go back to the same spot and try and improve my techniques. Here's what I plan to try next time: 1) use more water (wet on wet) in the water so that there is no white; 2) do a wash of the sky and then paint the trees and leaves over the wash; 3) practice some techniques to show the texture of the leaves of the deciduous trees better; 4) continue to use dry on dry for the tree trunks and branches but include more of them in the sketch and 5) spend more time to keep a record of the colors I mixed. My plan is to go to the same spot periodically to practice various techniques. Also, I'm going to go back in the various seasons to capture those differences. That will also allow me to practice the techniques I will need for the different seasons.
-
Hi,
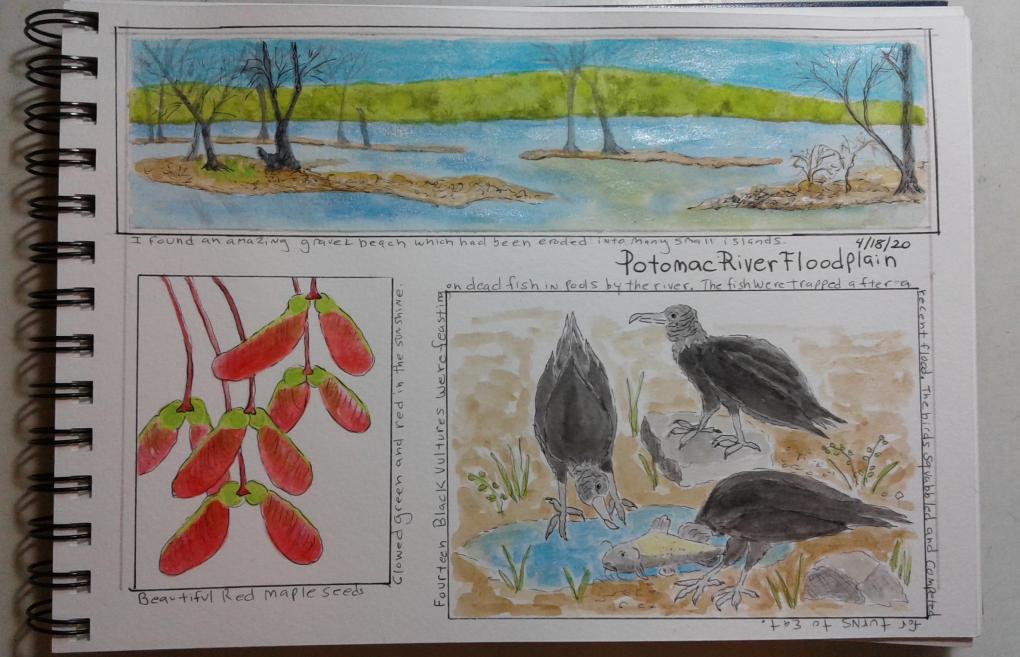
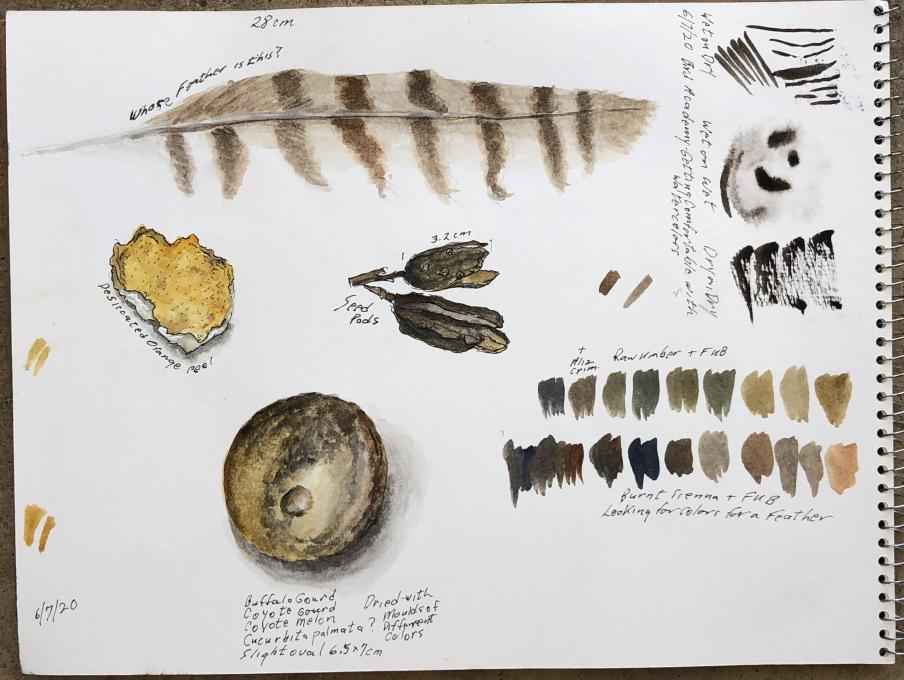
I could not find a discussion section after Applying Watercolor to Paper, so I will put my painting here. I used wet in wet for the landscape and some wet on dry. The maple seeds were done with glazing. The vultures used glazing, rocks, sand, dirt, wet on dry, water wet in wet. I recorded my observations in tiny words wrapped around the boxes. This project took several days. But I learned a lot. -
A very nice page in your nature journal. It appears creating borders with small notes around the individual components ties them together in a beautiful collage.
-
-
While working on this entry, I was convinced with one thing: watercolour needs patience. To tame my urgency within myself, I have decided to sketch three sketches at the same time and paint them using watercolours only. By doing so, I was able to create layers for each sketch. After finishing a layer, I moved to the other sketch and do the same. This give me enough time to let the layer dry and experiment as well.
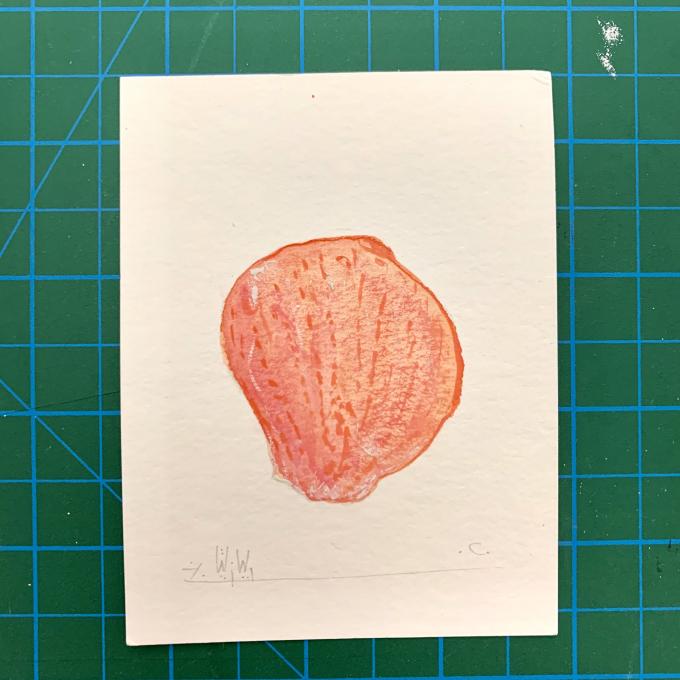
This is my first sketch:
1. The pencil used for the outline sketch was a B6 pencil, I decided to erase it and use a watercolour grey pencil instead. The reason to do so was to avoid erasing any pencil marks after colouring the piece. I was afraid that the eraser would ruin the colours and the sheet.
2. I sticked with the main colours: red, yellow, & blue as well as the white and black. For the base, I mixed the colours on the palette. used a dry on wet for all the sketches.
3. As soon as I felt that the base is dry , I added a bit of lining with the tip of the brush to give an overall colour scheme for the background.
4. After that I waited until it dried fully. Then I used the dry brush to add the details to the texture.
5. I decided to use the white paste with no water at all on a semi-wet brush tip to add a depth to the texture.
6. I tried to add some shades & tones wherever needed as a final step.
This is the second piece:
I can’t upload the third one. I did one deadly mistake - I was lazy to mix and find the colour I want for the final detail lining - I ruin it with a blue instead of a dark/grey-purple.
(I lost my patience at the last minute! >.> )-
Nice job with the shells. though you expected perhaps a different outcome, they are beautiful to me!
-
-
I typically use the wet on dry technique, and sometimes wet on wet (usually accidentally after having gotten the paper too wet and adding additional colors). I find the dry brush difficult to control. -
1. I have tried to use all the techniques. I have discovered that the wet-on-wet it my favourite. It is easier to use the wet-on-dry and I found difficult to do the dry brush techniques 2. I might incorporate the new watercolor techniques. Watercolors relax me very much.
-
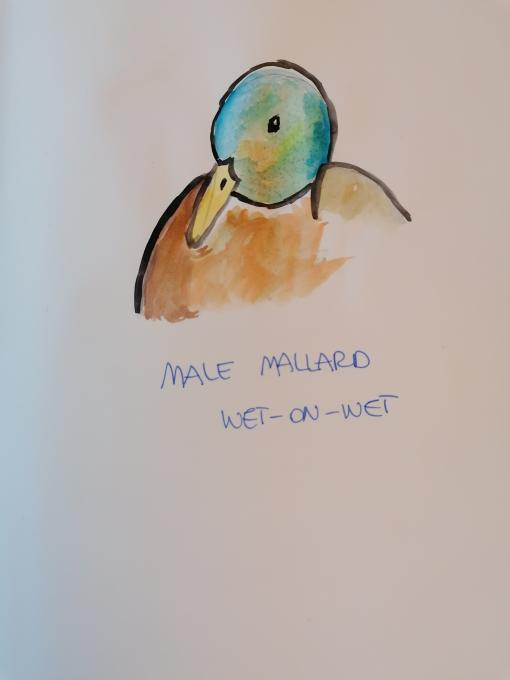
Did some more practice & I am much more comfortable and confident now.-
I like the way you used wet-on-wet for the shadows and light on the mallard's head!
-
-
I experimented with all three techniques on this page of: "Ok, what will I try next?" and with delight! One of the important things I have learned is that life is too short to use cheap watercolor paper, or not even watercolor paper, and I still use stuff that makes good work all but impossible. This is a page of Strathmore 400 Series Watercolor paper; it is not cotton base, but it is better than the note books I have been trying to use for watercolor.
-
1. Well without knowing anything about watercolors before this course, I have been using all 3 of them without knowing it. I use the Wet on Dry more than the others, but using Wet on Wet is more comfortable with the water brush. I also feel that I have more control of the amount of water released. As for some tips, I’ve found that I need to work in sections so that some of my drawing can dry to make layers. Also if I put down a very neutral base wash of color first then building upon that it gives my drawings a bit more depth. 2. Knowing the actual meaning of the terms I now know how to make sharp details or blending colors for different textures, sky, & water. -
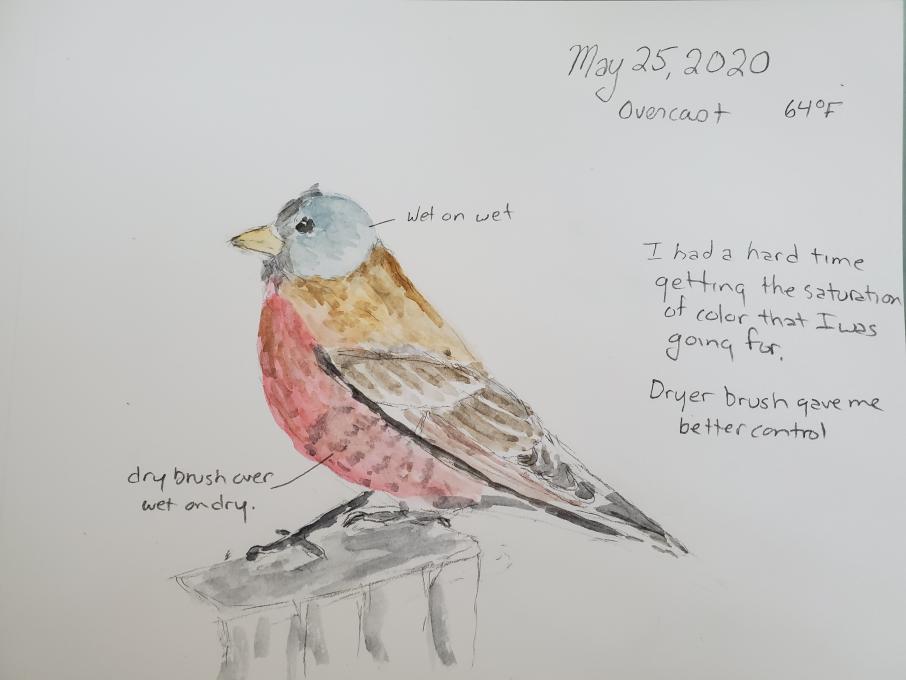
I'm developing a little more control with my brush strokes. Used wet on wet for the body, then wet on dry for the facial features and a combination of wet on dry and dry brush on the tree.
-
Had a bit of a time controlling the amount of water on my brush. I seemed to have better success with a combination of techniques. Need to practice more!
-
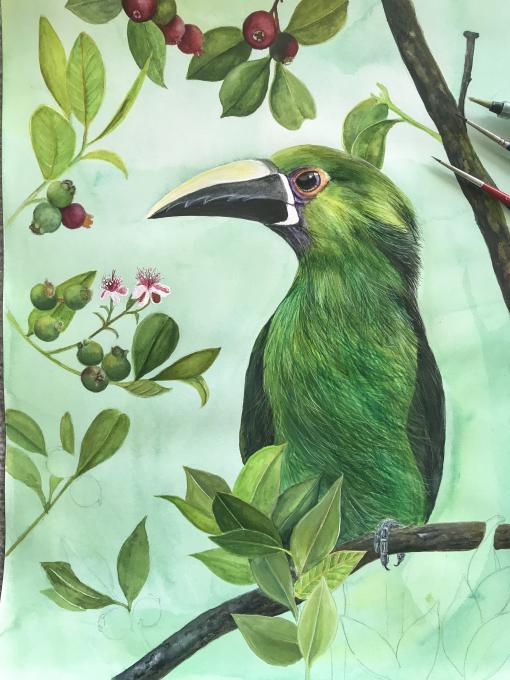
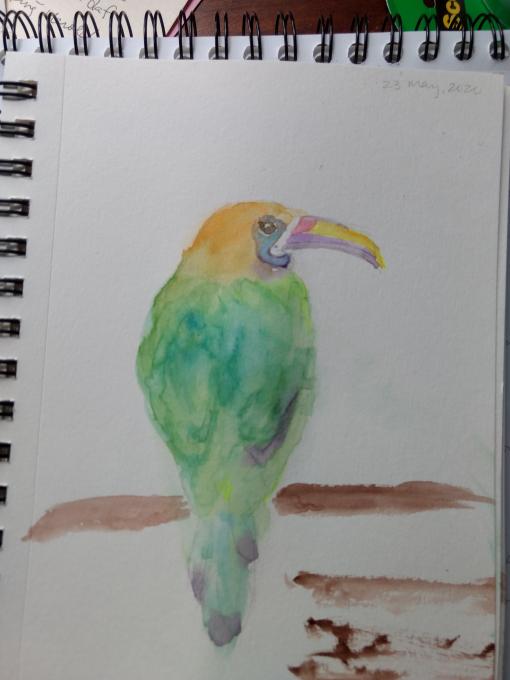
I thought this emerald toucanet would be a good subject to try wet on wet, a technique I have never used. I know that Liz said to let the watercolors do their own thing, but I couldn't stop tinkering. Liz is correct, I did not improve my painting. I used wet on dry for the facial features and tried to use dry brush on the branch. I need to work on this technique, as I either put too much paint and water on the paper, or none! Adding color is helping me to look more carefully at what I am painting. Who knew one bird could have so many colors?!? The rainy season has just begun in Costa Rica, so I will be using these watercolor techniques when I paint from a photo or when I birdwatch from my porch!
-
I did a very quick practice of a feather using all three methods. This is not watercolor paper, and you can really tell on the wet on wet version.
-
cool
-
-
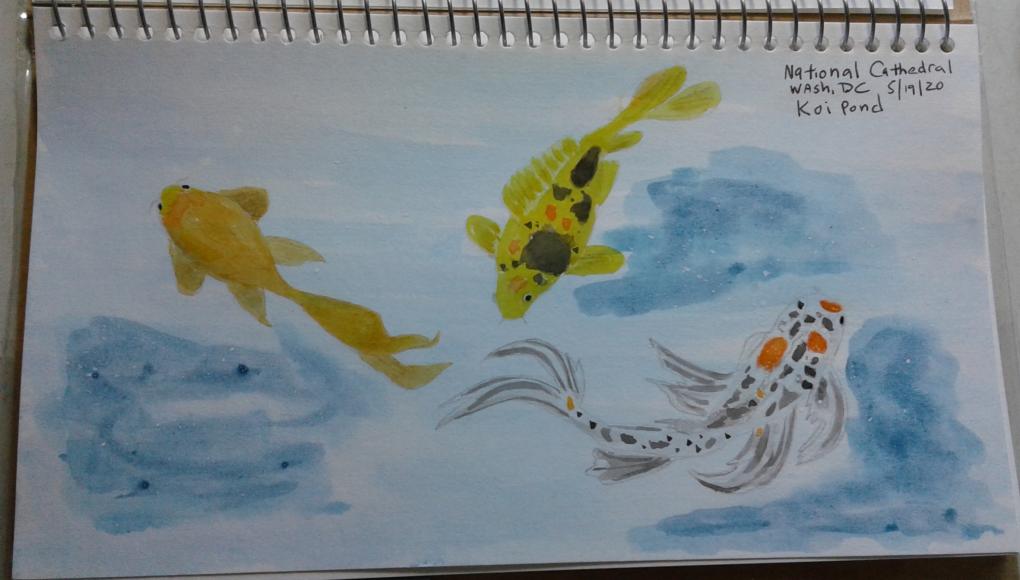
I used wet in wet and wet on dry for these Koi fish.
Technical question for Liz: how do you paint fish in water? How do do make the water darker, keep the fish colors and make them look underwater and not have a muddled mess?
Any help you can offer will be appreciated.
Avery -
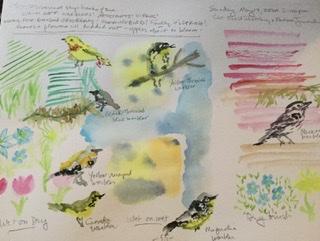
I had some fun experimenting with all three techniques, and tried some quick gesture-type sketches with the aquabrush and watercolors. I found that keeping the brush extra dry helped with the finer lines, deeper color tones and necklaces of the warblers; a wetter brush helped soften the gray tones..I definitely need more practice, but it was lots of fun..I think all of these techniques will be very helpful in my journaling projects. I definitely will use the dry brush for tree branches and trunks; the wet on wet for skies and water scenes and the wet on dry will be helpful for getting colors on the paper, to refine with added details
-
I haven’t touched water colour since grade school so I’m still having trouble forming details and outlines.my feathers look more like blobs than feathers. But I am enjoying the colour and I love the water brush!
-
I tried all three on this Mourning dove. The wing and the back was wet on dry, the head, chest, and bottom were wet on wet and the branch was dry on dry. I discovered I like wet on wet and letting the colors do their thing. I find I still add too much water. I also am trying to figure out wing textures. My dry on dry didn't super work. Again the amount of water is really hard for me! But I like the idea of that technique making certain textures.
-
- I love your sweet morning dove. Nice blending of the colors and feather detail.
-
-
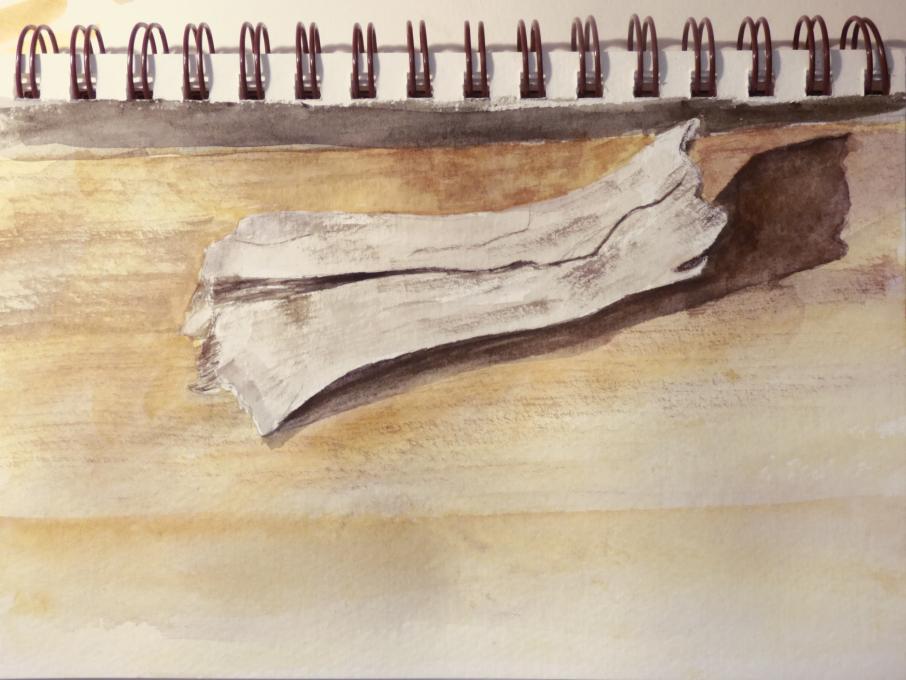
Have used all of the techniques but I found the simplified way of presenting and demonstrating helpful. After referring to some Wyeth works for dry brush ex.'s, found bone on a wood table presented opportunity for all 3 methods. Plan to utilize dry brush method more in the future.
 I used the wet on dry technique on the bird and many paint layers. I tried the wet on wet technique on the sky and grass but it is very difficult.
 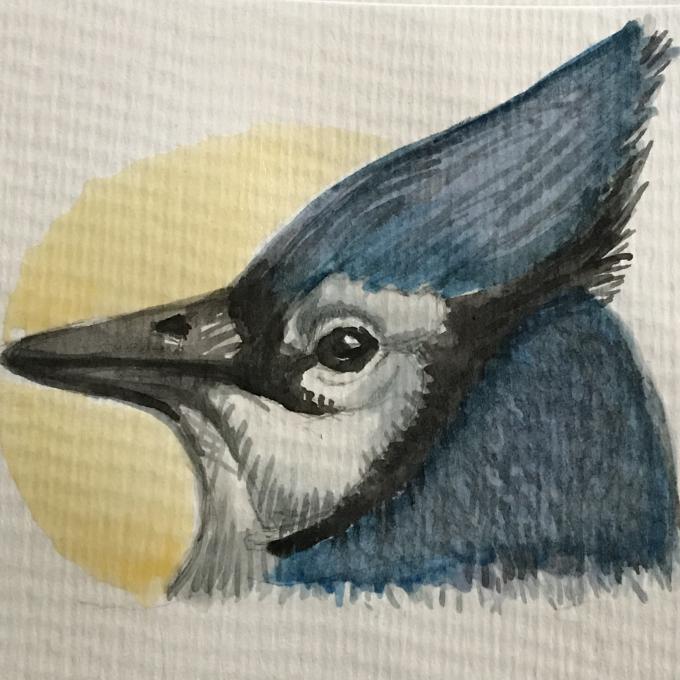 and then wet on wet with the golden light behind.
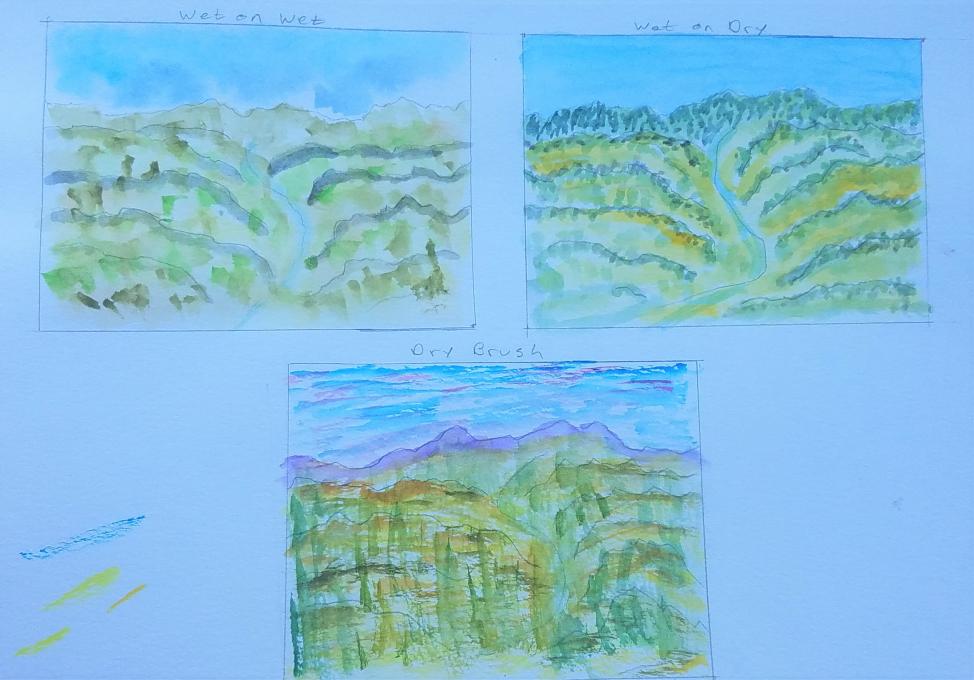
 I have tried all 3 techniques. Dry brush as you can see on the abalone seem to come off to harsh or too bold. I found patience is key and waiting for the paint to dry before muddling up the painting. I love water and lightness of pigment in creating skies.
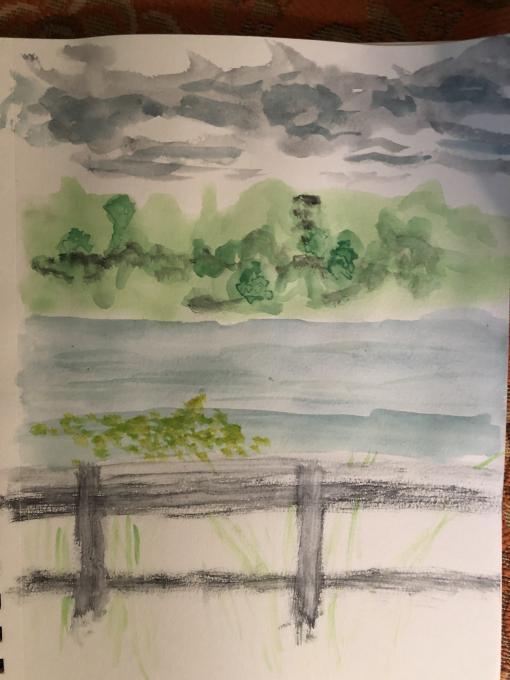


 I had some fun experimenting with all three techniques, and tried some quick gesture-type sketches with the aquabrush and watercolors. I found that keeping the brush extra dry helped with the finer lines, deeper color tones and necklaces of the warblers; a wetter brush helped soften the gray tones..I definitely need more practice, but it was lots of fun..I think all of these techniques will be very helpful in my journaling projects. I definitely will use the dry brush for tree branches and trunks; the wet on wet for skies and water scenes and the wet on dry will be helpful for getting colors on the paper, to refine with added details
 Have used all of the techniques but I found the simplified way of presenting and demonstrating helpful. After referring to some Wyeth works for dry brush ex.'s, found bone on a wood table presented opportunity for all 3 methods. Plan to utilize dry brush method more in the future.
 Read More: